Global Rescue Vehicle Modding Guide: From Blender To Workshop
The official documentation is a massive wall of text. Let's make this workflow actually digestible.
Global Rescue finally released into EA and with it opened the gates for vehicle modding. If you are tired of the vanilla fleet, you can now inject your own custom cars, fire engines, and ambulances into the game. The developers at PeDePe released an official guide detailing the process, and frankly, it is a lot to take in. It requires a specific 3D modeling setup, a somewhat confusing texture packing process, and navigating the Unity engine.
I have spent enough time breaking mod tools to know what usually goes wrong. If you miss a naming convention or pack a texture channel incorrectly, your car is going to look like a floating nightmare in-game. Here is my streamlined breakdown of the official workflow to get your vehicle built, textured, and uploaded to the Steam Workshop without losing your mind.
Phase 1: 3D Modeling and Mesh Preparation
Before you even think about Unity, your 3D model needs to be structured exactly how the engine expects it. The game handles animations dynamically, which is actually a massive time saver, but it requires strict naming conventions.
Separating and Naming Your Mesh
You do not need to build a complex armature or bone structure for the vehicle. The engine will animate the wheels and doors automatically, provided you separate them into individual objects and name them correctly.
The Wheels: Every wheel must be its own separated mesh. You must use this exact naming scheme: Wheel_F_R (Front Right), Wheel_F_L (Front Left), Wheel_R_R (Rear Right), and Wheel_R_L (Rear Left).
The Doors: Any door that needs to open must be separated. You can name these whatever you want, but you have to remember the exact spelling because you will be typing those names into the Unity Mod Editor later. A good habit is sticking to a standard format like Door_F_L.
The Chassis: The main body of the car is just one solid mesh. No specific naming convention is required here.
Pivots and Interiors
The most common mistake new modders make is messing up the pivot points (the origin of the object). Because the engine dynamically animates the parts, the pivot point is the absolute center of that animation.
Wheel Pivots: Must be perfectly dead center on the axis of rotation. If they are off by a millimeter, your wheels will wobble like they are broken.
Door Pivots: Must be placed exactly where the physical hinge would be.
The developers also note that the windows in Global Rescue are completely opaque. You cannot see inside from the exterior. However, when a door opens, the interior is exposed. They highly recommend building a very basic, low-poly interior so your car does not look like an empty cardboard box when an employee climbs inside. Finally, keep your total polygon count under 10,000 triangles to maintain decent game performance.
Phase 2: The Texture Packing Nightmare
Global Rescue uses a Physically Based Rendering (PBR) workflow, but they require you to pack specific grayscale data into the RGBA channels of custom mask textures. This is how the game handles custom skins and emergency lighting.
Standard Textures
You need three standard textures. Always aim for a 2048x2048 (2K) resolution.
Base Color (Albedo): Your standard color map.
Normal Map: Must be exported in the Y+ / OpenGL format.
Emission Texture: This dictates permanent glowing parts like dashboard screens, and the emergency flashing lights.
The Special Masks
This is where it gets complicated. You have to provide two specific mask textures.
1. The MSAO-Mask (Material & Skin Mask) This texture determines how skins are applied and the physical properties of the vehicle surface. You must save this in a format that supports an Alpha channel (like .png or .tga). If you do not want to do this manually in Photoshop, PeDePe provides a Channel Packer Tool on their website that handles the combination automatically.
Red Channel (Body Mask): Dictates where custom skins can be applied. White means the skin applies, black means it does not.
Green Channel (Ambient Occlusion): Your baked shadows.
Blue Channel (Metallic): White is metal, black is non-metal.
Alpha Channel (Smoothness): This is your inverted roughness map, dictating glossiness.
2. The Emission Mask (Lighting & Sirens) The background of this mask must be pure black. The active light areas must use pure 100% color values.
Red Channel: Regular constant lights (headlights, taillights). Use pure red (255,0,0).
Green Channel: Flashing emergency lights (Siren Group 1).
Blue Channel: Flashing emergency lights (Siren Group 2, which alternates with Group 1).
Phase 3: Unity Setup and Import
You cannot just drop files into the game folder. You have to route everything through the Unity engine using their specific plugin.
Preparing the Engine
You need to download the latest version of Unity (the developers recommend 6000.3) and create a new project using the "Universal 3D Template".
Once the project is open, download the official Modding Plugin from the developers. Double-click the downloaded .unitypackage file and import it into your project. You should see a "Global Rescue" tab appear in the top menu bar, containing the "Mod Editor".
Assembling the Vehicle
Import: Drag your 3D model, your five textures, and your Skin Template into the Unity Project window.
Material Setup: Find the Materials folder provided by the plugin. Duplicate the M_Template material. Select your duplicate and assign your imported textures to the correct slots (Base_Texture, MSAO, Normal, Emission, and EmissionMap).
Placement: Drag your 3D model into the Scene and reset its position coordinates to X=0, Y=0, Z=0. Drag your new material onto the model to apply the textures.
Scaling: The plugin provides two parking space prefabs (pfb_ParkingSpace_Large and pfb_ParkingSpace_Small). Drag the appropriate one into the scene at X=0, Y=0, Z=0. Scale your vehicle so it fits perfectly inside the lines. The front of the vehicle must point in the same direction as the parking space.
Phase 4: The Mod Editor Configuration
With the vehicle scaled and textured in the scene, open the Mod Editor from the top menu (Global Rescue -> Mod Editor) and click "New mod".
This opens a massive configuration window. This is where you define the gameplay stats and mechanical functions of your vehicle.
Key Configuration Settings
Mod Settings: Set your name, description, and version number.
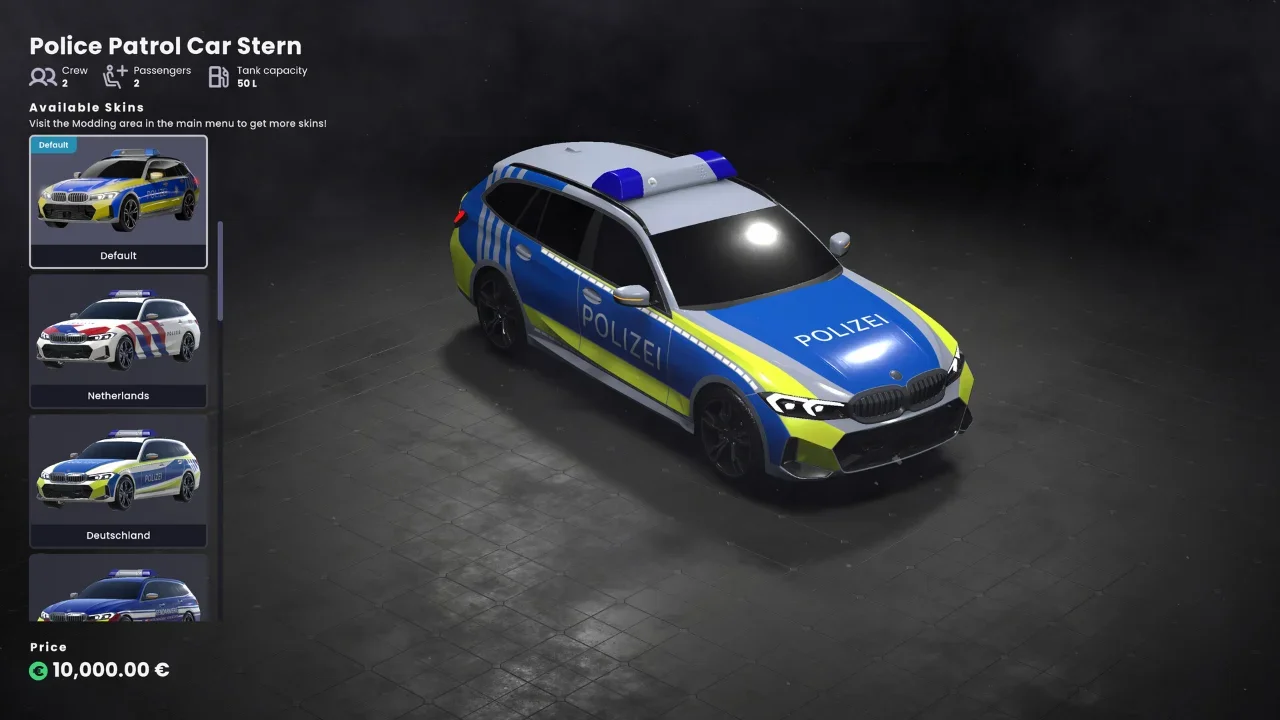
Vehicle Settings: Define the crew size, passenger capacity, fuel tank size, fuel consumption, price, and category (e.g., Patrol Car, Fire Engine). If it is a fire engine, you also set the "Extinguishing Power" on a scale from 0 to 100.
Audio: You can assign standard in-game engine and siren sounds, or upload your own custom audio clips.
Technical Configuration: You must assign your Preview Image, Skin Template, and the main Vehicle GameObject from your scene.
Setting the Mechanics
You have to manually set the positions for a few critical functions directly in the scene using the editor tools.
Headlights: You must set the physical position and rotation for the left and right front lights so the game knows where the beams should originate.
Colliders: You need to draw a bounding box around the vehicle. This acts as the physical barrier so it interacts with the world correctly.
Flashing Lights: In addition to the emission texture, you can set actual dynamic light sources for your sirens. You define the color, position, intensity, and timing sequence for two separate alternating light groups.
Doors: You input the exact name of your door GameObject, and then define the rotation angle for when it is completely open.
Once everything is filled out, hit the "Export" button. Unity will automatically compile the vehicle and save it to your local Global Rescue Mods directory.
Phase 5: Testing and Uploading
Do not immediately push your mod to the workshop. You need to verify that you did not mess up the coordinates or the texture masking.
Launch Global Rescue and open the modding menu. Your new vehicle should be listed there. Check the box to activate it. Load into a game and spawn the vehicle.
Run through a quick checklist: Does it fit in the parking space? Do the doors swing open correctly, or do they clip through the chassis? Do the employees teleport into the seats properly? Do the headlights and emergency sirens function at night?
If the car is a clipping, un-textured disaster, go back to Unity and adjust your pivots and export settings. If it works perfectly, head back to the main menu modding form and hit the blue upload button to push it to the Steam Workshop.