Horripilant Beginner Guide: Surviving the Endless Nightmare
I have stared into the absolute abyss of this miserable dungeon, and the abyss demanded I click on a tiny tree sprout.
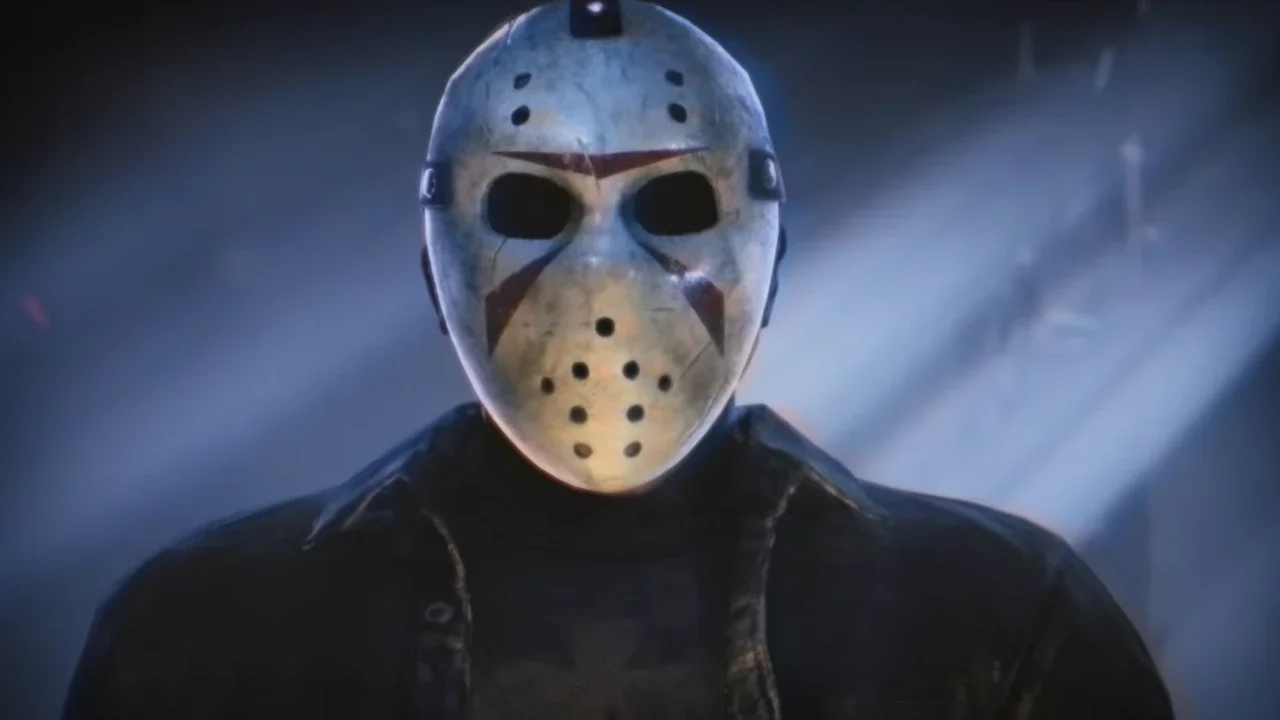
You wake up as a battered knight with no memories and a stench of decay clinging to your armor. Horripilant is a bizarre, deeply unsettling hybrid of an idle clicker, an autobattler, and a cryptic puzzle game. It tasks you with fighting and mining your way through over a thousand floors of pure misery. The game refuses to hold your hand. It expects you to figure out its strange economy and logic while grotesque monsters actively try to turn you into paste.
I threw myself into the dark over and over again to figure out how this twisted ecosystem actually functions. If you want to avoid being consumed by the walls whispering your name, you need to understand exactly how to manage your resources, optimize your combat loops, and solve the weird puzzles the developer hid in the dark.
The Economy of Suffering
Your survival depends entirely on incrementally gaining materials to upgrade your gear and expand your camp. You juggle three main resources. Wood, Rock, and Iron.
Sparkles and Upgrades
If you just sit there clicking the resource nodes manually, you will develop arthritis long before you meet God at the bottom of the pit. Efficiency is everything. Keep your eyes peeled for sparkles appearing on the screen. Clicking a sparkle instantly grants you five hundred times your current click value. It is a massive injection of resources that skips hours of waiting.
As you gather materials, you need to funnel them into four primary upgrade paths.
Upgrade Click: This increases the base amount of material handed to you on a single click. It is absolutely vital in the early game.
Hire: This is your automation component. Buying these upgrades unlocks passive material generation so you can stop clicking and actually play the game.
Upgrade Storage: This increases your maximum material cap by a massive order of ten. If your storage is full, your passive generation is completely wasted.
Material Level: This is the absolute king of upgrades. It multiplies all passive gain of that specific material by the level itself. A rate of 100 per second becomes 200 at level two, and 300 at level three. Prioritize this whenever possible.
Mastering the Autobattler
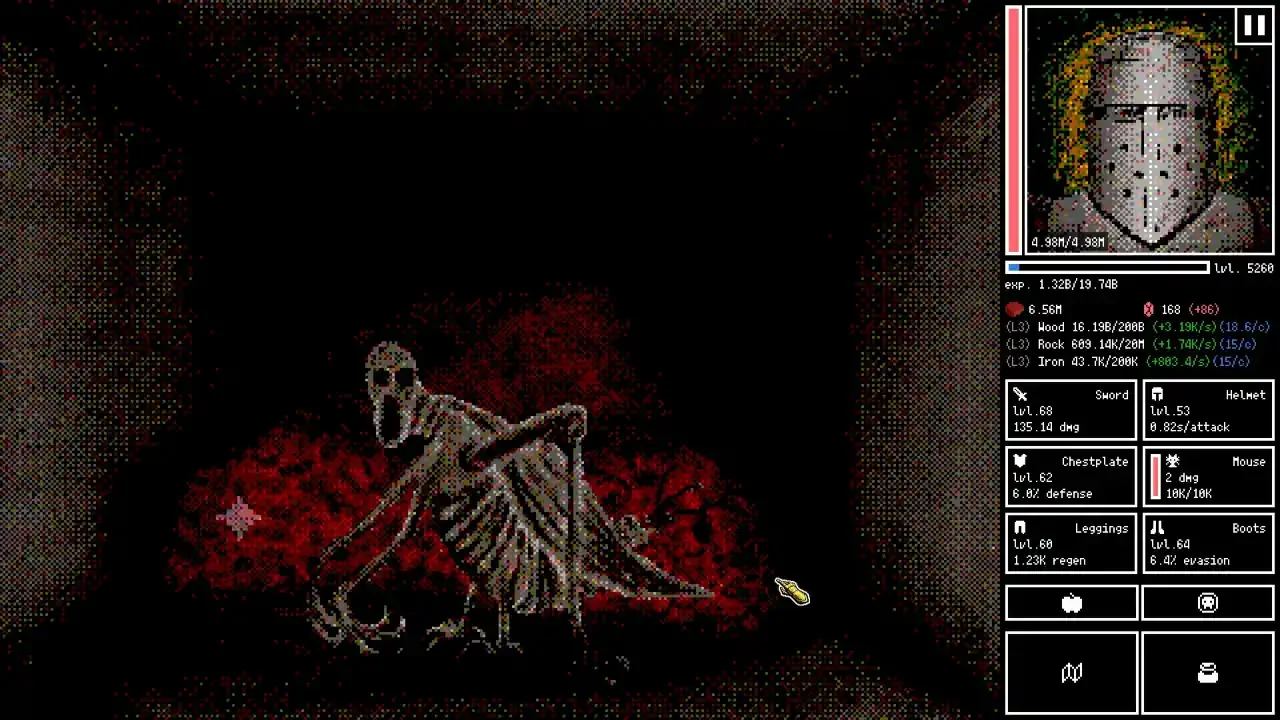
Combat happens automatically based on the equipment you currently wear. Your sword, helmet, chestplate, leggings, and boots dictate your raw stats. You do not get to swing the sword yourself, but you are not entirely helpless either.
During a fight, weak points will randomly appear on the enemy sprite. Click these rapidly to trigger extra attack attempts outside of your normal attack cycle. You also need to watch the stark white bar located directly under the enemy health pool. This is their attack speed indicator. Once it fills up completely, you are going to take a hit.
Familiars and Meat Currency
Meat is a unique currency gained strictly by killing enemies. You use it to increase specific storage caps, buy consumables, and most importantly, create Familiars.
Do not explore the deeper floors without a Familiar. When you bring one of these friendly creatures into battle, any incoming damage is split evenly between you and the pet. It essentially doubles your survivability instantly.
Protect your Meat stash. If you ever panic and click the Give Up button on the combat interface, the game treats it as a death and permanently deducts a chunk of your Meat.
Boons and Idle Management
Every time you defeat a floor boss, the game lets you select a Boon. These are temporary stat boosts that only last for your current run. The moment you leave combat or die, they completely reset. Pay attention to the text color. If a Boon label turns orange, it means that specific stat is hard capped and you cannot increase it any further. Pick something else.
If you plan on letting the game run in the background, utilize the combat UI toggles. The Select Boon Automatically button is a godsend for long idle sessions. You can also use the Exit At function to automatically pull your knight out of the dungeon at a specific floor so you do not accidentally die and lose progress while you are grabbing a coffee.
Also, do not panic if you end a fight with a sliver of health. Outside of combat, your health regenerates at a minimum of 0.3 percent of your max health every second. You will return to full vitality in roughly thirty seconds.
The Rebirth Cycle
Eventually, you will hit a brutal wall where enemies simply outscale your current gear. This is when you need to use the Rebirth mechanic.
Rebirthing is a standard prestige system. It wipes your standard materials, resets your current run, and strips your temporary power. However, it is not a total loss. You keep any items you found through exploration, and you keep your progression in the puzzle mechanics.
Most importantly, you use Hemalith currency to buy permanent upgrades in the Rebirth skill tree. You gain Hemalith simply by diving deeper into the dungeon. The base payout is one Hemalith for every new, deeper floor you manage to clear.
Solving the Cryptic Bullshit
Horripilant is full of weird, unexplained mechanics that will drive you crazy. I scoured the dark corners and figured out the solutions to the most common roadblocks players run into.
Offline Progression
Yes, the game progresses while you have it closed. However, the offline gains are practically irrelevant if you do not upgrade your storage caps. Your passive generation will hit the ceiling in a matter of minutes, rendering the rest of your offline time completely useless. Upgrade your storage before you log off.
The Lamp and the Morse Code Note
You will eventually find a lamp and a strange note written entirely in morse code. Naturally, the game explains absolutely nothing about either of them. Do not waste your time trying to translate the note manually, and do not stress over what the lamp actually does yet. Just keep progressing deeper into the dungeon. The game eventually hands you specific items that decode the note for you naturally, and the lamp makes sense as you push further into the dark.
The Missing Crow Beak and Spider Web Traps
Early on, you might find a crow beak and immediately die before you can give it to God. Do not panic. Your save file is not ruined. The crow beak is a one time interaction item, and you do not actually need another one to progress the story.
The spider web trap is easily the most annoying mechanic in the game because it is never explained. Occasionally, a giant spider web will cover your screen and obscure your vision. Clicking it does nothing. Putting meat on the fire does nothing. To get it off, you have to click the web, hold your mouse button down, and violently shake your cursor back and forth to tear it away.
How to Import Custom Portraits
If you are tired of looking at the default battered knight, you can actually import your own custom artwork into the game. You do need to purchase the Supporter Pack DLC for five bucks to unlock this feature, but it is a nice way to throw some money at a solo developer.
Getting your art into the game requires setting up a specific folder structure. Navigate to your Horripilant install folder through Steam. Open the folder labeled "supporter", then open the "portraits" folder. Create a brand new folder inside there and give it a unique name. You need to drop your image files into this new folder using very specific file names.