Hytale Boss Guide: How To Find And Kill Everything Big
You’re going to die a lot in Orbis, but knowing which oversized monstrosity is about to flatten you might at least make the trip to your grave more educational.
Most survival games let you get away with button mashing, but Hytale tries to punish that behavior. The bosses here aren't just random spawns that wander into your backyard while you are gardening. They are deliberate encounters tied to dungeons, specific biomes, or story progression. If you walk into a faction stronghold or a ruin without a plan, you are going to die. I learned that the hard way.
These fights are about preparation and recognizing patterns. Most of these things hit like a freight train, but they wind up like one too. Here is how I handled every single boss the game threw at me. (After dying plenty of times)
Burnt Skeleton Praetorian
This guy is a nightmare if you stumble upon him unprepared. You will find him in the Fens or Emerald Wilds in a specific arena marked by green flames and spikes. It looks evil, and it is. He plays aggressively, using a shield to block your shots and summoning minions to ruin your day.
The Strategy Do not go in here with basic gear. I used Thorium armor and weapons, and it still felt close. The boss has a charge attack that he telegraphs by winding up his shoulder or foot. When you see that animation, strafe sideways. Do not back up, or he will catch you.
The real problem isn't the boss, it's the friends he summons. He pulls skeleton minions out of the ground that will swarm you. Kill the adds immediately. If you ignore them to focus on the boss, you will get overwhelmed. Use a shield to tank the charge if you have to, but dodging is better.
Earthen Golem
This is a progression blocker located at the Forgotten Temple in the Emerald Wilds. You usually have to go through him to access the blue portal behind him. He is a classic "big dumb object" boss. He hits hard, but he moves like molasses.
The Strategy Range is your friend here. I used a crossbow to kite him around the arena. His attacks are super telegraphed. He spins with both arms or does a massive ground slam. Both of these will flatten you, but you have about three business days to move out of the way before they land.
If you go melee, hit him twice and back off. Don't get greedy. If you try for a third hit, you'll eat a slam. Manage your stamina, because if you run out of juice and can't dodge the slam, it's game over.
Firesteel Golem
Imagine the Earthen Golem, but now the floor is lava and he has more health. You find this thing underground in the Drifting Plains on stone platforms surrounded by magma.
The Strategy Do not melee this thing. I mean it. The arena is hazardous, and one bad knockback sends you into the lava. Use a bow or crossbow. The boss has a leash mechanic where he snaps back to his spawn point if you pull him too far, so you have to stay relatively close, but keep a gap.
He is durable, so bring plenty of ammo. Just keep poking him from a distance and reset your position if he gets too close. It’s boring, but it’s safe.
Golin Duke
This is the king of the Goblins, found in the Emerald Grove (Zone 2). He waits in a massive treasure chamber filled with gold. He hits harder than the standard mobs, but the fight is mostly about the environment.
The Strategy The room is cluttered with gold piles and obstacles. Use them. Break his line of sight to heal or reload. I found that shortbows work well to chip him down, then switch to a dagger for quick melee bursts when he is recovering from an attack.
The loot here is the real draw. He guards a lot of gold and dungeon treasures, so it is worth the headache. Just watch out for his aggressive push; he doesn't idle as much as the golems.
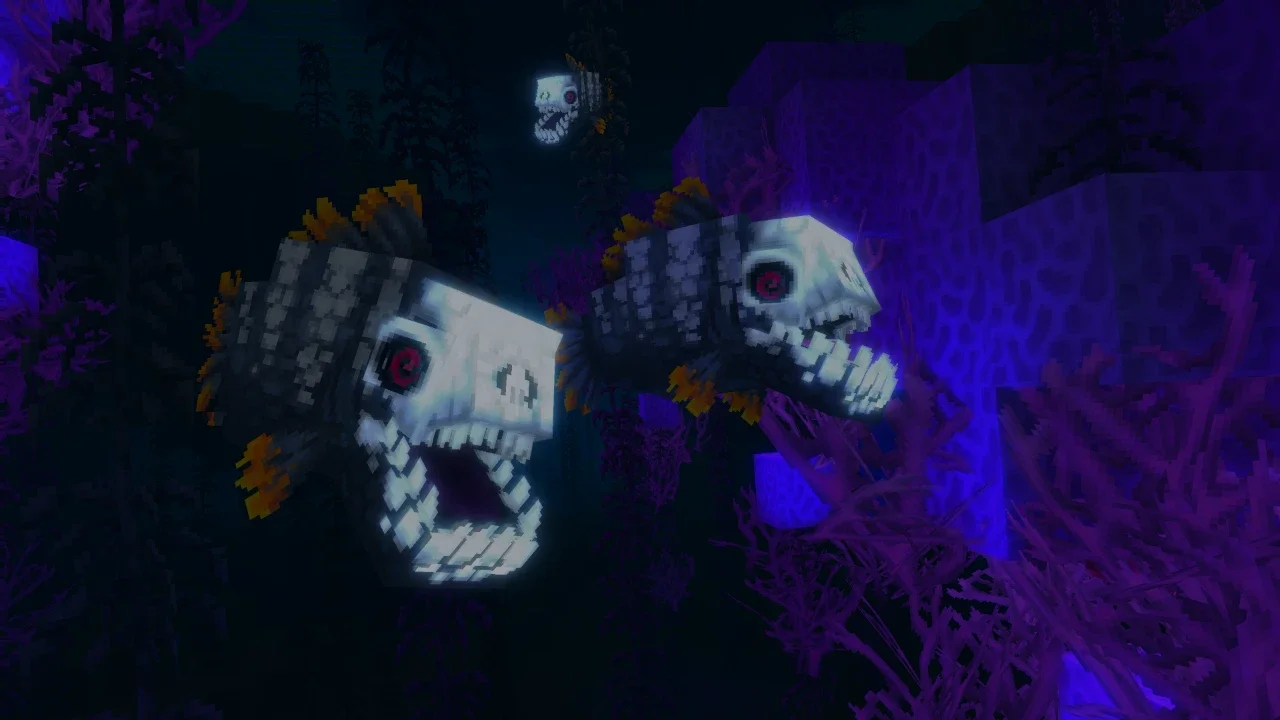
Scarak Broodmother
Found deep in the Howling Sands (Zone 2), this is the "Queen" boss inside a hive structure. This isn't a simple duel like some of the others, it's crowd control. The room is usually full of purple crystals and hanging egg sacs.
The Strategy Ignore the boss at first. Destroy the egg sacs and kill the minions. If you don't, the sheer number of small enemies will trap you in a corner and chip you to death. I suggest weapons with area-of-effect damage or wide swings.
Once the room is clear of trash mobs, focus on the Broodmother. She isn't that tough on her own, but the environment is cramped. Keep moving. If you stand still, the swarm gets you.
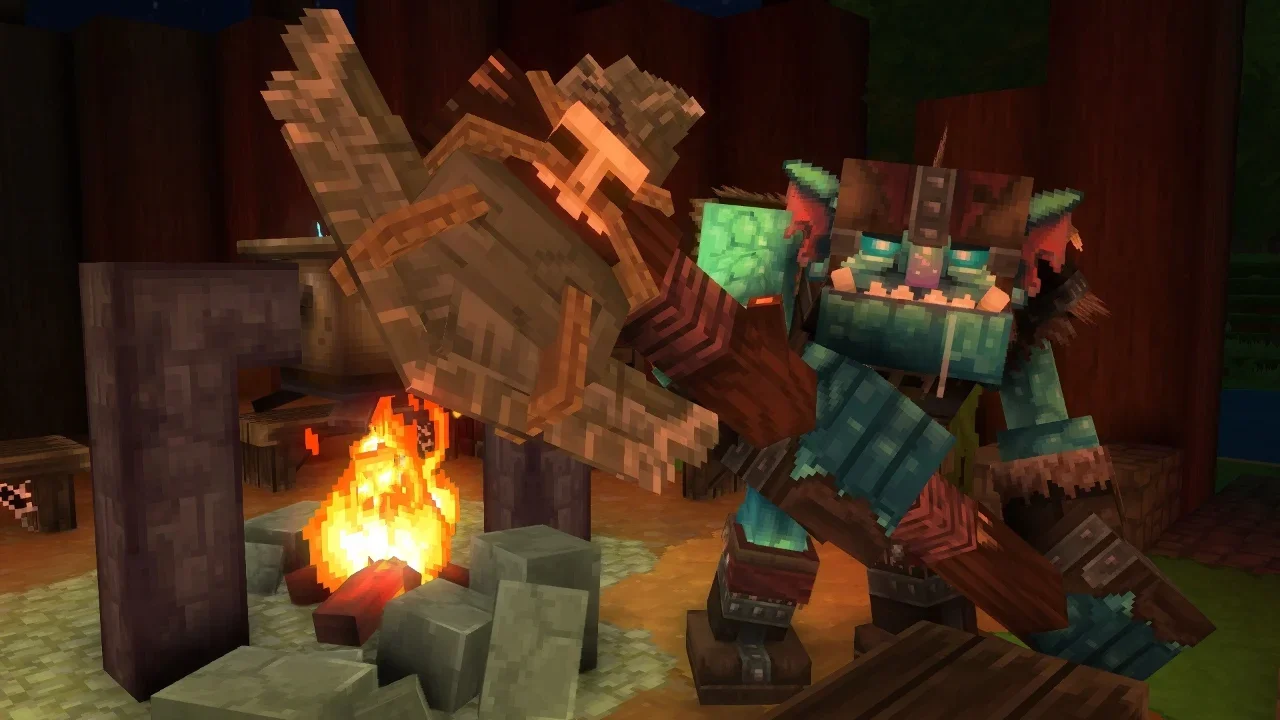
Trork Chieftain
Located in the fortified camps of Emerald Grove (Zone 1). You will know you are in the right place when you see the palisade walls and watchtowers. The Chieftain is usually in the big central building.
The Strategy This is another fight where you need to clear the room first. Lure the regular Trorks out of the building and kill them one by one. Fighting the Chieftain while three other guys poke you with spears is a bad time.
The Chieftain uses a massive axe. He has an uppercut swing and a terrifying overhead chop. You cannot tank the overhead chop. You must roll or step sideways. I used a dagger with a charge attack to poke him and retreat. Use the doorway as a choke point if you get overwhelmed.
Cave Rex
It is a dinosaur. A T-Rex, specifically. You find this beast in the underground jungle beneath the Devastated Lands (Zone 4). It is fast, big, and bites hard.
The Strategy You need high-tier armor for this, like Cobalt or Adamantite. The Rex has a lunge attack that snaps its jaws forward. If it grabs you, it flings you into the air, and the fall damage alone is brutal.
Do not fight this thing in an open field. Use the terrain. Run around pillars or rock formations to force it to pathfind around them. This buys you time to heal or reload. Attack during the brief recovery window after it lunges.
Sandswept Golem
This is the desert cousin of the Earthen Golem, found in Zone 2. It hits harder and has a few different animations, but the logic remains similar.
The Strategy Shields are actually useful here to mitigate damage if you miss a dodge timing. Like the other golems, he telegraphs his big hits. If you see him wind up, stop attacking and move. I preferred using a crossbow to chip away at him safely, only closing in for melee when I was sure his attack cycle was finished.
Frost Dragon & Yeti
I'm including these for completion's sake because you will see them mentioned. The Yeti is found in the Whisperfrost Frontiers. It throws things and slams the ground. Fire weapons are obviously your best bet here to exploit the elemental weakness. Flank it rather than backing up.
The Frost Dragon is currently the "hardest" boss, located at the snowy peak of Dragonspire Weald. However, depending on the current build of the game you are playing, it might not be fully killable yet. It drops high-tier loot if you can engage it, but it's largely considered an endgame encounter that requires a full squad and top-tier gear. Proceed with extreme caution.