Marvel Rivals Blood Hunt: How to Beat Dracula (Full Boss Guide)
He keeps healing to full, your team is losing their minds, and nobody can agree on what to actually hit.
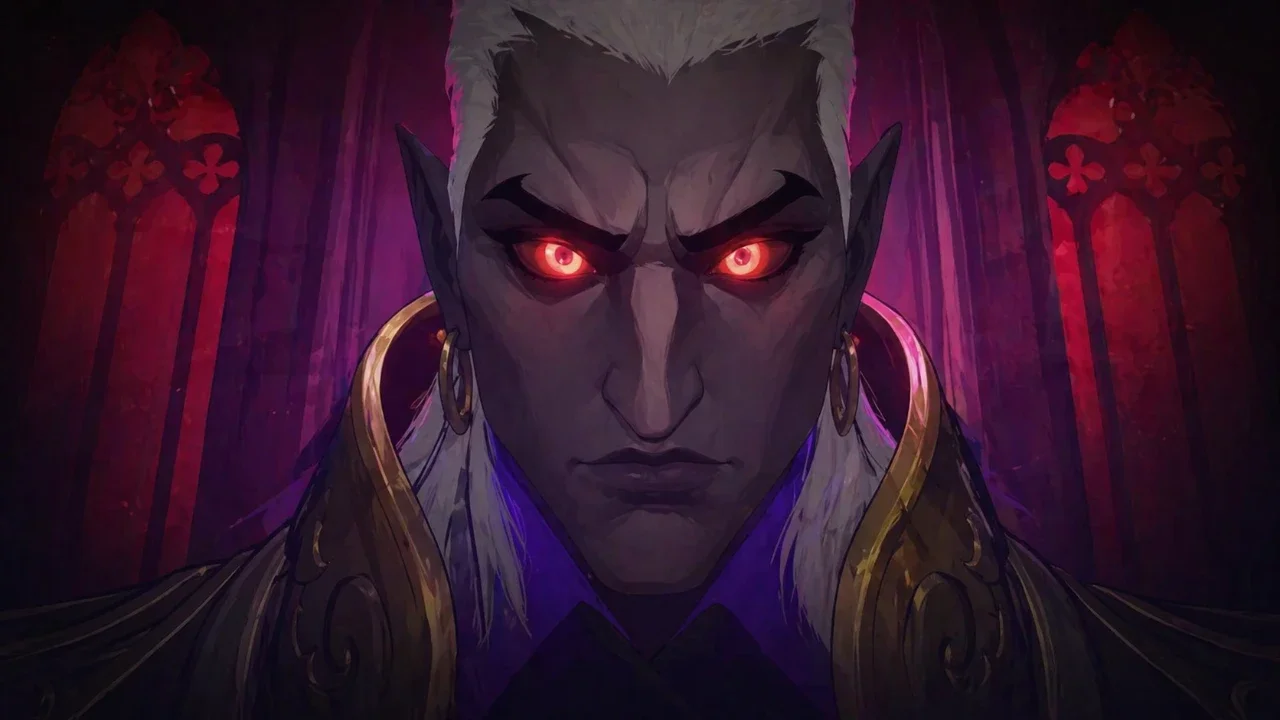
The Dracula fight in Blood Hunt isn't a damage race. That's the thing nobody tells you going in, and it's why most teams wipe repeatedly while feeling like they're doing everything right. The fight has four distinct phases, and for the first three of them your actual job is not to kill him. It's to survive, stay mobile, and arrive at Phase 4 with your revives intact. Once that clicks, the whole encounter starts making sense.
The Blood Sacrifice Meter: Why He Keeps Healing
Before getting into phases, this mechanic needs to be understood because it affects the entire fight from the opening second.
Every player has a Blood Sacrifice icon above their head throughout the fight. Every hit you take from Dracula, whether it's his direct attacks, his blade strikes, or his rain attacks, pushes that meter higher. When Dracula uses his drain moves, he converts those accumulated Blood Sacrifice stacks into healing. The higher your meter is, the more health he gets back. This is why he seems to full heal constantly in messy runs: the team has been eating hits all fight and each drain gives him back a massive chunk of the bar.
The counter is simple and genuinely difficult: dodge everything you possibly can. You're not just avoiding damage, you're denying him fuel. Ranged heroes with strong mobility have a structural advantage here, which is a big part of why Squirrel Girl and Moon Knight are the dominant picks for this mode.
Phase 1: Don't Feed Him
Dracula pulls all heroes toward him and follows it immediately with a devastating AoE. The moment you feel that pull, use your mobility skill to get out. Getting caught in that AoE is what starts most early team wipes.
Beyond that, your goals here are simple: stay at range, dodge as much as possible, and do not burn resources trying to chunk his health bar. Any damage you deal in Phase 1 doesn't matter. He heals it all back in Phase 4. Save your cooldowns.
Phase 2: Stay Mobile
Phase 2 ramps up the pressure. A floating sword joins the fight, blood storms start appearing, and Dracula gains a teleport grab. Getting caught by the grab is usually what triggers a chain wipe because it pulls you into his follow-up damage while your Blood Sacrifice meter is already climbing.
Keep moving, keep your distance, and keep dodging. Still not the time to go all in on damage.
Phase 3: Survive the Sword Phase
Dracula vanishes completely. You can't target him. Floating swords spawn across the arena while enemies keep pouring in, and this is where a lot of teams fall apart by panicking and burning revives trying to hold things together.
Don't. Your two priorities here are destroy every floating sword in the arena and stay alive. That's it. Hold onto your revives because Phase 4 is where they actually matter.
Phase 4: This Is Where You Actually Kill Him
Dracula comes back at full health. That's by design, not a bug, and it's not worth being demoralized by. This is the real fight and the only phase where your damage output actually matters.
Two sealed crystals spawn in front of his throne immediately. Break them fast. Once the crystals are destroyed, sunlight zones activate in the room. Inside those zones you're invincible and Dracula becomes vulnerable and can be stunned.
The loop from here is straightforward:
Break both crystals immediately
Step into the sunlight zone
Stun Dracula and dump everything you have into him
Exit, reset, repeat until he's dead
Stick to that cycle and the fight becomes controlled. It stops feeling like a wall and starts feeling like a puzzle with a clear solution.
One extra detail worth knowing: if Dracula steps into the sunlight ring himself, he dies instantly. You can try to position him toward it, but walking into it yourself for the damage buff and stun window is the more reliable play. Don't wait around hoping he wanders in.
Common Mistakes That End Runs
Trying to kill him in Phases 1, 2, or 3. The damage doesn't carry over. He heals to full in Phase 4 regardless. All you're doing is burning cooldowns and resources you need later.
Ignoring the crystals when Phase 4 starts. The sunlight zones are your entire win condition. Skipping straight to attacking Dracula without breaking the crystals first throws away the only real advantage the fight hands you.
Taking unnecessary hits in the early phases. Every hit is a healing stack. Sloppy play in Phase 1 and 2 directly causes the full heals that make Phase 4 feel impossible.
Burning revives before Phase 4. Self-explanatory. If you arrive at the real fight with no revives, a single mistake ends the run entirely.
Hero Notes for This Fight
Moon Knight players struggling with the sword phase in Phase 3: placing Ankhs on the walls so they bounce toward the swords is more effective than trying to stack them directly on the swords themselves.
Squirrel Girl handles the Blood Sacrifice problem naturally because her summons soak hits and pull enemy targeting, which keeps her personal meter lower than almost any other hero passively.
Punisher is legitimately one of the better picks for Phase 4 specifically. Single-target burst into a stunned boss is exactly his kit. If your team has Phase 1 through 3 covered with better wave clear heroes, a Punisher for the kill phase is a real option.
Thor Aura builds clear waves well but struggle with boss damage. Accept that the sword phase will take longer and focus on surviving it cleanly rather than forcing damage output that isn't there.
Phase Breakdown at a Glance
And one last thing: if you completed the secret objectives across the earlier phases, clearing Dracula unlocks Kingpin as a hidden boss. That's the true ending of the mode, so it's worth keeping an eye on those side tasks as you go.