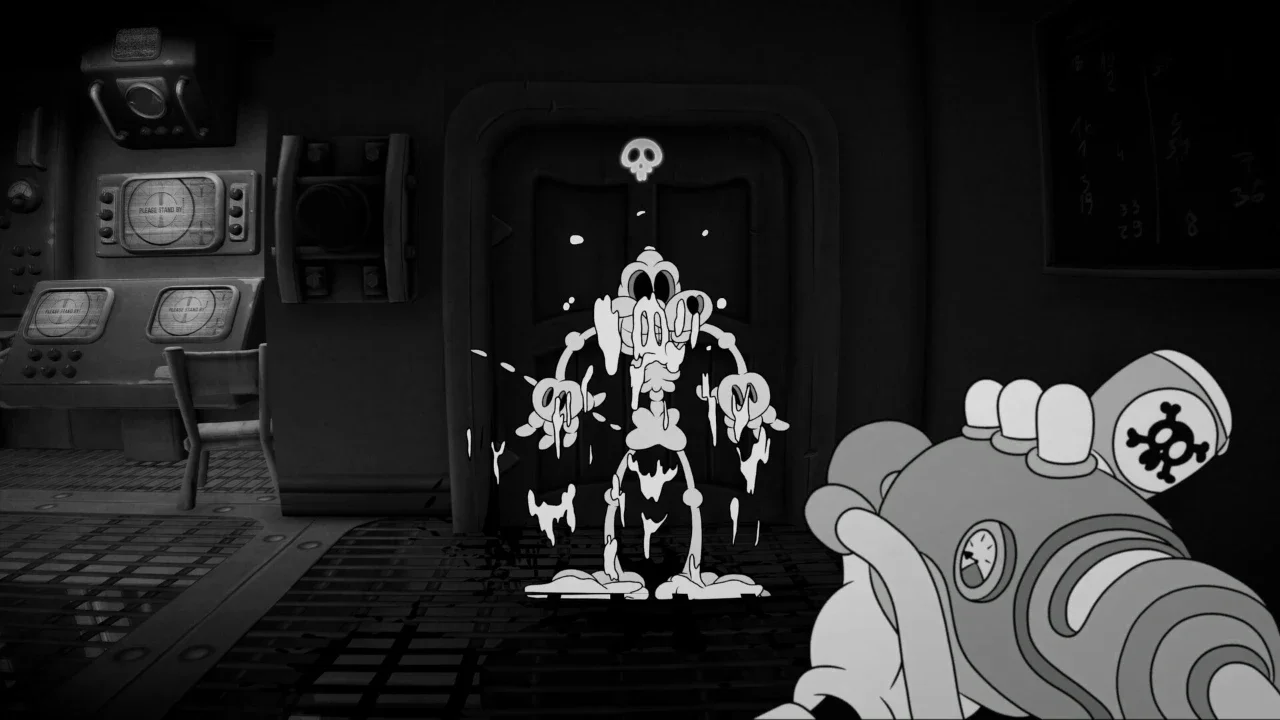
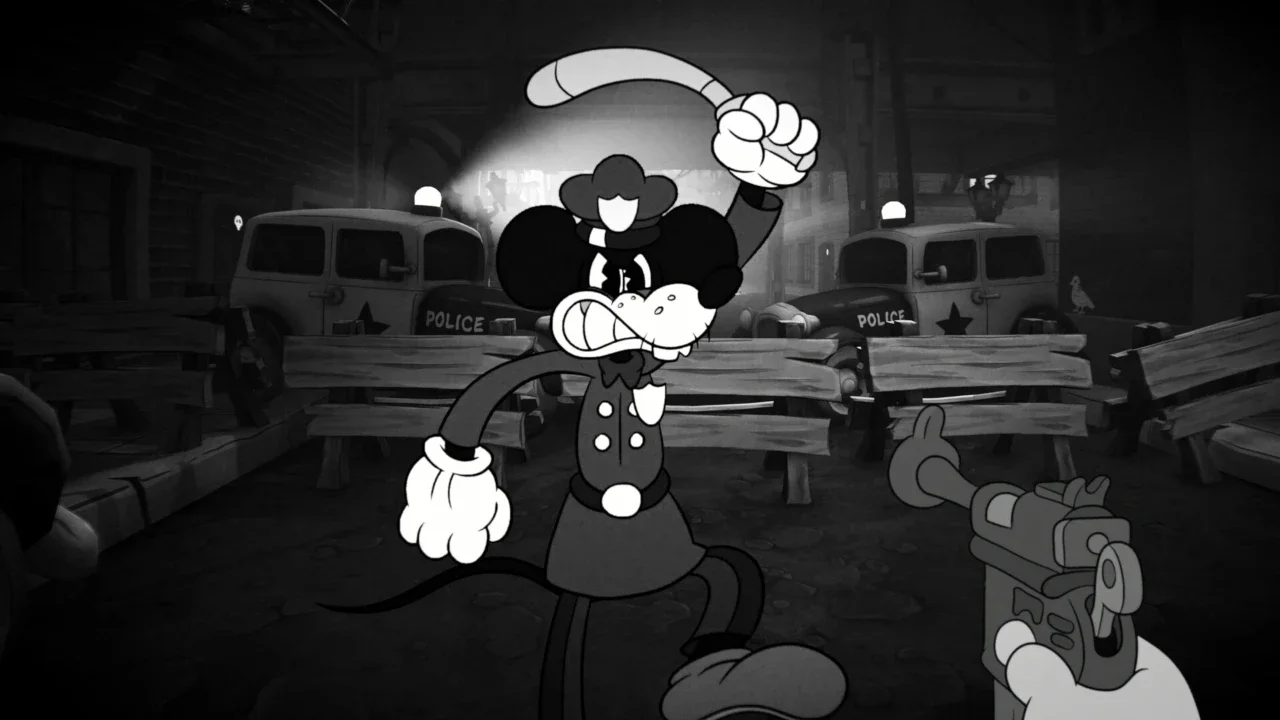
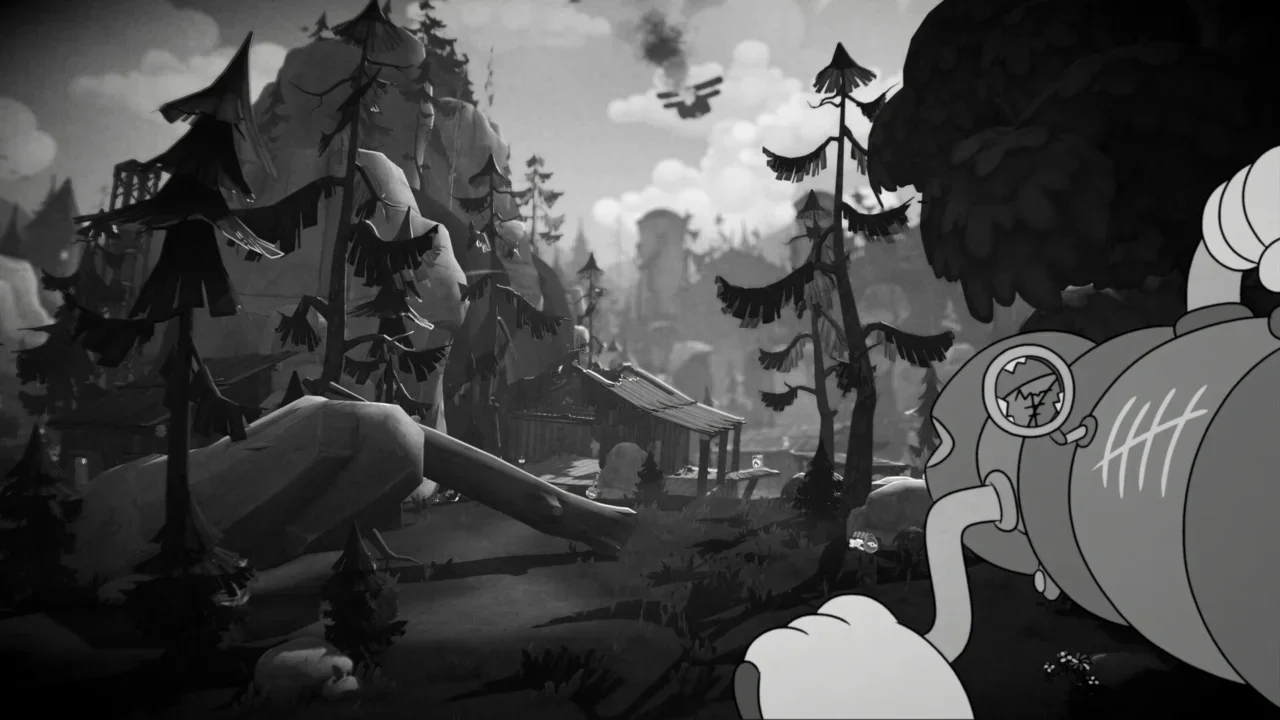
Mouse: P.I. For Hire - Every Weapon Ranked: Where to Actually Spend Your Schematics

Before you go dumping Schematics into every gun that looks cool, know that this game will not bail you out if you get it wrong.

A first-person shooter gameplay screenshot from Mouse P.I. featuring a melting skeletal cartoon mouse enemy in a vintage black and white industrial laboratory.

Mouse: P.I. For Hire has 89 Schematics scattered across its levels and tucked behind side jobs, and you need 9 per weapon to fully upgrade it. That math works out to 72 Schematics for a full upgrade sweep across every eligible gun, meaning you technically have 17 to spare. The catch? Levels are not replayable. Miss a Schematic and it's gone. The in-game shop won't sell you more. So while you do have some breathing room, the margin for completely wasted upgrades is tighter than it looks, especially if you missed a few collectibles along the way.

Two weapons sit completely outside this system: the D-Namite and the Hellrazor have zero upgrade tiers. What you pick up is what you keep. That actually simplifies decisions around them considerably, and I'll get to why that matters further down the list.

Here's every weapon ranked from worst to best, with a clear-eyed take on what each one is actually good for and where your Schematics should and shouldn't go.

The Full Weapon Ranking

10. Mitts

Your fists. The starting point by technicality only. There are specific moments in the game where hand-to-hand is forced on you, so the Mitts exist for those sequences and nothing else. If you find yourself voluntarily throwing punches outside of those scripted encounters, something has gone very wrong with your ammo management.

Not upgradeable. Not worth a second thought outside of the sections that require it.

Schematics priority: None. Literally cannot be upgraded.

9. Portable Freezer

The Portable Freezer arrives as the last weapon you unlock through story progression, which sets up an expectation it never quite meets. The concept is genuinely interesting: sustain the ice beam long enough and an enemy freezes completely, giving you a free damage window without any return fire. The Alt-Fire launches an icicle that applies frost to a whole group at once, which looks and feels great.

The problem is the Portable Freezer doesn't kill anything on its own. You freeze an enemy, then swap to a different gun to finish them off, or land a kick and then shoot. That's a two-step process in a game that rewards staying in constant motion. At range, it's even worse because the kick isn't an option and swapping weapons mid-freeze just bleeds ammo. Each upgrade tier improves freeze speed rather than damage, which is the right stat to improve for this weapon's role, but the fundamental limitation of needing a follow-up to actually eliminate targets means it's always going to be a support tool at best.

Situationally useful for locking down a tough single enemy while your team regroups, or neutralizing a problem target during a chaotic encounter. Not worth Schematic investment when guns like the Boomstick and James Gun exist.

Schematics priority: Low. Save those 9 for something that kills.

8. Loose Cannon

A cannonball launcher is exactly as fun as it sounds for about three encounters, and then the reload speed starts to eat at you. Mouse: P.I. moves fast, and the Loose Cannon does not. Single-shot with a painful refill between each round means any situation with multiple enemies closing in on you turns into a sweaty scramble.

It earns its place in the game during the specific mini-boss fight where breaking walls is the objective, which is genuinely what it's designed for. The Alt-Fire charges the cannonball and breaks it into shrapnel, effectively turning it into a scattershot that handles clusters of enemies reasonably well. That Alt-Fire is the most interesting thing about it in actual combat.

The Loose Cannon does support full Tier 3 upgrades, and the improvements are real: more damage, wider blast radius, more pushback. But 9 Schematics is a significant investment for a weapon that D-Namite can replicate in terms of wall-breaking utility without costing you any upgrade resources at all.

Schematics priority: Low. D-Namite handles the walls. Let the Loose Cannon retire.

7. Kiss Kiss

The Kiss Kiss is the second shotgun and it arrives after you've already had the Boomstick long enough to fall in love with it, which is a tough situation to be dropped into. The fire damage on every shell is genuinely cool and the burn DoT it applies means enemies that don't go down immediately keep taking damage, but the two-shell limit before a reload makes it feel like a punishment every time you pick it up.

The Alt-Fire fires a heavy explosive round that deals fire splash damage in an area, which is the Kiss Kiss at its best. That one tool has real utility for grouped enemies. The problem is the base weapon it's attached to undermines the fun constantly.

Fully upgraded it gains more projectiles and improved pushback, and the burn DoT gets stronger, but the reload frequency never meaningfully improves. If the Boomstick is already upgraded in your loadout, there's almost no reason to funnel Schematics here too.

Schematics priority: Skip it unless you've already maxed everything you actually care about.

6. Jar-Head

The Jar-Head is one of the most visually distinct weapons in the game and commits fully to the bit: tiny brain in a jar, fires rings of energy, occasionally has things to say to you. Charming as hell. Also slightly frustrating to use because hit feedback is genuinely unclear and the stun-focused design means you're always one extra step away from actually finishing an enemy.

The stun effect works well on standard enemies and the Tier 1 upgrade immediately unlocks the Alt-Fire, which is a concentrated beam that deals serious headshot damage and causes enemies' heads to explode. That Alt-Fire is where the Jar-Head earns its ranking, because it turns a gimmick weapon into something with actual burst potential. The important caveat: the stun is completely useless against bosses. If you're heading into a boss encounter with the Jar-Head as your primary, you're going to have a bad time.

Ammo capacity is limited even after upgrades, which keeps it from being a go-to primary. Think of it as a situational crowd control tool for standard enemy waves with a surprisingly nasty trick shot available when you want it.

Schematics priority: Medium-Low. Worth Tier 1 for the Alt-Fire unlock. Going to Tier 3 is hard to justify.

5. D-Namite

The D-Namite is the only weapon in the game that you never actually equip. It sits in the offhand slot and throws on a dedicated button press without interrupting whatever gun you currently have out. That single design decision makes it more useful than several weapons that rank above it in terms of raw power.

It breaks walls, destroys enemy shields, and clears groups of enemies in a wide radius. Ammo capacity is decent for a throwable. The fact that it costs zero Schematics to maintain because it has no upgrade tiers at all means it's pure value with no investment required.

It won't carry you through a tough encounter solo and it isn't a primary combat tool, but it patches gaps in every other weapon's coverage without asking anything in return.

Schematics priority: Irrelevant. There are none. Just use it.

4. Hellrazor

The Hellrazor is what you get when Mouse: P.I. commits fully to its DOOM influence and doesn't blink. A chainsaw built from bones, acquired after the game literally drags you to Hell, swipes across the screen dealing massive wide-range damage to anything unfortunate enough to be nearby. For close-range room clearing it's honestly exceptional, and the bone projectiles it throws during swings mean it has more range than a pure melee weapon technically should.

No upgrades, no Alt-Fire, no Schematics required. This is the full package as-is, and the base power level is high enough that the lack of upgrades doesn't sting much. The noise is a real consideration though, it's loud even when holstered, and the sound design in this game is one of its genuine strengths, so having the Hellrazor constantly rumbling in the background while you're trying to absorb the atmosphere is a minor but real annoyance.

Great for close-range chaos. Not a long-range solution. Perfect for when a hallway needs to be emptied immediately.

Schematics priority: None. Cannot be upgraded. Just enjoy it.

3. Devarnisher

The Devarnisher is one of the earlier non-standard weapons you unlock and it immediately announces itself as something special. Acid globs that stick to enemies and dissolve them, sustained damage over time that keeps stacking even when you've moved on to targeting something else, and a solid ammo capacity that lets you actually sustain that playstyle over a whole encounter.

Each upgrade tier increases the projectile count alongside the standard clip and ammo improvements, meaning more acid coverage per shot as you invest in it. The Alt-Fire at Tier 1 unlocks a sticky acid blob that detonates on impact and applies toxic damage in an area, which shifts the Devarnisher from a single-target acid gun into something that can coat a whole group and let the DoT handle the cleanup.

For boss fights it's arguably the most reliable damage tool in the game. The continuous acid damage makes health bars melt at a rate that feels slightly unfair, and even the bosses you have to hide from periodically keep taking damage while you're waiting for your next window. The arc on the projectile takes a little adjustment, and long-range precision isn't its strength, but once you've calibrated to how it flies, it's devastating.

Schematics priority: High. Every tier increases projectile count. This one compounds well.

2. Boomstick

The Boomstick is available almost immediately and stays relevant through the entire game, which is a genuinely impressive run for a shotgun you pick up that early. Single-shot, close-range, hits hard enough to drop most standard enemies in one pull of the trigger, and the upgrade path specifically addresses its weaknesses rather than just adding raw damage numbers.

Tier 2 doubles the clip size. That one upgrade changes how the Boomstick feels to use more than almost any other single upgrade in the game, because the natural shotgun rhythm of shoot-wait-reload-shoot becomes shoot-shoot-shoot-occasionally reload. Tier 3 lets bullets pierce three enemies in a line, which in a game that regularly funnels enemies toward you through corridors is frequently a free multikill.

The Alt-Fire is a charged single shot for when you need to commit maximum damage to one target right now. Elegant and direct.

The only reason it isn't the top pick is that the James Gun covers more ground in more situations. But the Boomstick is the best close-range option in the game and the gap between it and everything else at that range is significant.

Schematics priority: High. Upgrade this early and upgrade it fully.

1. James Gun

The James Gun is Mouse: P.I.'s Tommy Gun, and the game leans into the cliché so hard it wraps back around to being perfect. Mid-game unlock, immediate impact, and from the moment you pick it up it starts quietly becoming the weapon you reach for in every situation.

The rate of fire is the best in the game. The ammo capacity is the best in the game. Because the game anticipates you burning through James Gun ammo constantly, it's also the most common ammo type you'll find on missions, so the practical uptime on it is higher than any other weapon in your wheel. The Alt-Fire dumps the entire clip at once in a wide spray, which is the panic button for getting overwhelmed and it works.

Every upgrade tier improves damage, clip size, max ammo, and reduces spread and recoil, which means each Schematic you put into it directly amplifies the thing you're already doing with it constantly. There's no mismatch between the upgrade path and the playstyle.

The reload time is the only real friction point, and the recommended fix is exactly what you'd do naturally: swap to the Boomstick while it's cycling, then come back. Two guns covering each other's weaknesses with no awkward gaps between them.

Schematics priority: First. Max this before anything else and don't second-guess it.

Where to Actually Spend Your Schematics

With 89 Schematics available and 9 required per weapon, here's the honest priority order based on everything above:

Weapon Verdict
🔴 TIER 1 — MAX THESE FIRST
James Gun
9 Schematics
Your primary. Upgrade this before anything else, no debate.
Boomstick
9 Schematics
Best close-range gun in the game. The Tier 2 clip upgrade alone justifies every Schematic.
Devarnisher
9 Schematics
Boss fight specialist. Each tier adds more projectiles, and the acid damage compounds hard.
🟡 TIER 2 — IF YOU HAVE THE RESOURCES
Micer
9 Schematics
The only reliable long-range option. Worth upgrading as a fallback weapon.
Jar-Head
Up to 9 Schematics
Tier 1 unlocks the Alt-Fire beam. Honestly consider stopping right there.
Kiss Kiss
9 Schematics
Only if the burn playstyle is your thing. The Boomstick covers this lane better.
🟢 TIER 3 — LOW PRIORITY OR SKIP
Loose Cannon
9 Schematics
Only once everything above is maxed. D-Namite handles its main job for free.
Portable Freezer
9 Schematics
Most skippable upgrade in the game. Still won't kill anything at Tier 3.
⚪ CANNOT BE UPGRADED
D-Namite
0 Schematics
Free utility, always ready. Just use it.
Hellrazor
0 Schematics
Already great at base. Take it as-is.
X-1 Demousifier
0 Schematics — 20 Prize Tokens
Not a Schematic weapon. Unlock via Baseball Cards and save it for boss openers.

The math gives you 17 Schematics of wiggle room against the 72 needed for a full sweep. In practice, you'll likely miss some collectibles naturally, so treating the Tier 2 and Tier 3 groups as "nice to have" rather than guaranteed is the smarter approach. Lock in the James Gun, Boomstick, and Devarnisher first. Everything after that is optimization.

Previous
Previous

Marvel Rivals Blood Hunt: How to Beat Dracula (Full Boss Guide)

Next
Next

Marvel Rivals Blood Hunt Tier List: Every Hero Ranked for Nightmare 100+