Mewgenics Class Guide: Every Collar Explained (And How to Get Them)
If you send a cat out into the wasteland without a collar, you are basically sending them out to die naked.
In Mewgenics, your cat's breed and genetics might determine their potential, but the collar determines their job. It is the difference between a cat that throws fireballs and a cat that eats trash to regain health. With 13 unique classes (and one copycat collar), the variety is massive, but the game doesn't just hand them to you. You have to earn them, usually by surviving long enough to impress Butch.
I have spent too many hours experimenting with terrible team compositions since release so you don't have to. I have watched my "perfect" DPS squad get wiped because I was too stubborn to bring a healer, and I have seen a Necromancer accidentally eat my best Fighter.
Here is the breakdown of every class, how to unlock them, and why some of them are essential for survival.
The Starter Squad (Default Unlocks)
When you first boot up the game, you don't have access to the weird stuff like Psychics or Monks. You have the basics. But "basic" doesn't mean bad. Honestly, two of these classes are staples in my lineup even in the late game.
The Fighter (Red Collar)
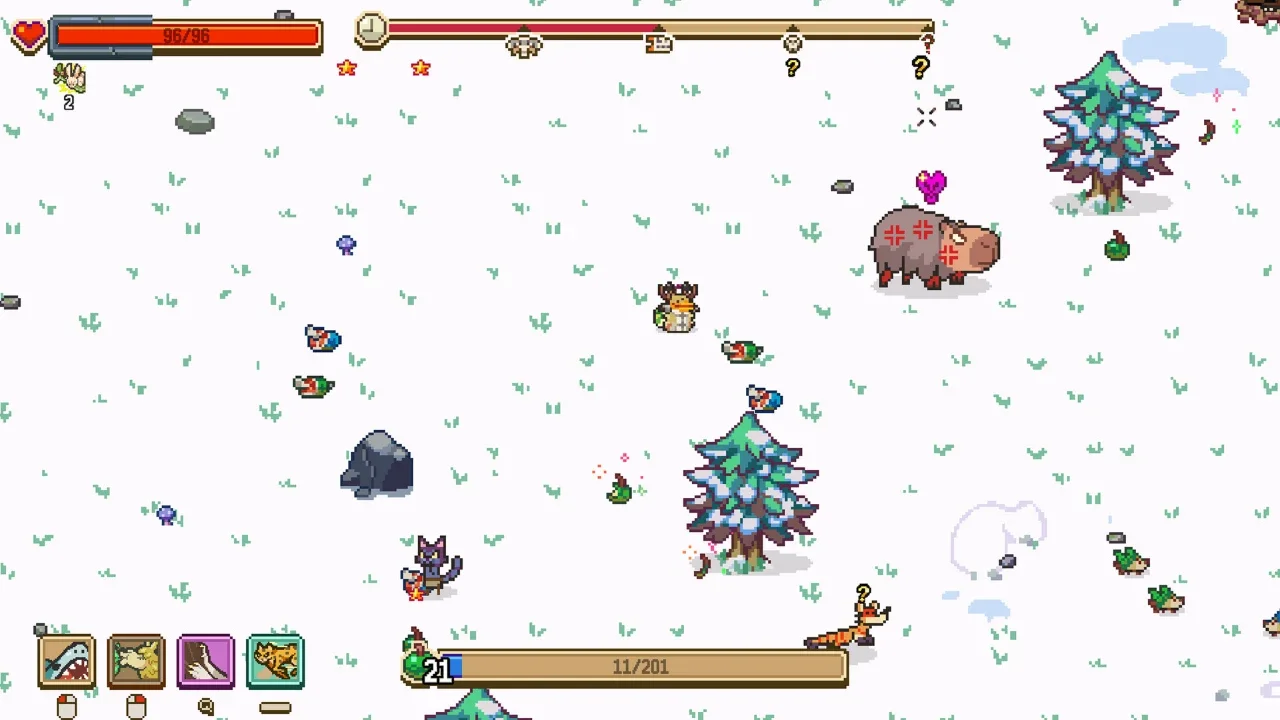
This is your bread and butter. The Fighter is simple: it hits things, and it hits them hard. I love the Fighter because it is reliable. You get a +2 to Strength immediately, which means your basic scratches actually hurt. The secret to the Fighter is mobility. They get a +1 to Speed, allowing you to flank enemies. Remember what I said in my combat guide about backstabs? The Fighter is the king of backstabs. Pair them with a "Bleed" passive, and you can melt bosses. Just be careful with abilities like "Berserk" because it buffs damage but bruises you. It is a risky trade.
The Hunter (Green Collar)
If you hate taking damage (and you should), the Hunter is your best friend. They excel at range. You get a massive +3 to Dexterity, which governs ranged accuracy and damage. The real utility here is the trap mechanics. I found that laying bear traps in choke points creates a kill zone that the AI is too stupid to avoid. Plus, the "Marked" ability is god-tier. It guarantees hits on a target. If you are fighting an enemy with high dodge chance (like those annoying ghosts), the Hunter is mandatory.
The Mage (Blue Collar)
The Mage is the glass cannon of the group. They get +2 Intelligence, which boosts mana regeneration and spell efficacy. This class is all about elemental chaos. If you are fighting in a zone with water or flammable grass, the Mage turns the environment into a weapon. However, they are squishy. With a -1 to Constitution and Strength, if an enemy gets in melee range, your Mage is toast. I usually keep mine glued to a Tank.
The Tank (Grey Collar)
Speaking of Tanks, this is the most boring but necessary class for beginners. +4 Constitution is absurd. These cats can take a beating that would kill a Hunter three times over. Their job isn't to kill; it is to be a wall. They also have great knockback potential. I use my Tank to shove enemies into the Hunter's traps or off cliffs. It’s not glorious work, but it keeps the team alive.
Act 1 Unlocks: The Essentials
Once you start clearing the early zones and talking to Butch, you unlock the classes that actually add complexity to the game.
The Cleric (White Collar)
Unlock Requirement: Clear "The Alley" in Act 1. Listen to me carefully: Unlock this first. The Cleric is the single most important class in Mewgenics. It is the only class dedicated to healing. In a game with permadeath and persistent injuries, healing is not a luxury; it is a requirement. They also have "Cleanse," which removes nasty debuffs like Poison or Bleed. I never run a squad without a Cleric. I tried it once. Everyone died. Don't be me.
The Thief (Black Collar)
Unlock Requirement: Clear "The Sewer" in Act 1. The Thief is for players who like to gamble. They have the highest base Speed in the game (+4), meaning they almost always act first. Their kit revolves around stealth and critical hits. You can teleport behind an enemy, stab them for massive damage, and then vanish into the grass. It is incredibly satisfying when it works. When it fails, you have a cat with -1 Constitution standing next to a boss. High risk, high reward.
The Necromancer (Purple Collar)
Unlock Requirement: Clear "The Boneyard" in Act 1. This class is gross, even for this game. The Necromancer summons zombies. You turn corpses—enemy or ally—into minions. This screws with the "Turn Order" economy by flooding the board with friendly units. The downside? They have -2 Strength and rely entirely on their minions. Also, be careful: zombie cats eat corpses to heal. Sometimes they eat the corpse you were planning to loot.
Act 2 Unlocks: The Specialists
By Act 2, things get weird. These classes require more brain power to use effectively.
The Druid (Brown Collar)
Unlock Requirement: Clear "The Crater" in Act 2. The Druid is a support/summoner hybrid. They use familiars and nature buffs. I have a love-hate relationship with this class. With the right build, they can buff your team into unstoppable killing machines. With a bad build, they just kind of stand there spawning useless plants. They have -2 Constitution, so they are incredibly fragile. Keep them in the back.
The Tinkerer (Orange Collar)
Unlock Requirement: Clear "The Bunker" in Act 2. This is the "Engineer" class. They build turrets and craft weapons mid-fight. +4 Intelligence makes them mana factories. The turrets are great for area denial, essentially acting like extra party members that don't permanently die. However, setup takes time. In fast fights, the Tinkerer feels slow. In long boss fights, they are MVPs.
The Butcher (Red/Bloody Collar)
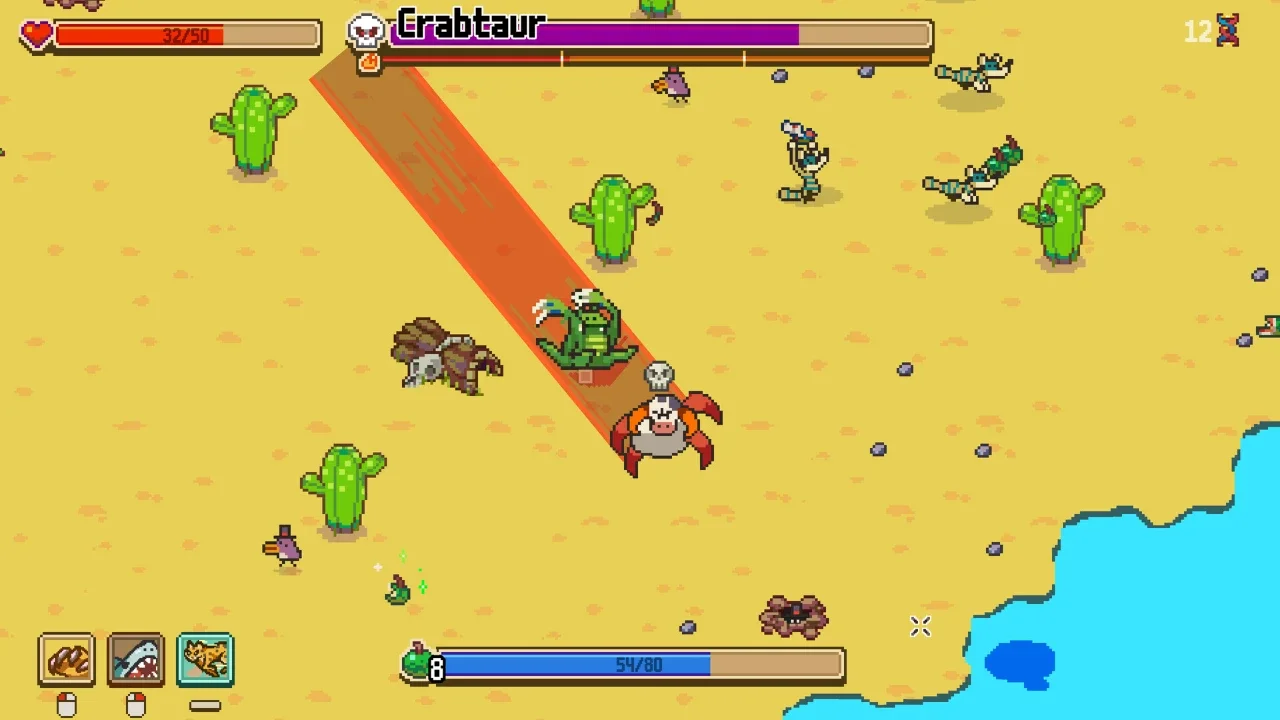
Unlock Requirement: Clear "The Core" in Act 2. Think of this as the "Evil Tank." They have high Health (+3 Con) and Strength (+2 Str), but they are slow as molasses (-2 Speed). Their signature move is the meat hook. You drag enemies to you. It is fantastic for pulling squishy healers or archers out of the enemy backline so your Fighter can maul them.
The Psychic (Pink Collar)
Unlock Requirement: Clear "The Moon" in Act 2. This is a control class. Instead of damage, you deal in displacement and debuffs. You can mind-control enemies, push them around, and generally be a nuisance. I find the Psychic harder to use than the Mage, simply because dead enemies are better than confused enemies. But if you are creative, you can pull off some wild plays.
Act 3 Unlocks: The Masters
These are the late-game rewards. They are powerful, but complex.
The Monk (Yellow Collar)
Unlock Requirement: Clear "The Lab" in Act 3. The Monk is a hybrid. They can switch between melee and ranged stances. They get multiple attacks per turn, which scales insanely well with "on-hit" effects. If you have an item that applies poison on hit, the Monk applies it twice as fast. They are versatile, but they require a lot of mana management.
The Jester (Jester Hat/Collar)
Unlock Requirement: Clear "The Rift" in Act 3. The wildcard. The Jester has no stat bonuses. Zero. Their gimmick is copying abilities from other collars. They are the "Jack of all Trades." Honestly? I rarely use the Jester. I prefer specialists. But for a challenge run, they are chaotic fun.
The "Secret" 14th Collar
There is one more collar you can buy from Tracy called the Blank Collar. This isn't a class on its own. It copies the class of another collar you have unlocked. This is the only way to double up on a class. Want two Clerics because you suck at dodging? Buy a Blank Collar. Want four Fighters to go full "Ungabunga"? Blank Collars are the answer.
My Ideal Team Composition
So, what should you actually run? If you want to survive Act 3 without throwing your controller, here is the approved squad:
Tank/Butcher: You need beef. Someone has to eat the damage.
Cleric: Non-negotiable. If you don't bring one, you deserve to lose.
Hunter: The trap utility and range are too consistent to pass up.
Mage/Fighter: This is your flex spot. I prefer Mage for the elemental combos, but a Fighter is safer if you hate managing mana.
Now go unlock these collars. Butch is waiting.