Mewgenics Complete Boss Guide: How to Survive the Biological Meat Grinder
If you are tired of watching your pristine, carefully bred cats get pulverized by giant mutant insects and cyborg dictators, you came to the exact right place.
Mewgenics operates on a very simple rule. If you get attached to a cat, the game will find a terrifying new way to permanently remove it from your bloodline. Every zone is guarded by a hierarchy of threats designed to test your tactical patience. You will face mid chapter mini bosses, final zone gatekeepers, massive act ending monstrosities, and kaiju scale house invaders that only your retired veterans can fight.
Every major boss fight announces itself with a fully animated cutscene and a lyrical variation of the zone music. When you hear those vocals kick in, you know someone is probably about to die. I have documented every single major encounter, mechanical gimmick, and secret boss across all three acts to help you stop throwing good cats after bad.
Act One: Welcome to the Gutter
The opening act is a brutal introduction to positional awareness. If you rely entirely on basic melee attacks and ignore the environment, you will not survive the sewers.
The Alley and The Junkyard
The first zones try to teach you the basics of spacing and hazard management. The mini bosses here include Maisie, the trap laying Fenrir, and a psychic named Lucy who constantly displaces your units. You need ranged attackers immediately to deal with Fenrir and his tall grass traps.
Radical Rat and Queen Hippo are your potential Alley final bosses. Radical Rat is a massive rodent who lobs bombs across the arena. You have to physically hit the bombs to defuse them before they detonate. If he throws one into fire, it explodes instantly. You must spread your team out to avoid chain reactions and bring a ranged attacker dedicated purely to bomb disposal.
Queen Hippo is the alternative. She boasts escalating movement speed and high defense. Her chain knockback attacks will absolutely ruin your cats if you line them up in a row. The trick here is that she automatically dies at the end of round four. If your damage is terrible, just turtle up and survive until her scripted heart attack kicks in.
The Junkyard boss is a chaotic duo named Chubs and Nubs. Chubs performs a nasty melee spin while Nubs belly flops onto random tiles. Whenever they take damage, they vomit poisonous blobs in the direction they are facing. Focus all your damage on Nubs first to get the poison pressure off the board. Their movement is highly erratic, meaning they frequently waste their turns jumping into empty space.
The Sewers, The Boneyard, and The Caves
The difficulty spikes hard as you push deeper. The Sewers feature mini bosses like Trampy, the Rat King, and the hazard pushing Flushmaster. Your goal here is board control. Boris is the massive final boss of the Sewers. He has zero base attack but a colossal health pool. He deals damage entirely by tramping over your cats. He always inches toward the last unit that damaged him. You need to spread your team to the absolute edges of the arena. If you do this correctly, Boris just wastes his turns shuffling back and forth trying to reach different corners.
The Boneyard introduces mini bosses like Morana, Marshmallow, and Dack, but the act boss is usually the first major brick wall for new players. Dybbuk is a spectral cat that automatically dodges all single target attacks. Basic weapon swings do absolutely nothing. You have to hit him with area of effect spells, line attacks, or damage over time statuses like Bleed and Poison. When you finally kill him, he immediately possesses the cat that landed the killing blow. You then have to rapidly murder your own possessed teammate to win.
The Caves hit you with Big Slime and Rocky Bobo before the act boss drops from the ceiling. Spinnerette webs your units, forcing them to waste a turn breaking free. Worse, her spiderlings will burrow inside your living cats. If an infested cat dies, the spiderling erupts from the corpse and permanently destroys the body. Never attack her from behind or she becomes enraged. Just keep your tank in her face and aggressively squish the baby spiders.
Act One Secret Bosses: The Throbbing Domain
If you clear the Boneyard or the Caves, your house gets invaded by Guillotina. You have to fight her three separate times using your retired cats to unlock the first secret zone.
The Guillotina Trilogy
The first fight is a massive brawl where she tries to devour your units. Use heavy damage over time effects to melt her health pool. The second fight splits her head and body into two separate entities. Kill the faster head first, but be warned that doing so instantly heals the body for a massive 100 HP before the third phase begins. Use knockback abilities to physically prevent the body from reattaching to the head.
The third fight introduces zombie mechanics. If you destroy Guillotina's head during this final phase, you trigger the spawn of a second boss named Mama Maggot to completely ruin your day. Defeating Guillotina grants her head, which you sacrifice at a meat altar to enter The Throbbing Domain.
Throbbing King
This is a grotesque fetus enthroned on a pile of meat. The central mechanic is called Follow Orders. Every round, the boss designates specific tiles as safe. At the end of the round, tentacles erupt from every non safe tile and deal massive damage. You must move your cats to the safe zones before you do anything else. In phase two, he leaves the throne and fires a piercing vomit blast that causes heavy bleeding. Bring your best healers.
Act Two: Dice Rolls and Cosmic Horrors
Act Two introduces heavily gimmick driven encounters. You are no longer just fighting for position. You are fighting the actual mechanics of the game.
The Desert and The Crater
The Desert is packed with oddball mini bosses like Dack, Gein, and Morana. You get one of three zone bosses here. Dust Devil throws tornadoes that fling your cats around the map randomly. Gambit relies on a six sided die. He casts spells based on the dice face. You can attack the dice to force a reroll. Always attack the dice if it lands on a five or a six. Zodiac is a gun toting bipedal cat who only shoots at things that move. Bring Mages or Hunters who can deal damage from a standstill and let him waste his ammo on random moving objects.
The Crater forces you to deal with the Infested Pair and a mutated version of Rocky Bobo before you even see the main boss. Preserve your health during these encounters because you will need it. Crater Maker is a massive puzzle. She occupies a three by three grid and cycles through four specific attacks every time she takes damage. If you hit her with unpredictable passive damage like Thorns or familiar attacks, you might accidentally fast forward her cycle right into an instant kill bite. Count your hits carefully and manage her attack phases with precision.
The Bunker, The Moon, and The Core
The Bunker introduces Bumblefoot, a bizarre mini boss with a strict three step cycle of jumping, spewing bones, and feasting on corpses. Do not use Play Dead or Seppuku in this fight. Bumblefoot eats downed bodies and permanently destroys them. Also, never attack its exposed rear or you will trigger poison gas and Thorns retaliation. The zone boss is Johnny, a crying zombie who cannot attack but relies entirely on cultist minions. Kill his minions first and he is defenseless.
The Moon features The Abandoned Ones as a mid zone threat. These two units perform massive long distance jumps. When killed, they split into a flaming head and a body. The flaming head gains massive stat buffs and inflicts severe Burn, so prioritize bursting it down immediately. The act boss is Man in the Moon, a cosmic giant protected by two floating hands. You have to bait the hands into facing the boss so their dash attacks damage his face. If he swallows a cat, do not panic. Use the "Stop Hitting Yourself" command from inside his stomach to force his own hands to smash his face. Alternatively, if you have the Scalding Orb equipped, getting swallowed instantly kills him from the inside out.
The Core starts by throwing Cerberubs at you. This mini boss spits molten lava in whatever direction it faces, so never stand directly in front of it. The act ends with a terrifying ritual. The Coven boss spends four turns lighting candles. Each candle grants massive buffs to The Tormentor, who spawns after the ritual ends. Use Wet or Wind abilities to extinguish those candles immediately. The Coven also summons a swarm of 1 HP flies, which is an absolute godsend if you brought a build that triggers effects on kills.
Act Two Secret Bosses: The Kaiju Wars
Act Two introduces Godzilla style monsters that kick down your front door. You need an incredibly strong roster of retired veterans to survive the crossfire.
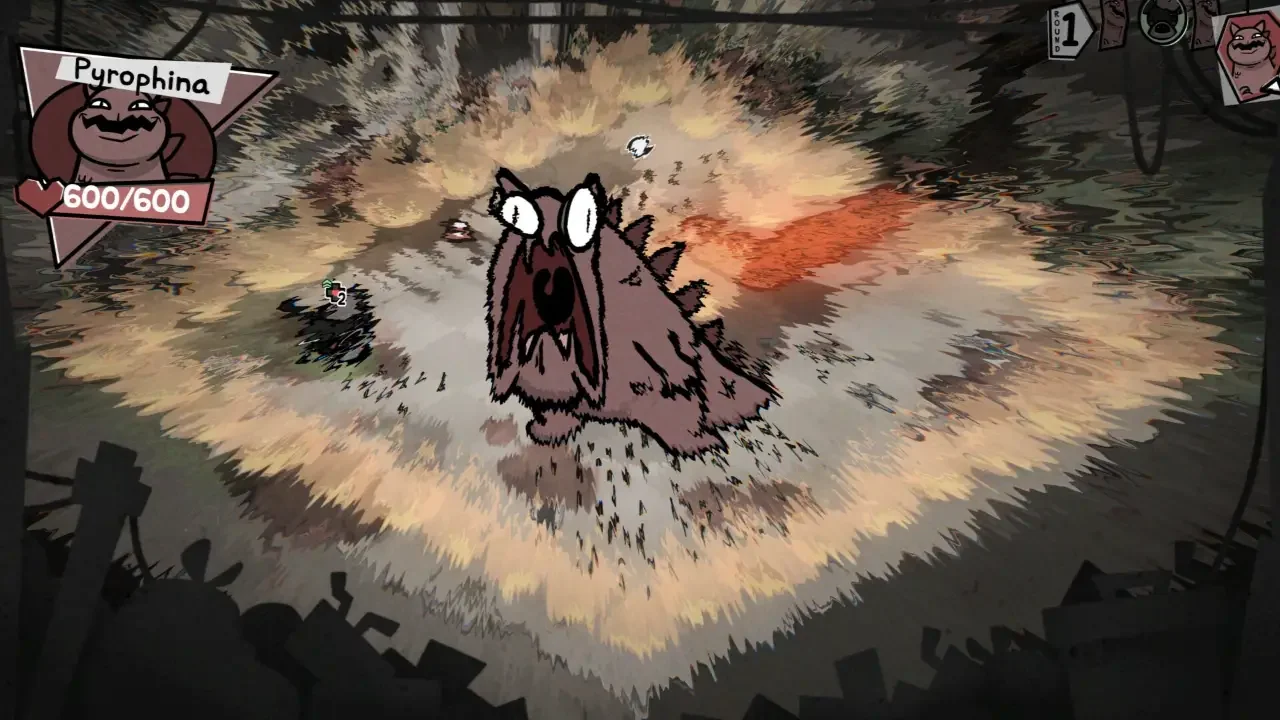
Pyrophina and Zaratana
Pyrophina breathes fire and stomps the arena, pushing your cats into burning border tiles. Zaratana is an asteroid beast that magnetizes everything, pulling your fragile healers into flying space rocks. After defeating them individually, you have to fight both of them at the exact same time. They will constantly damage each other during the brawl. Just survive the crossfire, focus your damage on whoever is weakest, and claim a boss collar when the dust settles.
Soahc
Bringing a boss collar to the correct obelisk unlocks The Rift. Here you face Soahc, which is Chaos spelled backward. This ceiling mounted eyeball monster teleports around the room and mimics the exact abilities of previous bosses. Watch the visual flashes between phases to predict which boss form it is taking next. Use Sentry Mode abilities to set traps on its predictable teleport locations.
Act Three: Time Travel and True Gods
The final act completely abandons any pretense of fairness. You will fight cybernetic clones, dinosaurs, and literal timeline paradoxes. Be on the lookout for Arthur, a special class based mini boss that can randomly spawn across any zone in this act.
The Lab and Das Füture
The Lab is filled with clone mini bosses based on your own playable classes, specifically Alice, Chan Hung, Draven, and Franklin. The final boss is either Spewer, who creates toxic puddles and swallows cats who stand in straight lines, or Stacy. Stacy is Dr. Beanies' personal clone cat. Pay attention to the pre fight event dialogue, as it tells you exactly which randomized defensive buffs she has equipped for that run.
In the futuristic Das Füture zone, you face Dr. Mangler and Zapphauser before reaching Hitler II. This preserved head fights inside a giant mech suit. During his first phase, he will actively execute his own clones when their health gets low, completely denying you any kill triggers or on death benefits. You have to burst them down from full health. Once the mech activates, bait it into walking over its own grenades to strip its armor.
Ice Age, The Jurassic, and The End
The Ice Age throws Frostbiter and The Rocksnows in your path before Lord Bunga. Bunga sits on a throne of bones. Once phase two starts, he bites the head off a baby and gains an instant kill aura. Any cat ending its turn adjacent to him is permanently erased. Keep your distance at all costs.
Moving into the prehistoric Jurassic zone, you face the Dino Lovers mini boss before the game throws Dreadnoughtus at you. This dinosaur is so massive you only fight its legs. Focus all your damage on one leg at a time to bring its head crashing down for a one round stun window.
The End zone features The Bloat as a mini boss. This absolute nightmare uses heavy area denial to crowd control the arena and restrict your movement, forcing your cats into bad positions before you even see the final threat. The act boss is The Mother, a creeping blob of tentacles that slowly fills the entire room with darkness. You have to aggressively destroy her blob arms to prevent your cats from being dragged into her mouth.
The C-Series Robots
Act Three house invasions are blatant Terminator parodies. C-800 uses a shotgun and will suplex any cat that tries to melee him. C-1000 is a liquid metal nightmare that perfectly clones one of your party members. Bring a completely naked, unclassed retired cat as a decoy. C-1000's AI always prioritizes cloning the weakest unit on the board, rendering its main mechanic completely useless. The final house fight is Hitler III in a UFO summoning robotic versions of every single mini boss you have ever faced.
The True Final Encounter
If you collect all three signal antennas from the house bosses and complete the nuclear questline, you unlock The Infinite.
Phase One: The Creator
The True Final Boss is an absolute nightmare. Phase one is The Creator. It pushes away anyone who attacks it directly. Instead, it summons perfect, fully equipped clones of your entire current party. You are fighting an exact mirror match against your own optimized builds. Focus down the doppelganger of your highest damage unit first.
Phase Two: The Destroyer
Phase two transforms into The Destroyer. It features a directional shield that permanently blocks attacks from whatever angle it was last hit from. You have to perfectly coordinate your team to attack from alternating sides. When it charges Holy Blast, the shield drops. Dump every single cooldown you have into its flanks. This is the longest fight in the entire game. Bring your absolute best sustain.