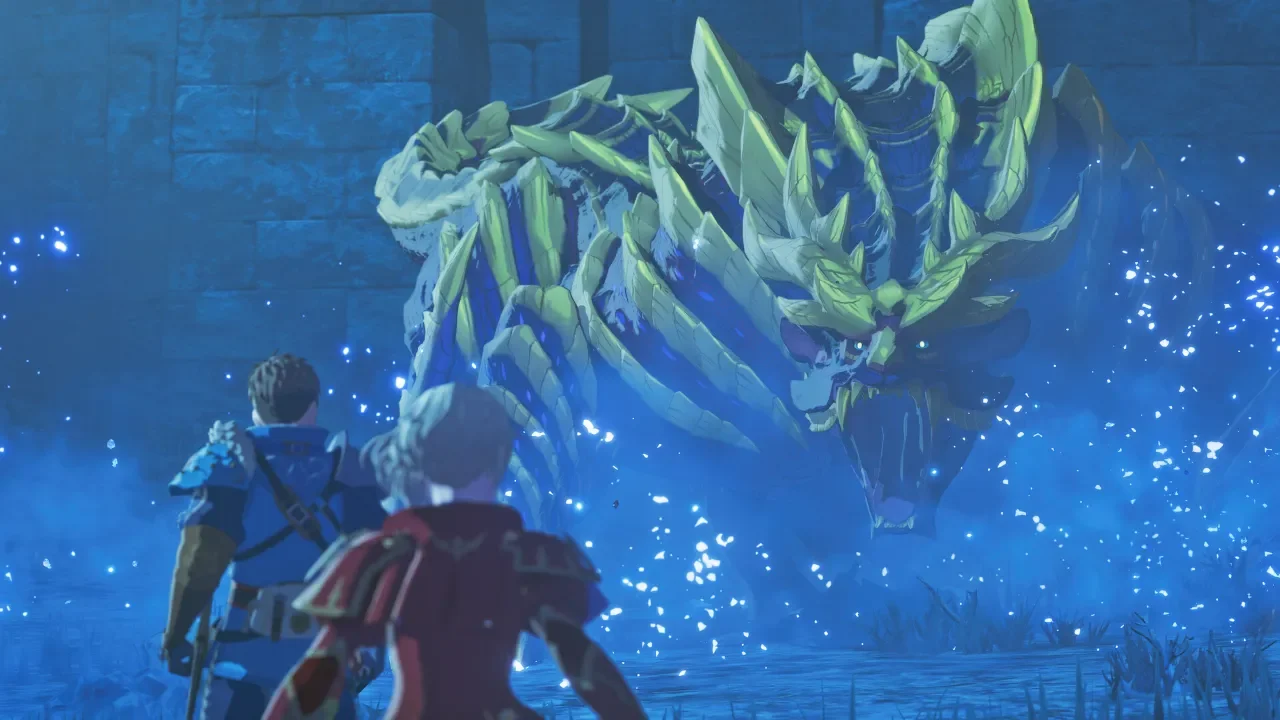
Monster Hunter Stories 3 Gene Editing GUIDE: Playing God With Digital DNA
Ripping the genetic code out of a freshly hatched lizard used to be a bloodbath, but Capcom finally made the process completely ethical.
If you played the older titles in this franchise, you remember the trauma of having to permanently sacrifice your favorite monsters just to harvest a single good skill. The system was brutal. Thankfully, the developers decided to stop punishing us. The genetics system in Monster Hunter Stories 3 is a massive, frictionless playground where you can freely swap abilities and fine tune your team without losing a single creature.
You can take a base level herbivore and turn it into a fire breathing nightmare if you understand how the mechanics interact. Between the Rite of Channeling, Excursions, and the surprisingly deep Bingo system, you have an absurd amount of control over your roster. If you are still running around with the default skills your monsters hatched with, you are doing it wrong. I am going to explain exactly how to exploit the genetic grid so you can steamroll the late game bosses.
The Rite of Channeling and the Genetic Grid
Every monster you hatch comes with a three by three grid. This is their genetic blueprint. The slots in this grid hold genes that dictate every single passive and active skill your Monstie possesses.
When you first pull a monster out of an egg, you will notice a bunch of empty slots. In the past, filling these slots was a permanent commitment. Now, the Rite of Channeling allows you to drag and drop genes freely between your entire roster. There is absolutely no cost associated with this process, and the genes are never consumed. You are essentially just swapping the contents of the grid slots between different beasts. An empty slot on your main fighter can be instantly traded for a high tier fire attack from a monster you just hatched.
This level of freedom means you can build hyper specific utility mounts. If you want a monster that excels at exploration, you can stack it with passive movement buffs. Just make sure you actually check my master list of MHS3 riding actions to ensure you are investing your genes into a beast that can actually climb walls or swim.
Hitting the Jackpot With Bingos
Just tossing powerful skills into the grid is not enough. The positioning of those genes is where the real damage multipliers live.
The Bingo system requires you to line up three genes of the same elemental type or the same attack type in a row. You can match them horizontally, vertically, or diagonally. When you complete a line, you trigger a Bingo bonus. The beauty of this system is that you can stack multiple Bingos in a single grid by intersecting your lines. You can easily spend an entire evening just sliding icons around trying to optimize a single grid layout.
A good Bingo setup feeds directly into your combat performance. Winning clashes fills your Kinship Gauge faster, and having the right genes backing up those attacks makes a huge difference. If you are still confused about how the combat triangle actually functions, take a quick detour and read my MHS3 tips for beginners to get your combat fundamentals locked down.
Excursions and Environment Skills
If you thought the genetic grid was deep, the Excursion system is where the true endgame grind begins.
You can send a single Monstie out on an Excursion by spending a Training Talisman. You buy these talismans at the Melynx Emporium using Silver Trade Points. It gets expensive very quickly. If you are bleeding currency and need to figure out how the Melynx economy works, you can reference my MHS3 combination recipes list to see exactly what that vendor demands.
When you send a monster on an Excursion, they gain stat bonuses and Environment Skills from that specific region. The catch is that the monster must be actively present in the local ecosystem. You have to physically release monsters of that species into the wild to raise their Ecosystem Rank in that area. This ties directly into the farming loops I outlined in my MHS3 egg farming and habitat guide.
A monster can hold a maximum of three Environment Skills. Every region offers a B, A, and S rank skill. If you grind a monster's Ecosystem Rank high enough, you can effectively run three S rank skills simultaneously. To make this even more absurd, every Environment Skill has an Awakened form that only activates if you have the correct combination of genes in your grid.
Oh, and if you want to push the baseline stat bonuses from these Excursions even higher, you need to hunt down the Calamitous Elder Dragon in each region. Beating them permanently upgrades the Excursion rewards. If you have not explored the map enough to even find these dragons, my guide on MHS3 fast travel and Feral Monsters will help you open up those locked territories.
Egg Skills and Elemental Mutations
The final piece of the genetic puzzle involves Egg Skills. This is the one mechanic you cannot entirely control with menus. You have to rely on the luck of the draw.
When you manipulate the ecosystem and a monster hatches in an environment that grants it a second element, it is born with a random Egg Skill matching that new element. You cannot dictate which skill drops, but once you hatch it, you can rip that skill out using the Rite of Channeling and paste it onto your main fighter. It is a numbers game. You just keep hatching mutants until you get the exact skill you need.
The system takes a bit of planning to master, but the payoff is incredible. You can literally build a monster that buffs your entire team, strips the enemy of their defenses, and then drops an elemental nuke on the field in a single rotation.
While you are standing around the Stables agonizing over which specific gene layout gives you a five percent damage increase, do yourself a favor and make sure you actually look presentable. Check out my MHS3 layered armor guide to fix your horrific cosmetic choices. Nobody is going to respect your god tier Dreadqueen Rathian if you look like you fell through a discount clothing rack on your way to the fight.