Windrose Buried Treasure Guide: Stop Digging In The Wrong Spots
Nothing makes you feel more like a proper scoundrel than ripping a chest full of silver out of the dirt, assuming you brought the right tools for the job.
Survival games love hiding the good loot, and Windrose is absolutely no exception. You can spend hours sailing around the archipelago, but the real money is buried under your boots. The game does not hold your hand here. You need specific equipment, you have to actually read the scattered notes, and sometimes you have to fight off a small army of the undead just to claim what is rightfully yours.
I have spent entirely too much time mapping out these dig sites. If you are tired of wandering the islands looking for a random patch of dirt, I have your back.
For a broader look at my other suffering in this game, check out the main Windrose hub on our blog.
Crafting The Damn Shovel
No shovel means no treasure. It is that simple. The game does not just hand you one, so you need to build up your crafting infrastructure first.
Now before you waste an hour punching trees hoping for a tool drop, focus on getting a Stone Pickaxe. That requires three stone and three wood, which you can scrounge from scattered logs. Take that pickaxe to the Copper Cave and start swinging.
You need Copper Ingots to forge the Shovel, which means you have to build a Charcoal Kiln and a Smelting Furnace. The Kiln demands twenty clay and twenty-five wood. The Furnace requires fifteen clay and thirty stone. Once you have both stations burning, smelt your raw ore into three Copper Ingots. Take those, along with ten pieces of wood, to your Workbench.
Keep in mind that the Shovel is technically classified as a weapon. When you equip it, you have to bring up the radial menu and manually select the "Dig" function. It sounds obvious, but I have watched people aggressively smack the dirt in combat mode wondering why the chest is not appearing.
Fifteen Men on a Dead Man's Chest
This is likely the very first stash you will stumble across. On the starting island, head east until you find the Pirate Remains point of interest. There is a ruined boat sitting next to a Decrepit Chest. Inside that chest is a Blurry Sketch of the Island, which officially starts the quest.
Follow the marker northwest. You will eventually spot a suspicious patch of dirt surrounded by four skeletons.
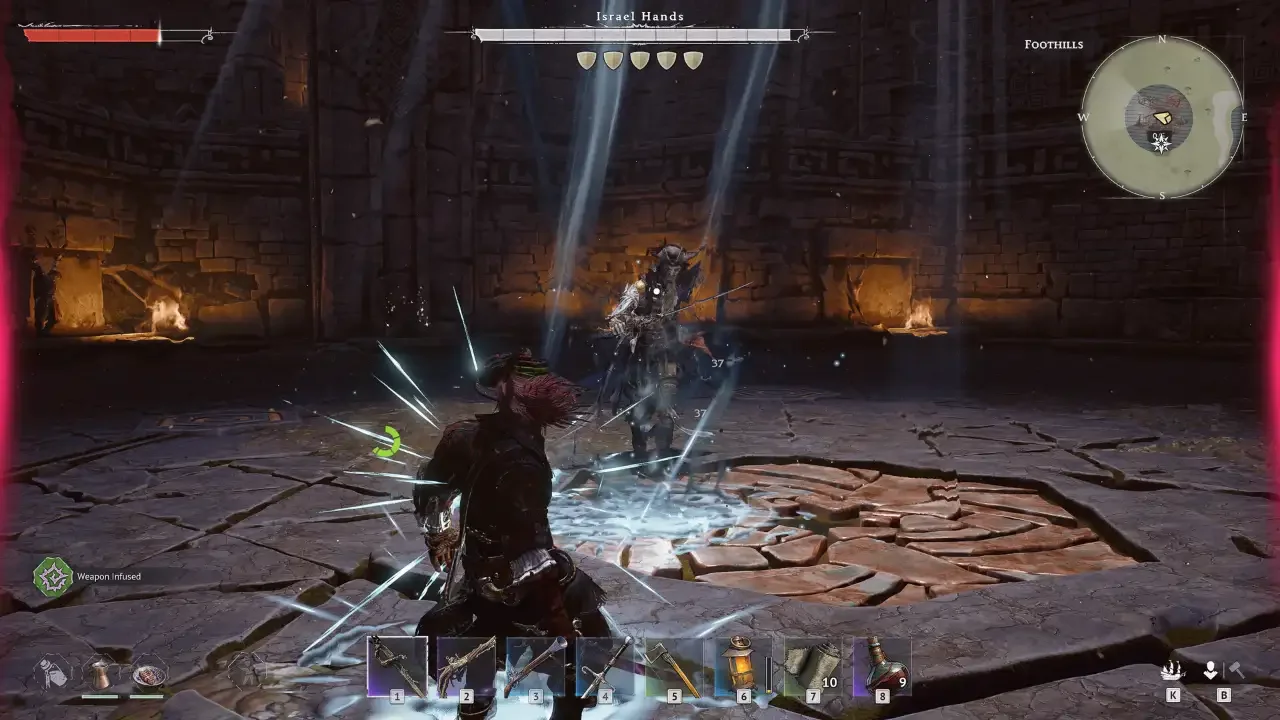
The Ambush
Do not just run up and start digging. This stash is rigged. The exact second you interact with the dirt, four Drowned enemies will spawn and try to put you six feet under. Make sure your health is topped off and your weapons are drawn. Once you clear the mob, you can finally pry open the chest for five Guinea and four Silver Ingots.
If you are struggling with the combat mechanics early on, taking a breather with my Windrose Fishing Guide is a great way to stock up on healing food before tackling these early ambushes.
Eyes Wide With Fear
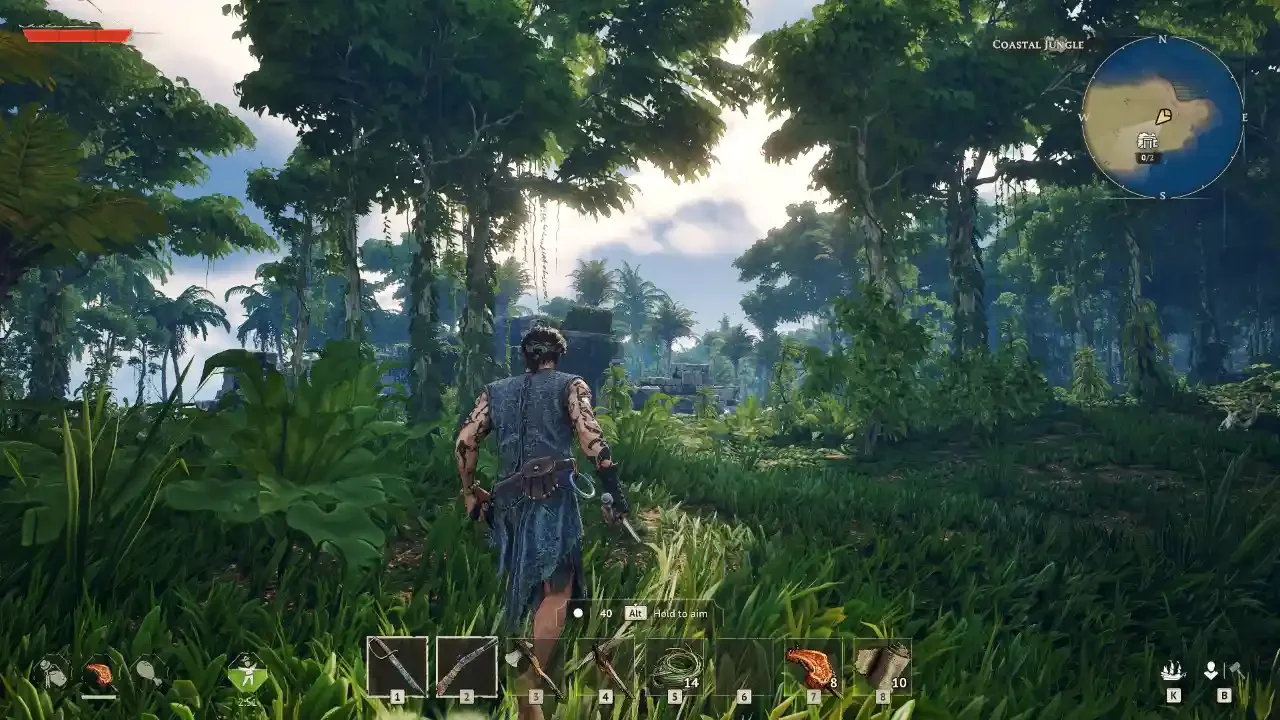
This one is located in the Coastal Jungle and is recommended for level three characters. You need to track down three Diary Fragments left behind by a doomed castaway.
You will find these notes by looting chests at the Shipwreck Site, the Inhabited Ruin, and the Old Cabin. Finding all three pieces of the Castaway Collection triggers a new marker to the north.
Finding the actual dig site is notoriously frustrating because the marker is wildly inaccurate. Approach the northern marker from the southeast. You are looking for a cluster of large stones, a few Azure Dodos wandering around, and Misty Orchids growing nearby. The ground is slightly raised with scattered logs surrounding it. The chest will not sparkle when you hit the right spot, so just keep digging until "An Old Chest" pops out. You walk away with ten Guinea, a Tumbaga Ingot, and the final lore note.
Tracking Exquemelin's Treasures
Alexandre Exquemelin was a traveler who clearly had too much gear and a strange obsession with tying red rags to trees. You will find his journals scattered across various Traveler's Camps.
Treasure One
Head to the empty Traveler's Camp in the southwest sector of the first island. Loot the chest sitting outside the tent to grab the "Twist of Fancy" note. It tells you to look for a tree marked with a red rag. Face west from the camp and look for a pale tree with the cloth tied around the trunk. Dig on the southwest side of the roots. I pulled out gunpowder and a stack of healing potions.
Treasure Two
You will find the second note on a small island sitting just off the coast of the Blackbeard Outpost. This is the same general area you visit during the 'Revenge Is Best Served Cold' main quest. Grab the "Relative Cost" note from the camp chest, walk southwest to find the marked tree, and dig on the western side.
Treasure Three
The third stash is on the island featuring the Fisherman's Hut and a Copper Deposit. You come here for the 'Underground Network' quest. Snag the "A Hat Worth Boarding For" note from the tent, walk straight north, and dig on the northwest side of the red rag tree.
If you need backup while exploring these heavily guarded islands, my Windrose Boar Companion Whistle Guide will help you secure an aggressive pet to draw aggro while you dig.
The Blackbeard Crew Maps
Once you graduate from the starting zones, you will start raiding Blackbeard Pirate Camps. The chests inside these camps have a chance to drop treasure maps leading to high-end ship blueprints and serious cash.
Since island placement in this game is randomized per server, I cannot give you exact map coordinates. But the points of interest are always the same.
X Marks The Spot
When you read one of these maps, a crude marker is slapped onto your world map. Sail to the island, but do not trust the marker blindly. You are looking for a visual cue in the environment. Specifically, you want to find a makeshift grave or a mound of disturbed dirt with a skeleton resting nearby.
The skeleton is the absolute confirmation that you are in the correct spot. Whip out your shovel and claim your Piastre, Silver Ingots, and Blackbeard Style Books. Those style books are crucial for making your ship look intimidating instead of like a floating garbage barge.
If you are heading into the late game and need to start maximizing your character build with all this new wealth, you should read my Windrose Enchanting Guide: Tainted Bile Quagmire. Trust me, you will need those stats when the ocean stops playing nice.