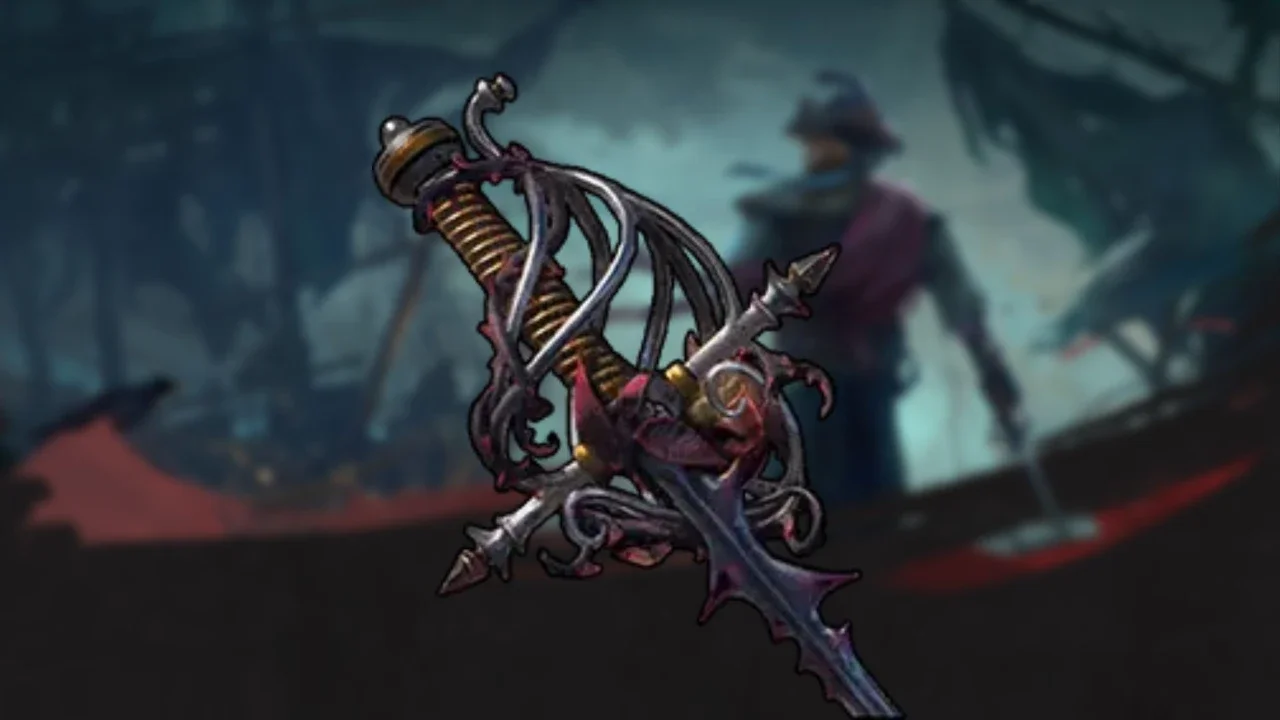
Windrose Weapon Guide: Rapier of a Thousand Cuts
If you are planning on surviving the mid-game without dumping all your stats into heavy strength weapons, you need to find a specialized blade.
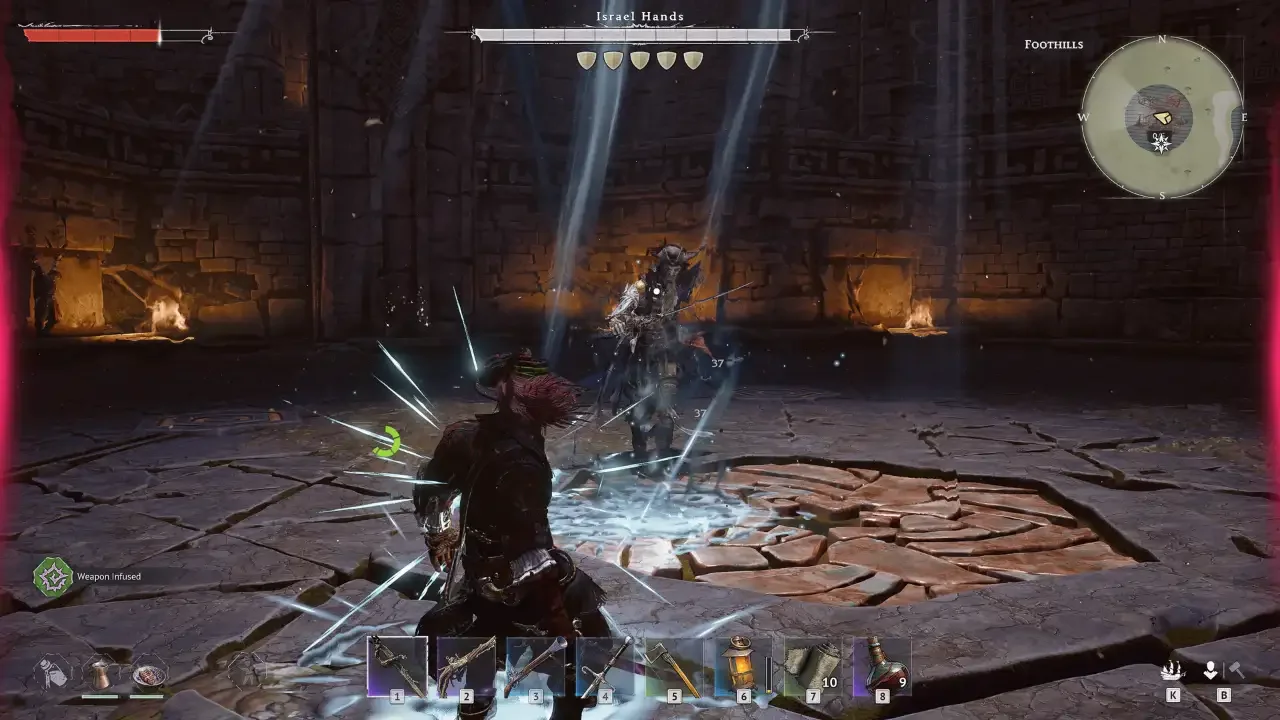
The Rapier of a Thousand Cuts is widely considered the absolute best Precision-scaling weapon for the early-to-mid game. I explicitly recommended this exact sword in my Israel Hands boss guide because its damage-over-time completely trivializes heavy encounters.
Now before you waste hours sailing to a specific grid coordinate you saw on a demo walkthrough, you need to understand that the developer changed how this weapon spawns for the Early Access release. You cannot craft it at a workbench, and there is no guaranteed chest that holds it. Here is exactly how to manipulate the loot pool to get your hands on it.
How the Windrose Loot Pool Works
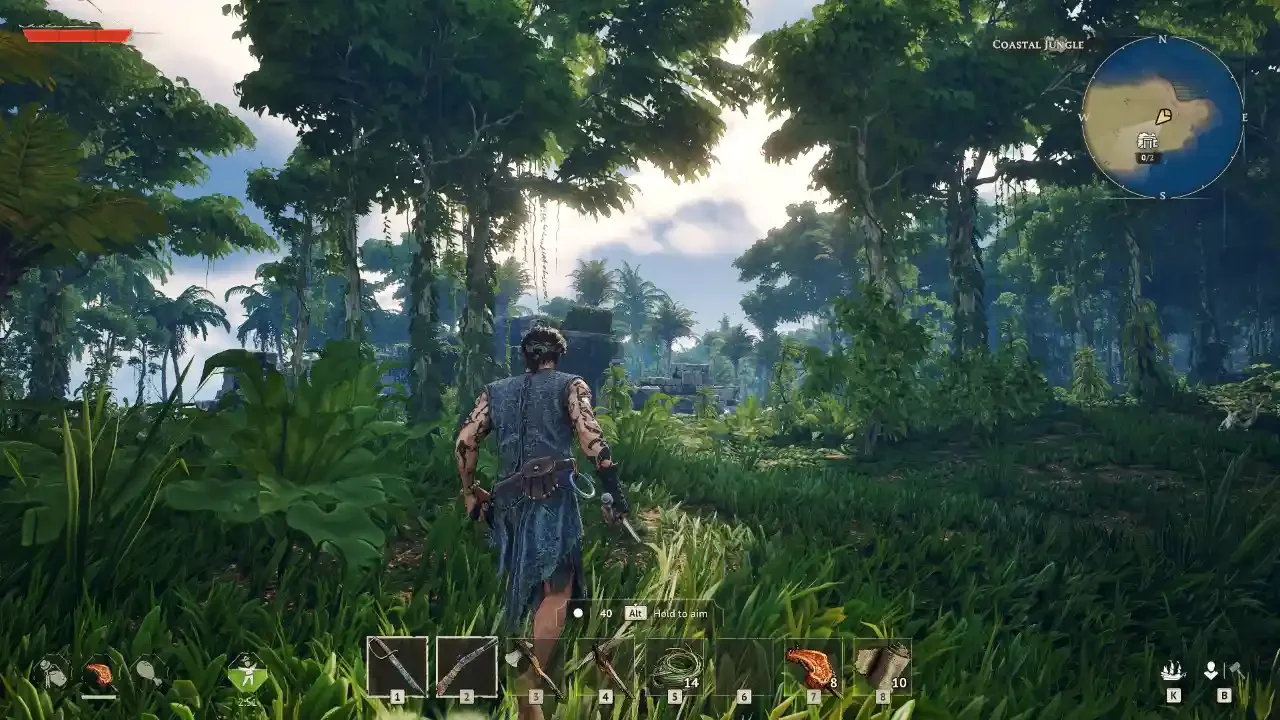
The Rapier of a Thousand Cuts is a random drop. It can spawn in roughly 15 different chests, skeleton corpses, or buried stashes scattered across the Coastal Jungle and the Foothills biomes.
However, the game uses a "knock-out" loot system. You are mathematically guaranteed to find every unique item by the time you clear the map. Once you loot a specific hat or a unique gun from a chest, it is permanently removed from the global loot pool. Therefore, every time you open a chest and miss the Rapier, your statistical odds of finding it in the next chest actually increase.
If you want the sword, you have to aggressively clear Points of Interest (POIs). Do not skip the small camps.
Best Farming Locations
Focus your search entirely on the Coastal Jungle and Foothills. The highest drop rates for this weapon are historically found in:
Traveler’s Camps: Specifically the locked chests hidden inside the tents.
Blackbeard and Hands Camps: Highly guarded, but the loot tables are dense.
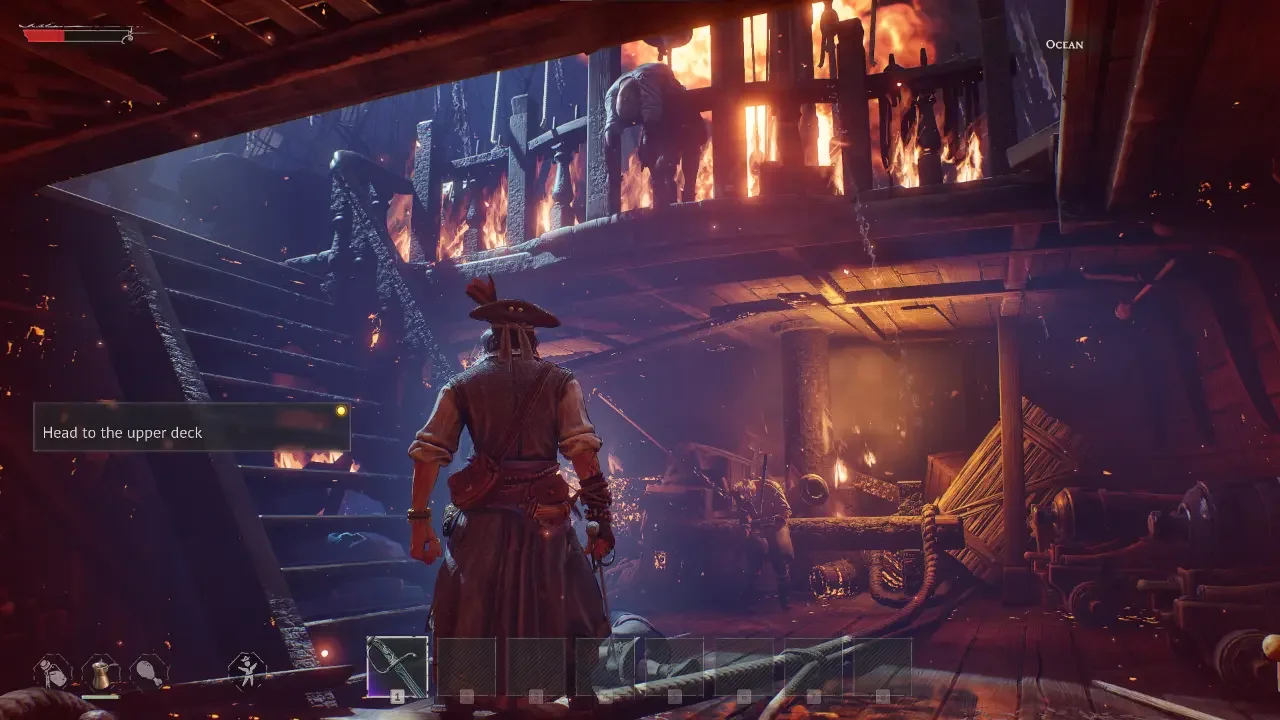
Shipwrecks: Check the exposed decks on the coastline.
Ancient Fire Sanctuaries & Ancient Farms.
Weapon Stats and Epic Ascension
The Rapier of a Thousand Cuts is famous for its Bleed damage. Every time you strike an enemy, you apply a bleeding stack. You can stack this effect up to five times, with each stack dealing 25 damage per second. If you hit a boss five times and simply dodge backward, they will actively bleed out for 125 damage per second while you safely recover your stamina.
You should immediately prioritize Ascending this weapon at your forge.
The Epic passive is a massive survivability exploit. Temporal Health is the translucent red bar left behind when you take damage. Normally, you have to risk hitting the enemy again to reclaim it. With this sword, the passive bleed ticks do the work for you, healing you while you stand perfectly still.
Pair this Epic ability with the You Will Answer For This talent (which increases your Temporal Health gain by up to 75%). If you do not know where that specific node is, keep my talents and stats guide open.
Note: You need 7 Tumbaga Ingots to pay for the ascension. Do not grind standard ore for this. Complete the Stargazer Tower questline to get 19 free ingots instantly. Use my Stargazer Tower puzzle solution to bypass the locks.
Early Game Alternatives
If your RNG is absolutely miserable and the Rapier refuses to drop, you still need a functional weapon to put pirates six feet under. Keep an eye out for these alternatives until your luck turns around:
Sturdy Rapier: Lacks the bleed effect, but massively increases your Perfect Block window. Excellent if you struggle with parry timings.
Cutlass: A heavy-hitting early option. If you run a dual-wield build and pair this with Drake's Double-Barrelled Pistol, you can output serious burst damage.
Razor: If you equip the Privateer Armor Set, using the Razor grants an immediate 20% flat Critical Hit chance. It is not as safe as the bleed meta, but it hits incredibly hard.
For a complete breakdown of every other S-tier armament in the game, refer back to my epic weapons tier list and keep clearing those POIs.