Windrose Boss Guide: How to Defeat Israel Hands
Israel Hands guards the end of the Foothills, and he doesn't play by the same rules as anything fought up to this point.
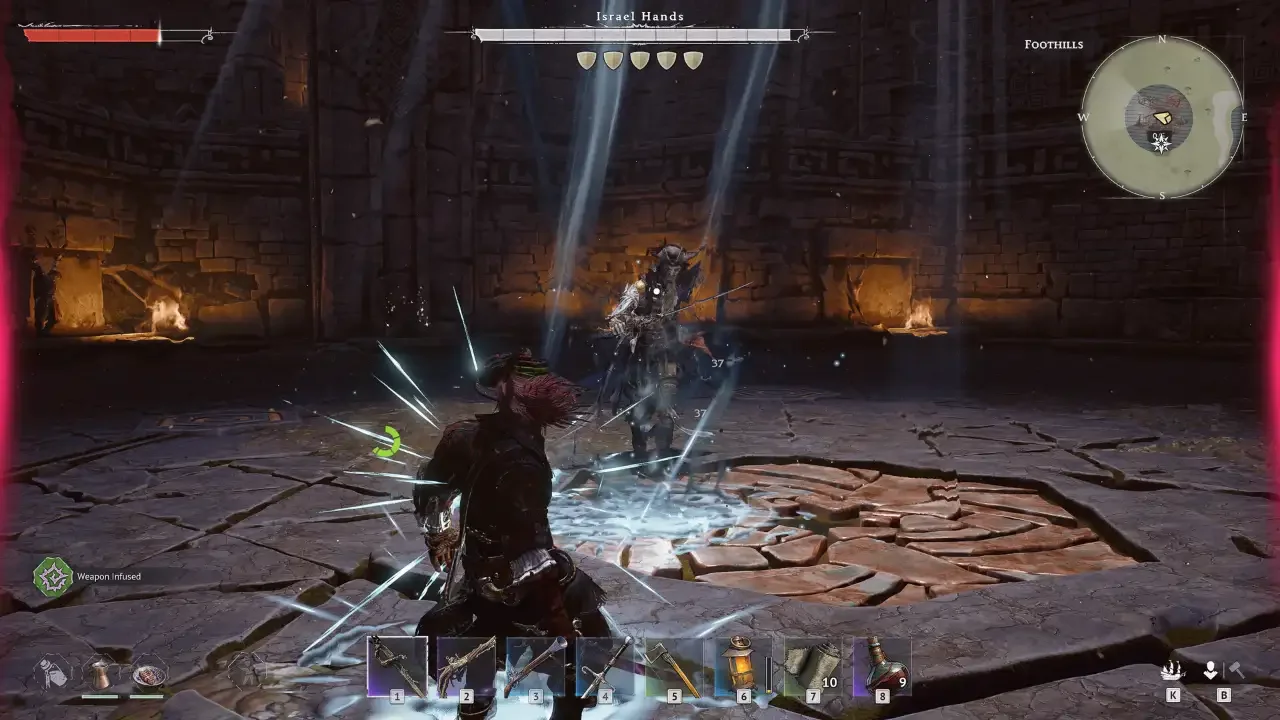
Spectral magic, wide area attacks, and melee combos that punish a mistimed parry make this the first fight where the brawler tactics that worked earlier stop being enough on their own. Preparation decides more of the outcome here than reflexes do.
Gearing Up First
Level 10 is the bar for this one, weapon, firearm, and all five armor pieces. Anything less and the physical defense just isn't there to survive his unblockable spectral charges, which don't care how good the dodge timing is if the numbers underneath aren't ready.
The Rapier Makes This Fight Easier Than It Looks
Bringing the Rapier of a Thousand Cuts changes the entire pace of the encounter. Hands moves slowly and telegraphs hard, which gives enough room to land a few pokes, stack five bleed applications, then back off and let the damage over time do the actual work instead of trading hits directly. Pairing it with a Pistol and dumping points into Precision means both weapons scale off the same stat, no split investment needed.
Bringing Backup
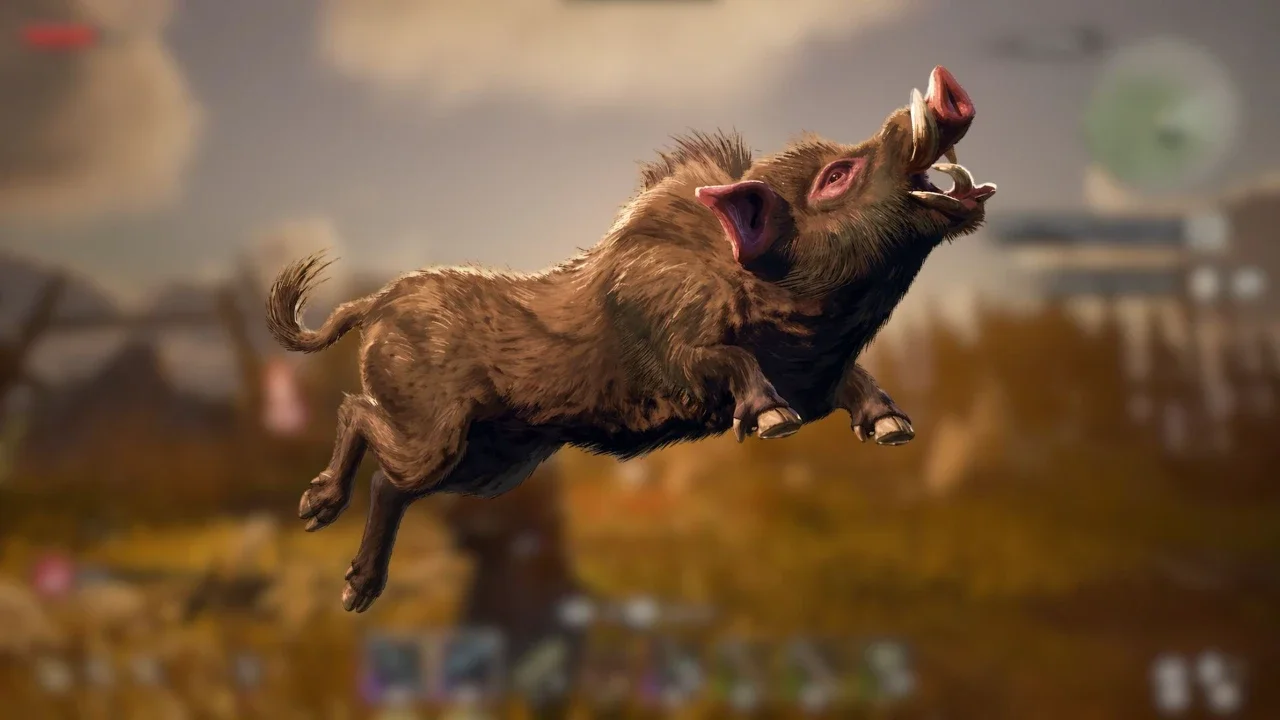
A combat pig sounds like a joke until it's soaking hits meant for someone else. The Ancient Village point of interest in the Foothills hides an altar puzzle solved by offering 20 Meat, and clearing it hands over the Boar Whistle. Summoning Truffle before the fight gives the boss something else to focus on while a pistol reloads or bleed stacks tick down in peace.
Stocking Up Before Walking In
The starting health pool doesn't hold up against this fight's damage output. Spicy "Chicken" with Sweet Potato boosts Vitality hard enough to matter, and a full stack of actual Healing Potions belongs in the inventory instead of bandages, since the instant recovery is what actually keeps a run alive mid-fight rather than after it. Anyone who hasn't sorted out the difference between the two healing types yet should do that before this fight, not during it.
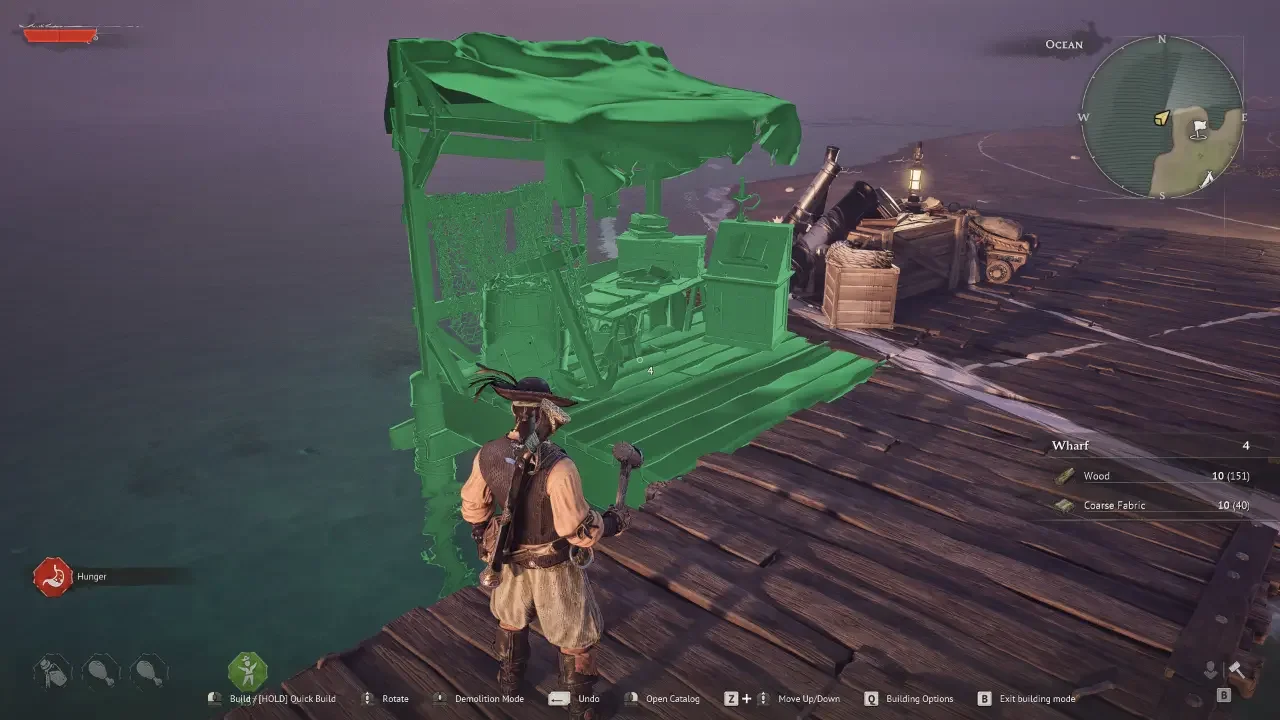
Dropping a Tent or Fast Travel Bell outside the arena is worth the two seconds it takes, a mistake here shouldn't cost a full run back from the last spawn point.
Reading the Moveset
Parrying doesn't work against ghosts. Dodging does, and knowing which attack is coming matters more here than in almost any fight before it.
Spectral Shot
A ghost glows white and levels a pistol. Sprinting to the side or dodging the instant the barrel raises clears it.
Heavy Melee Combos
A double slash with a distinct pause, then a third strike. Blocking the first two works fine, but the third needs an actual dodge to avoid draining shields for no reason.
Spectral Halberd Charge
A red glint telegraphs a ghost charging in with a halberd. The tracking on this one is tight enough that hesitation gets punished, dodging sideways the moment the spark appears is the only real window.
Whirlwind AoE
A dual-wielding ghost appears and Hands spins through a wide arc. Blocking doesn't hold up here, stepping fully out of the radius does.
Soul Barrage
He levitates and fires a stream of skulls, either in a burst of three or ten. Sprinting a wide circle around the arena until it ends beats trying to push through it.
Playing the Fight Correctly
The same rule that governs most Windrose bosses applies here too. Squeezing in a third swing when there's only room for two ends with a hyper-armored Spectral Halberd Charge landing clean. Waiting for the combo to finish, applying bleed, and backing off to let stamina recover is the actual rhythm, not a suggestion.
He also teleports away the moment closing the distance gets tempting, and chasing him blind wastes more stamina than it's worth. That created distance is exactly when a Pistol or Musket shot matters most, especially timed against the wind-up for Soul Barrage. Letting Truffle hold his melee attention while shots come in from the perimeter is most of what makes this fight manageable rather than a war of attrition. The two-hit rule and stamina timing that govern this apply just as hard here as anywhere else in the game.
What's Waiting in the Chest
Clearing the fight opens the Ancient Chest at the back of the room, holding the Soul Eater, a two-handed Epic sword with a health-draining special attack that's worth the trip on its own. Alongside it comes 30 Undead Essence, 50 XP, and Charon's Obol. Talking to the captive across from the chest closes out the Needle in a Haystack questline and opens the route into the Cursed Swamps.