Windrose Healing Guide: How to Stop Bleeding to Death
Everything on these islands wants to take a chunk out of your remarkably fragile health bar.
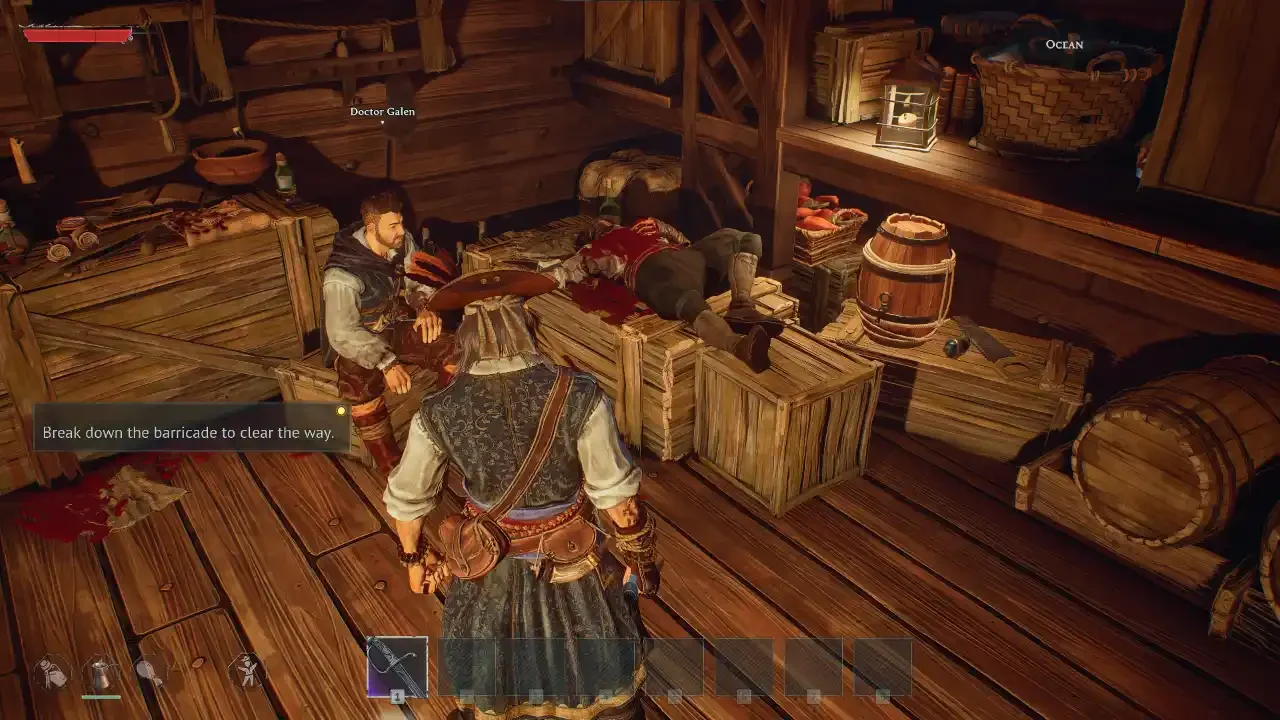
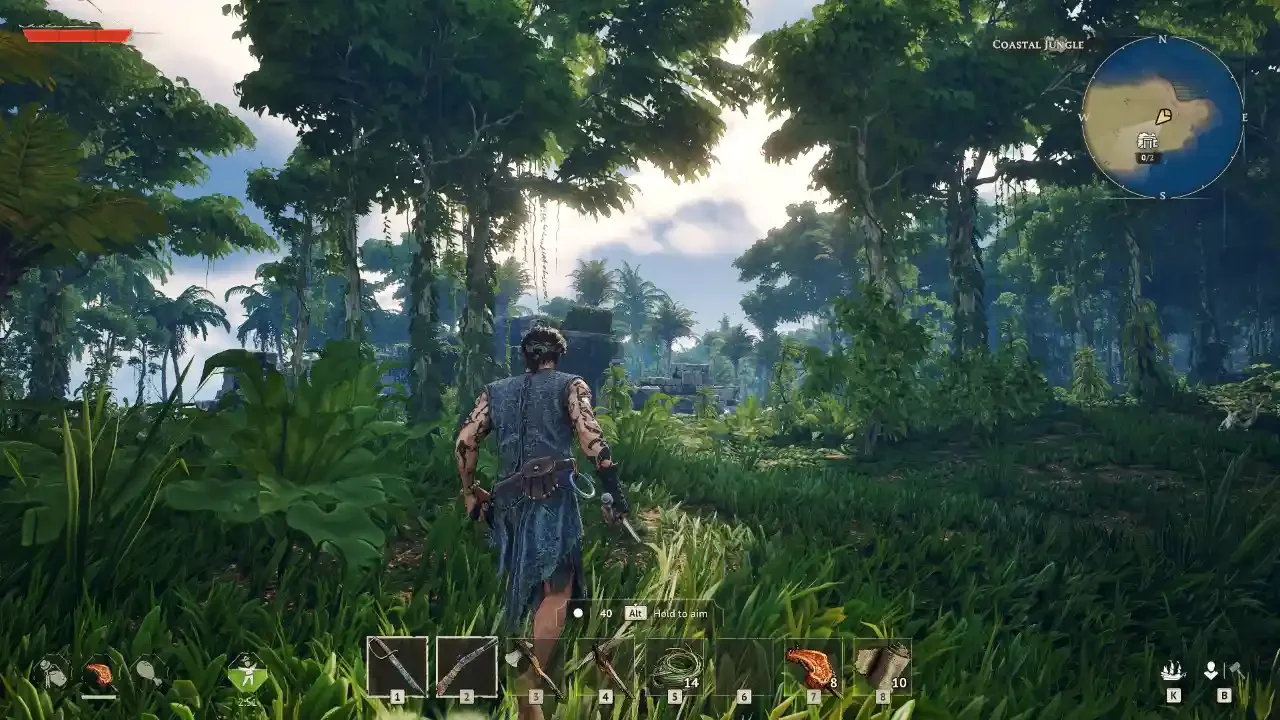
Survival games love to drop you into hostile territory with the physical constitution of wet tissue paper. Windrose is especially brutal in its opening hours. You will take damage from angry wildlife, aggressive pirates, and the undead horrors that crawl out of the caves at night. If your plan is to just eat a handful of bananas and hope for the best, you are going to spend a lot of time staring at the respawn screen.
Managing your vitality is just as important as upgrading your weapons. I have limped away from enough fights with a sliver of health to know exactly which medical supplies are worth your time and which ones will get you killed. If you are struggling with basic survival concepts beyond just patching your wounds, check out my beginner's survival guide to get a proper foothold on the island.
The Fundamentals of Staying Alive
Before you start worrying about advanced chemistry and brewing complex elixirs, you need to understand the basic mechanics the game gives you to recover health without spending precious resources.
The Bonfire Regeneration
The safest way to heal is completely free. When you stand inside the glowing radius of a constructed Bonfire, your character will slowly and passively regenerate health over time.
This is incredibly useful for topping off your health bar after you limp back home from a disastrous mining trip, but it is completely useless when you are actively being chased through the jungle. Never rely on the fire if you are actively exploring hostile territory.
The Combat Rally Mechanic
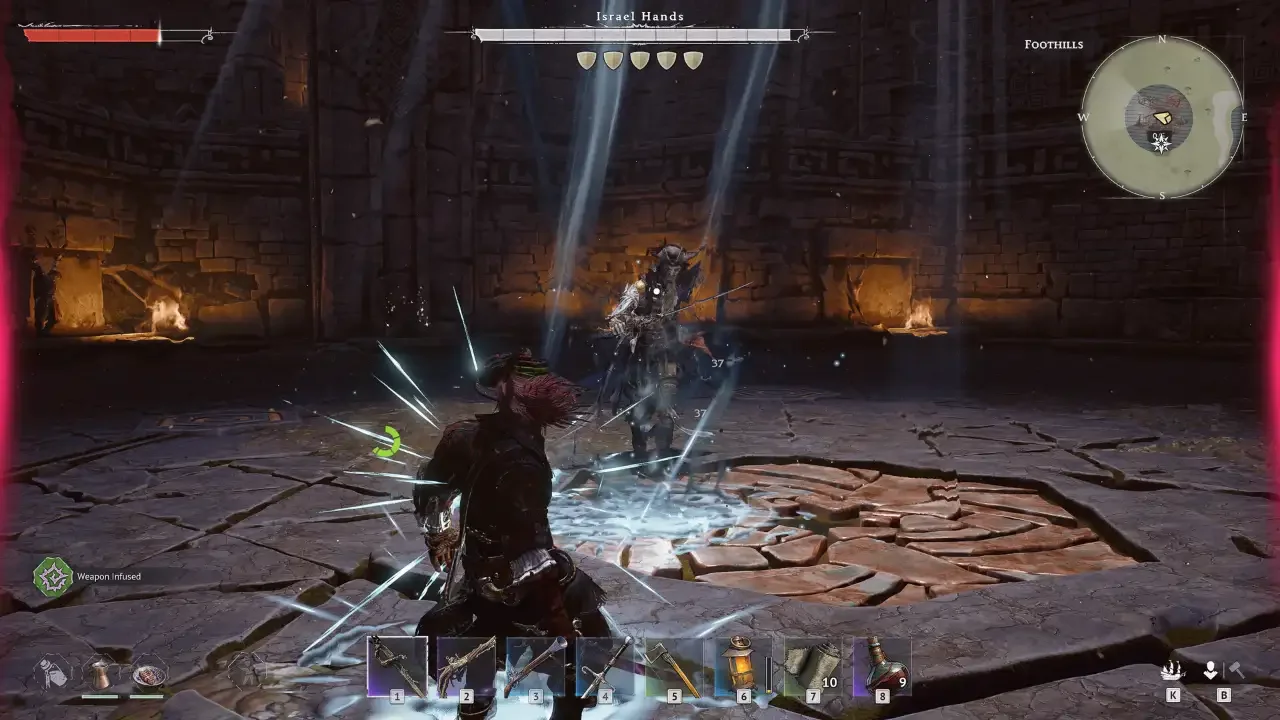
Windrose borrows a fantastic, high risk combat mechanic from the souls-lite genre. It is called rallying.
When an enemy hits you and removes a chunk of your health, you do not have to immediately panic and run away. If you launch a fast, aggressive counterattack immediately after taking damage, you will restore a portion of the health you just lost. It is a brilliant way to reward aggressive play, but it requires you to actually know your enemy's attack patterns. If you try to rally against a boss and just get hit a second time, you are dead.
Medical Consumables Explained
When rallying fails and you are miles away from a bonfire, you have to rely on your inventory. The game splits its medical supplies into two distinct categories, and using the wrong one during a fight is a fatal mistake.
First Aid Bandages
Bandages are your bread and butter early game healing item. They are incredibly cheap to manufacture, requiring just a single piece of Coarse Fabric crafted at your standard Workbench.
The catch is how they actually apply the healing effect. When you use a bandage, you gain a "First Aid" buff that restores 900 health slowly over thirty seconds. If you take a single point of damage from any source while this green icon is active, the healing effect is instantly canceled. Bandages are strictly for post combat recovery. If you try to wrap your arm while a pirate is shooting at you, you are just wasting fabric.
Instant Healing Potions
When you are caught in a crossfire and your health bar is flashing red, you need a potion. Unlike bandages, potions apply their healing payload instantaneously. You press the button, and you instantly get a massive percentage of your health back.
For the first few hours, your only source of these potions will be looting points of interest. Every time you find an Ancient Ruin or a pirate camp, thoroughly check every single chest. You will usually find a small stockpile of Minor Healing Potions to keep you alive. If you are struggling to carry all the loot you find in these ruins, read my inventory and storage guide.
Transitioning to Alchemy and Crafting
Relying on random chest drops for your survival is a terrible long term strategy. Eventually, you need to manufacture your own medical supplies, and this requires diving into the alchemy system.
Hunting the Misty Orchid
You cannot just build a chemistry lab from the start. You have to find a specific key discovery item to unlock the actual blueprints. You are looking for a flower called the Misty Orchid.
In my experience, you will almost never find this plant on the very first starter island. You have to repair your vessel and sail to the second island. The flower itself is a vibrant, glowing blue. Because it sparkles slightly, it is significantly easier to spot in the pitch black of night. I highly recommend running through the jungle at midnight, marking the orchid locations on your map, and harvesting them.
Setting Up the Medical Lab
The moment you pick your first Misty Orchid, your crafting menu explodes with new recipes. You instantly unlock the blueprints for the Alchemy Table, the Stove and Pot, and the Minor Healing Potion itself.
You are going to need a lot of mud. Constructing the Alchemy Table requires Clay Pots, and upgrading the table to level two requires building a Stove and Pot, which demands even more raw clay. If you are entirely lost on where to find this muddy resource, I have a dedicated clay farming guide that will save you hours of wandering the beach. If you need help understanding how base upgrades work, take a look at my base building and crafting station guide.
Brewing the Goods
Once your lab is functional, you can start brewing. Every potion requires an Alchemical Base, which you create by processing Clay Bottles at your new table.
You combine this base with either Healing Herbs (commonly found growing around Ancient Ruin points of interest) or Undead Essence (looted from the Drowned enemies that attack you at night). I strongly recommend hoarding every single Healing Herb you see.