Windrose Beginner's Guide: Everything I Wish I Knew Before Setting Sail
Survival games are practically built on a foundation of trial, error, and violent deaths by local wildlife, but you do not have to figure this one out the hard way.

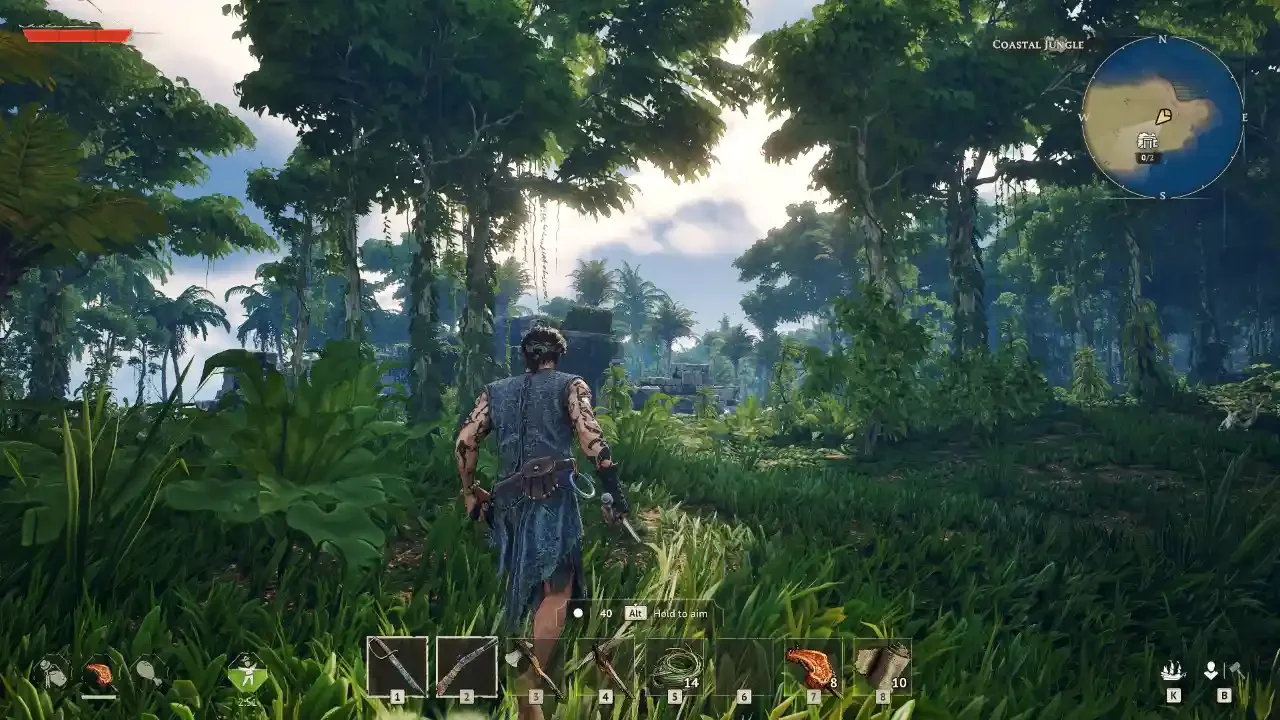
The life of a pirate is rarely glamorous. In Windrose, it is mostly a sequence of getting punched to death by the undead, running out of stamina at the worst possible moments, and realizing you forgot to pack enough wood to build a fire. The game blends traditional survival crafting with some surprisingly punishing combat mechanics. It expects you to learn its systems quickly, or it will gladly send you back to the respawn screen over and over again.
After spending an unhealthy amount of time getting acquainted with the local respawn mechanics, I have compiled a list of habits you need to form immediately. If you want to dive deeper into specific mechanics later, keep an eye on our Windrose Hub for more targeted guides.
Managing Your Health and Stamina
Your core vitals are pathetic when you first wash up on shore. If you try to sprint across an island or pick a fight without preparing your character first, you will absolutely lose.
Double Fist Your Meals
Food is not just about keeping a hunger meter full. Windrose uses a system where consuming food grants you a temporary segment of extra health alongside various stat buffs. The trick here is that you can have up to two food buffs active at the exact same time. You should never wander into hostile territory on an empty stomach. Early on, grab crabs from the beach to boil and snatch bananas from trees. Getting that base health up is mandatory. If you are struggling to keep your HP topped off during fights, check out my healing guide for more advanced survival tactics.
Maximize Your Comfort Level
When you stand near a bonfire at your base, you receive a "Rested" buff. This is incredibly important because it drastically increases your stamina regeneration when you are out exploring. What the tutorial completely fails to explain is how you actually make this buff last longer.
You need to increase the Comfort Level of your base by placing specific furniture around your fire. However, the game only counts one item from each sub-category toward your total score. Dropping five stools in a circle will not give you five points of comfort. You need a stool, a table, a bed, and so on. Higher comfort levels mean the Rested buff can last up to 30 minutes, giving you plenty of time to explore without wheezing after every sword swing. Need help arranging all this junk? I wrote a base building guide that covers structural limits and station upgrades.
Resource Gathering Without Losing Your Mind
Inventory management and resource farming are the twin pillars of the survival genre. You need to be smart about what you pick up and how you get it.
Hoard the Big Three
My most critical piece of advice is to bring plant fiber, wood, and stone with you literally everywhere. Building is your primary tool for solving problems in this game. Having these raw materials on hand means you can craft torches for dark caves, drop stairs to reach annoying ledges, or build barricades when things get hairy. It saves you an agonizing trip back to your base. If you are running out of pocket space holding all these rocks, I highly recommend looking into early inventory and storage upgrades.
The Shovel Hack for Plant Fiber
When you need plant fiber, your first instinct is probably to take your sword and hack wildly at the nearest bush. Do not do this. It wastes durability and time. Instead, craft a shovel. If you dig the ground directly underneath the foliage, a single scoop will instantly yield a massive pile of plant fiber. It is a massive time saver.
Disassemble Everything
Build a disassembly table the moment you unlock the recipe. You are going to find a ton of obsolete weapons and junk armor while looting pirate camps. Do not throw this stuff away. Tossing old gear into the disassembly table is one of the most reliable ways to passively generate valuable materials like nails and copper without having to go bash rocks for hours.
Exploration and Not Getting Stranded
Windrose has a massive map, and running back to your corpse because you forgot to set a spawn point is a uniquely miserable experience.
Your Boat is a Mobile Fast Travel Point
Fast travel is mostly tied to specific bells scattered around the world, but your ship has a massive hidden perk. If you press K to summon your boat to the nearest shoreline and actually take the wheel, you can open your map and fast travel directly from the water. You have to be actively steering it for this to work, just standing on the deck does nothing.
Build and Break Your Way Across the Map
Do not be precious with your building materials. Windrose is surprisingly generous in one specific area. Breaking down structures refunds 100% of the materials you spent to build them. This changes everything.
If you are exploring a new, dangerous island, drop a tent to set a temporary revival point. Build a temporary fast travel bell if you need to run back to your main base to empty your pockets. Once you are done exploring that sector, just dismantle the tent and the bell, pocket the refunded resources, and sail away. You can effectively move your entire safety net with you as you progress. For more on navigating the map efficiently, check out my fast travel network guide.
Combat, Progression, and Gear
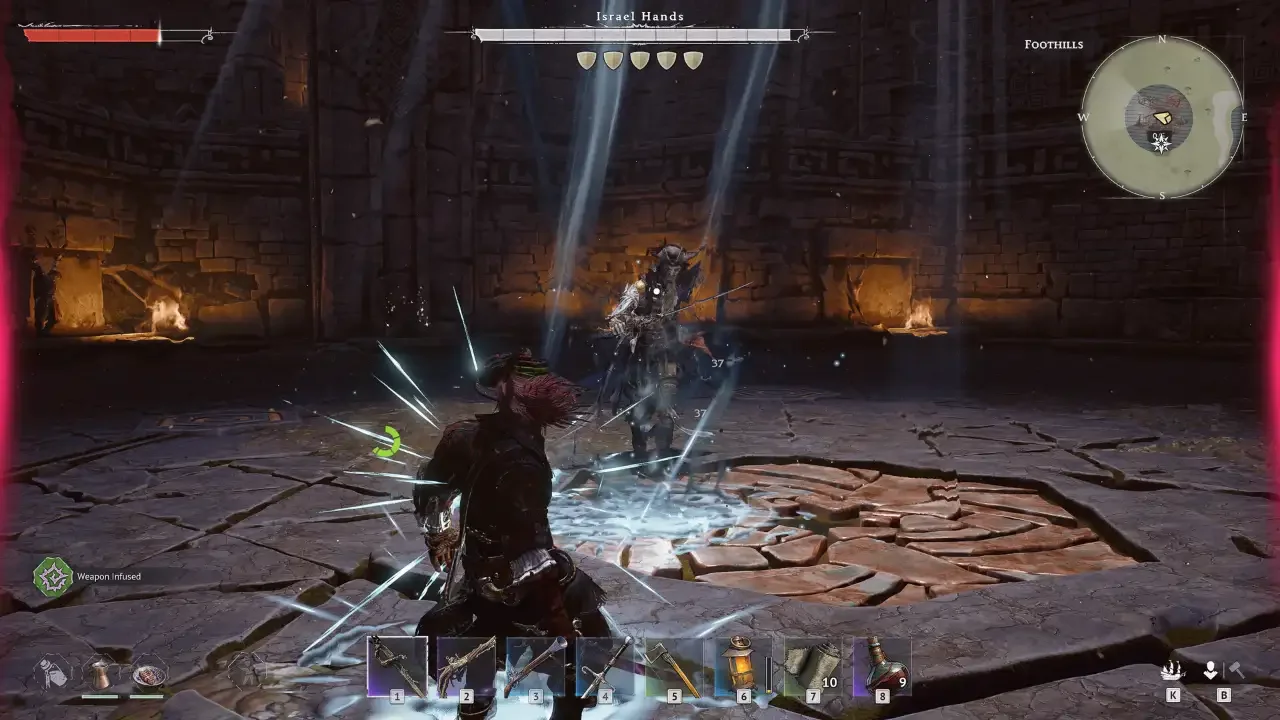
Combat is chunky and enemies hit hard. If you try to brute force your way through encounters, you are going to get stomped.
Clear Points of Interest Completely
This one took me a minute to figure out, and it is infuriating if you do not know it. You do not get experience points just for killing random enemies. You gain XP by completing quests and clearing points of interest.
Crucially, a point of interest is only considered "cleared" when you completely empty all the chests in the area. If you leave a single piece of rotten meat inside a crate because you did not want to carry it, the game will not give you your completion XP. Dump unwanted items on the floor if you have to, just empty the boxes.
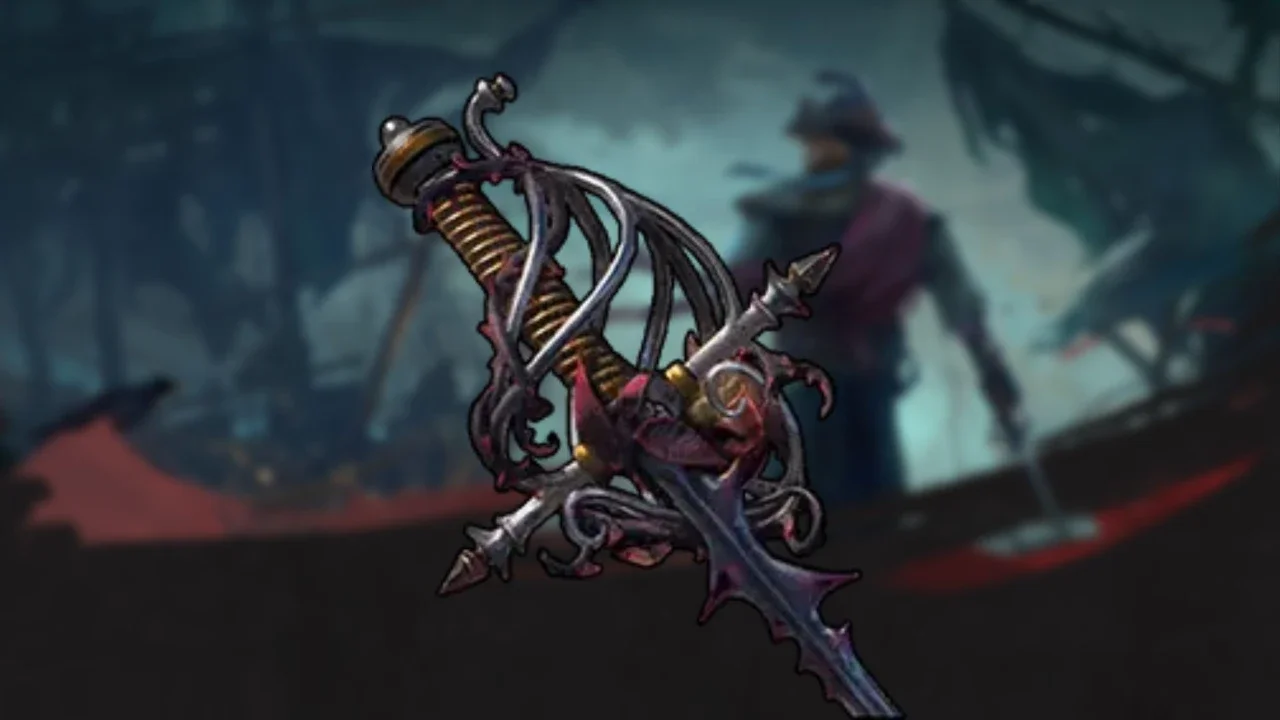
Keep Your Gear Relevant
Your power level is intrinsically tied to your equipment. Gear can be upgraded up to level 15, matching the difficulty tiers of the game's biomes. If you find a weapon with a stat bonus you like, keep upgrading it. However, once you kill a biome boss, you unlock the ability to craft gear at a higher base level. Sometimes it is cheaper to craft a brand new level 6 sword than to dump resources into upgrading a level 4 sword. I cover this math more in my weapon and armor crafting guide.
Trap the Locals
Getting swarmed by a pack of feral boars is a quick ticket to the grave. If you find yourself overwhelmed, pull out your building hammer and literally build wooden fences around your enemies. Most of the wildlife, and even the undead drowned enemies, completely fail to comprehend fences. They will just stand there while you poke them to death with a spear from total safety.
Character Stats Explained
Every time you level up, you get points to dump into a stat sheet. Because the game allows you to respect your points for free at any time, you do not need to stress over ruining your build.
Where to Put Your Points
For the first few hours, dump everything into Vitality. The starting health pool is a joke, and surviving two hits instead of getting one shot will save your sanity. Once you actually pick a weapon class you enjoy, you can reset your stats and specialize. Generally, a safe bet is dumping two thirds of your points into the main damage stat of your chosen weapon, and the remaining third into Endurance so you can actually swing the thing more than twice.