Windrose Fast Travel Guide: Build Your Own Teleport Network
Staring at the open ocean loses its charm right around the third time you have to sail back home for forgotten supplies.
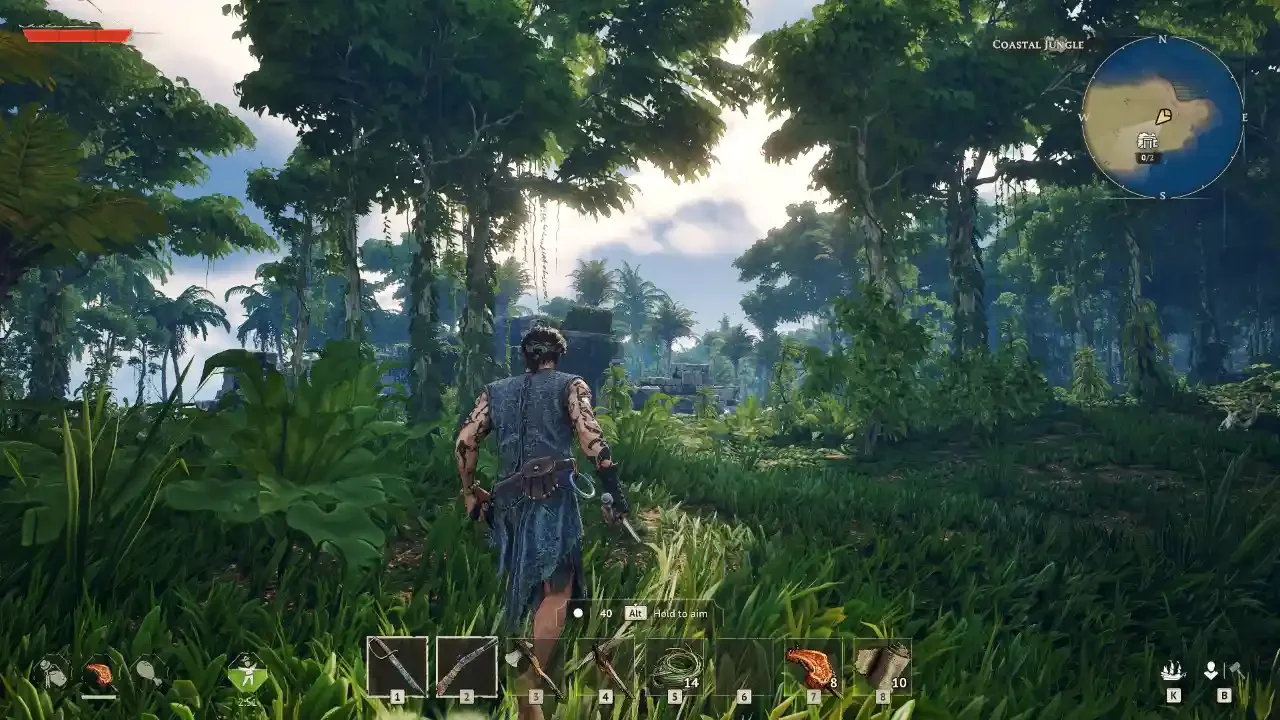
Survival games love to make you walk. Windrose is no different, initially forcing you to sprint across massive islands and slowly paddle a dinghy between landmasses just to haul a few rocks. The romantic fantasy of being a pirate captain dies quickly when you are functioning as a glorified delivery driver. Thankfully, you do not have to suffer the long commute forever.
The game features a highly customizable fast travel system, but it makes you work for it. You are not just unlocking magical shrines scattered around the map. You have to manufacture the infrastructure yourself. After spending way too much time running through the same patch of jungle, I mapped out exactly how to set up an efficient teleportation grid. If you are still struggling to survive those initial jungle runs, take a detour and read my beginner's survival guide first.
Unlocking and Crafting Fast Travel Bells
You cannot just open your map and click a destination from minute one. You need a specific item called a Fast Travel Bell, and the game hides your very first one right under your nose.
The Smuggler's Cache
Before you can craft a bell, you have to find one to unlock the recipe. Luckily, there is a guaranteed drop located very close to your initial spawn point on the starting beach. You are looking for a Smuggler's Cache.
This cache is not a standard chest sitting out in the open. It is a hidden hole in the ground completely obscured by a layer of leaves and wooden planks. When you find the suspicious pile of debris on the beach, smash it with whatever tool you have equipped. This reveals a set of stairs leading underground. Be careful walking down there. The hole is occupied by a Drowned enemy who will immediately try to punch you to death. Deal with the zombie, pop open the chest in the dark, and grab your first Fast Travel Bell. This action permanently unlocks the crafting recipe for your character.
Mass Producing Bells
One bell is useless on its own. You need a network, which means you need to mass produce these things. Head back to your Level 1 Workbench.
Crafting a single Fast Travel Bell costs 10 Copper Ingots and 3 Rope. The rope is a trivial cost, easily woven from basic plant fiber. The copper is a massive investment in the early game. Dumping ten ingots into a single bell means you are not spending that metal on weapons or tool upgrades. If you are short on ore and need to spin up a smelting operation quickly, I mapped out the best cave locations in my copper mining and smelting guide.
Establishing Your Teleport Network
Having a pocket full of heavy copper bells does absolutely nothing until you physically bolt them to the ground. There are strict rules governing where and how you can drop these waypoints.
Coastal Placement and Network Limits
To actually create a functional node, open your Build menu, navigate to the Crafting and Utilities category, and select the Fast Travel Point. You need 20 Wood and 1 Fast Travel Bell to place the structure.
You cannot just drop these in the middle of a dense forest or inside a dark cave. The game strictly requires you to place Fast Travel Points along the coastline. You need a minimum of two points built in the world to establish a connection. Once two points exist, you can interact with one to instantly teleport to the other.
Keep in mind that you cannot spam these across every single inch of the map. Windrose caps your network at exactly 10 active fast travel points at any given time. You have to be strategic about placement. I suggest keeping one permanent point at your main base, and leaving the others mobile so you can drop them on new islands as you explore. Since the game refunds all your building materials when you demolish a structure, you can simply pick up your bell when you are done looting an island and take it with you.
Teleporting From the Helm
There is a massive shortcut to the two point requirement. If you have an active ship, your vessel functions as a mobile fast travel node.
While you are actively standing at the steering wheel of your ship, you can open your map and instantly fast travel to any established point on land. You do not need to build a bell on the beach just to go home. If you want to know how to ditch your terrible starting rowboat for a real galleon, read my ship upgrades and repairs guide.
The Emergency Escape Route: Potions
Sometimes everything goes wrong. Your ship gets destroyed, you are trapped deep inland with zero wood to build a waypoint, and your inventory is full of valuable loot. When you are totally stranded, you need the Homeward Journey potion.
Upgrading Your Alchemy Setup
The Homeward Journey is a consumable item that instantly teleports you directly to your active revival point (your bed or tent). Before you can brew this escape hatch, you need a serious laboratory.
You must upgrade to a Level 2 Alchemy Table. This requires building the base Alchemy Table (5 Wood, 2 Clay Pots) and placing a Stove and Pot (5 Stone, 5 Clay, 1 Copper Pot) right next to it within the same Bonfire radius. The proximity of the stove automatically upgrades the table.
Brewing the Escape Plan
The recipe for the potion only unlocks after you have manually collected at least one of every required ingredient in the wild.
Keep a stack of these potions in your quick slots for absolute emergencies. Between the coastal bell network and a flask of magic rum, you should rarely have to walk anywhere you do not want to. Keep an eye on our Windrose Hub for more advanced survival tactics.