Windrose Ship Guide: How to Get, Repair, and Upgrade Your Vessel
You cannot conquer the ocean in a glorified wooden bathtub.
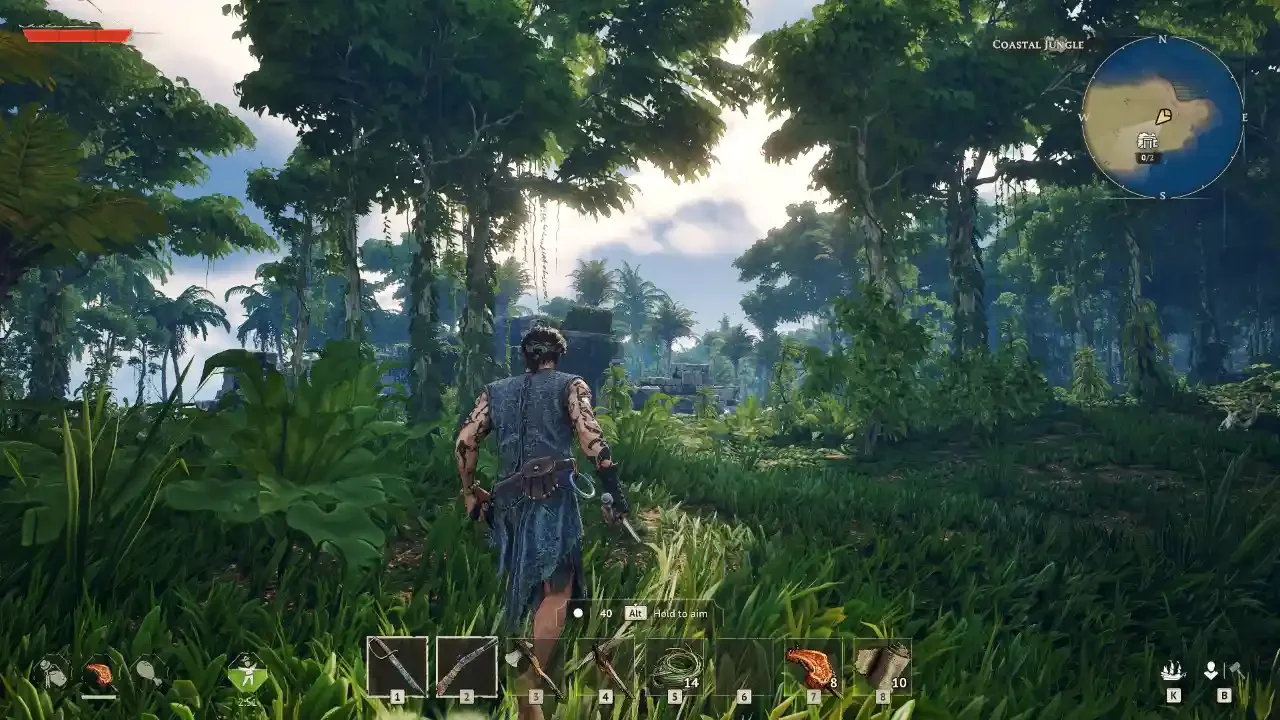
The starting boat in Windrose is barely seaworthy. You get tossed onto an island, forced to punch trees, and eventually given a dinghy that feels like it will shatter if a seagull lands on it too hard. Thankfully, the game does throw a real galleon your way within the first few hours. You just have to do some legwork.
I have lost enough cargo to the bottom of the sea to know that acquiring a ship is only step one. Keeping it from turning into driftwood during a firefight is the real test. Here is exactly how to fast track your first major vessel, patch the holes when things go wrong, and strap enough cannons to the hull to actually defend yourself.
Fast Tracking Your First Real Ship
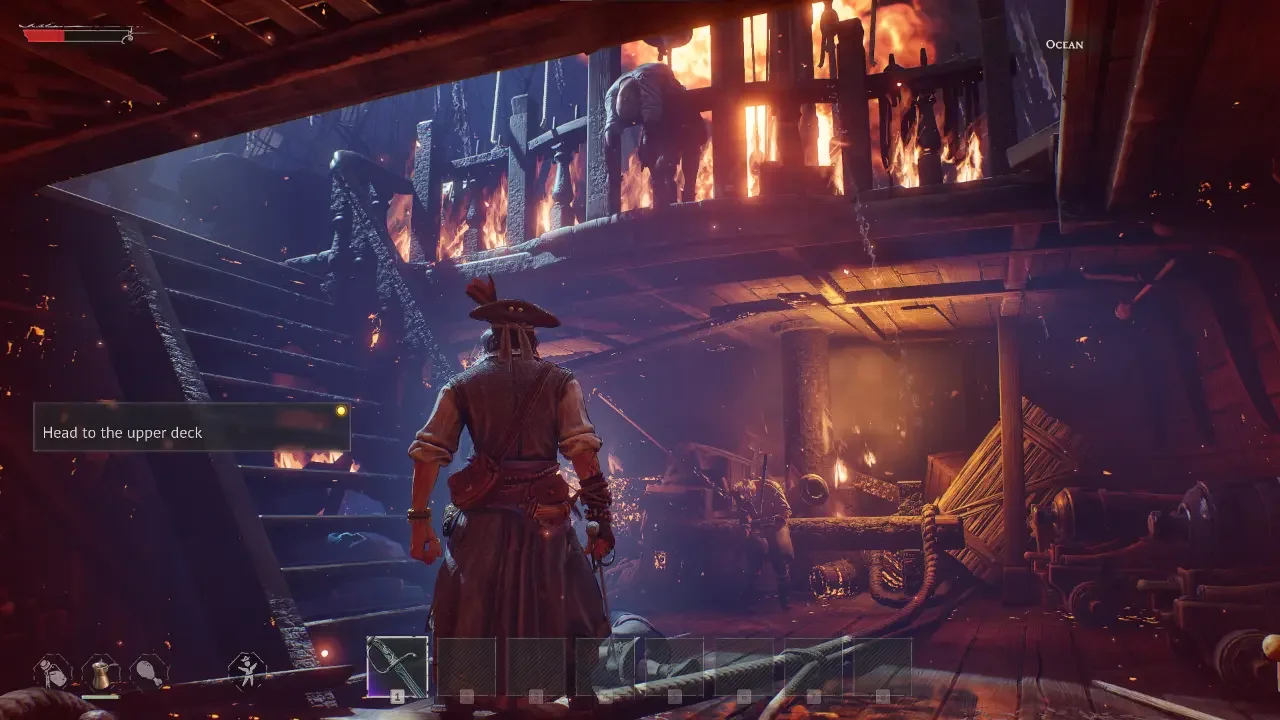
The main campaign naturally guides you to a proper vessel via the "Need a Bigger Boat" quest. This triggers after Doc Galen returns to your camp and tasks you with hunting down the missing crew and searching local shipwrecks.
Do not just blindly run to the map markers. You can save yourself hours of annoying backtracking by stuffing your pockets with the exact repair materials before you ever leave your base.
The Pre-Voyage Checklist
To fix the ruined galleon you eventually find, you need exactly 100 Wood, 20 Nails, 10 Rope, and 20 Coarse Fabric. Rope and fabric are easily crafted from plant fiber, and wood is everywhere.
Nails are the early game bottleneck. You can smelt them from raw metal, or you can scavenge them by breaking open the small, broken shipwrecks scattered along the starting coastline. If you do not have an efficient smelting setup yet, check out my copper mining and smelting guide to get your forge running.
I highly recommend bringing a Fast Travel Bell with you on this expedition. When you find the correct wreck, drop the bell nearby. If you realize you forgot something, you can instantly teleport back to your stash. Need help managing that stash? Read my inventory and storage guide so you stop misplacing your building supplies.
Rescuing the Crew
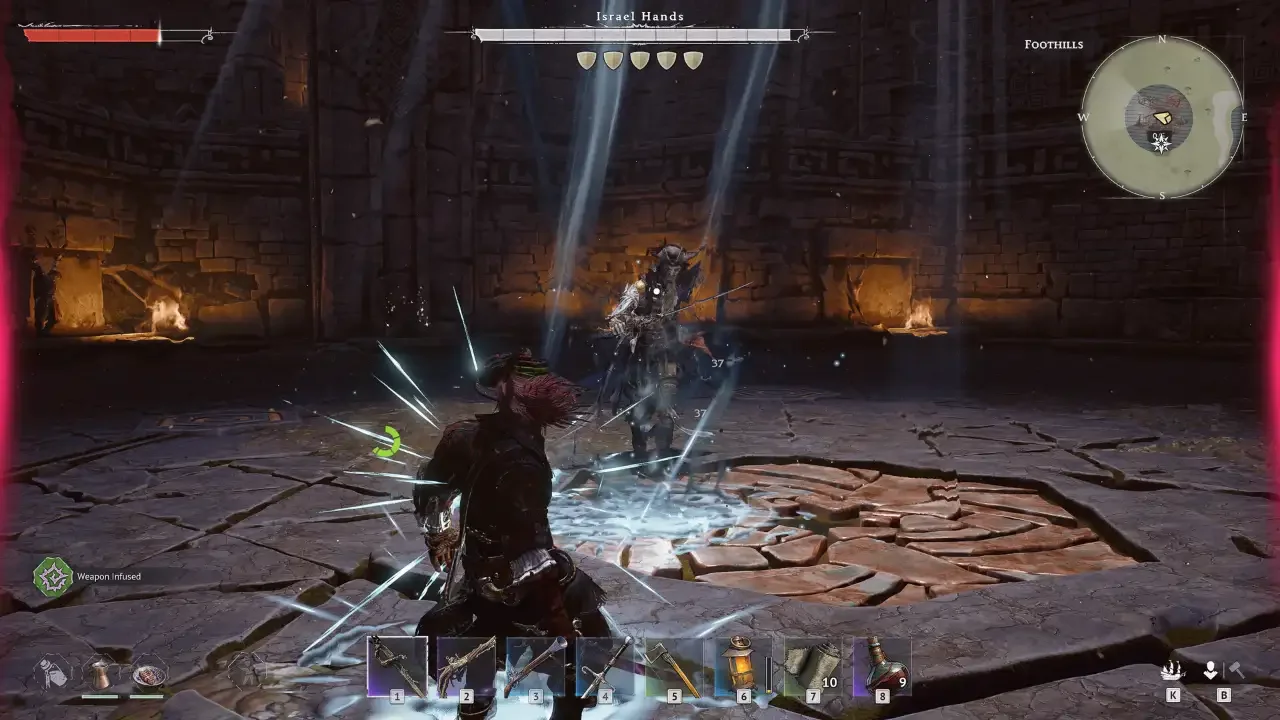
A ship cannot sail itself. To complete the quest, you also have to track down seven missing sailors. This triggers the connected "Rescue the Crew" objective, requiring you to raid three distinct pirate camps.
The first two camps are straightforward, but the final location features a nasty boss. My best advice here is to pick off the outer guards with a ranged weapon before stepping into the arena. Once it is just you and the boss, use heavy attacks or firearms to break their armor posture before going in for the kill.
Keeping Your Ship Afloat
Sailing for thirty minutes, getting caught in a crossfire, and watching your ship sink is a soul crushing experience. You will lose progress, time, and whatever pride you had left. You have to maintain your hull health.
The Wharf Repair Method
The cheapest and safest way to fix your boat is at home. Once you build a Wharf at your base (which costs a mere 10 Wood and 10 Coarse Fabric), you can park your ship and repair it using nothing but raw wood.
Simply interact with the Wharf, select Manage Ship, and hit the repair button. It is incredibly cost effective, but it requires you to actually sail back to base to utilize it.
Portable Repair Kits
You will inevitably take damage while out exploring, which means you need to carry supplies to patch holes on the fly. The game offers two variations of repair kits.
The standard Repair Kit costs 10 Wood and acts like a bandage for your boat. It applies a healing buff over time. The massive downside is that taking any damage instantly cancels the healing effect. It is completely useless in the middle of a battle.
When cannons are actively firing at you, you need the Combat Repair Kit. Crafting this requires 5 Wooden Planks, 1 Steel Nails, and 1 Rum Bottle. It restores thirty percent of your ship health over ten seconds. Taking damage reduces the duration, but it does not outright cancel the heal. It is expensive, especially since Rum Bottles are also required to craft homeward fast travel potions, but it will absolutely save your life in a pinch.
Upgrading Your Vessel
A repaired ship is great, but a heavily armored ship with massive guns is better. To actually make your ketch lethal, you need to build a Shipwright's Workshop. This station allows you to forge heavy naval equipment.
How to Equip Upgrades
Crafting the cannons at your workshop does not magically attach them to your hull. You have to physically haul the items to your Wharf. Open the Wharf menu, click on Manage Ship, and look for the Character Action Panel on the right side of the screen. Drag your newly crafted cannons and armor bracing directly into the Ship Gear slots located in the center.
You are now the proud owner of a fully operational warship. Keep your cargo hold stocked with combat repair kits, do not pick fights with fleets twice your size, and try not to run aground on a sandbar.