Windrose Weapons and Armor Guide: Build Your Arsenal
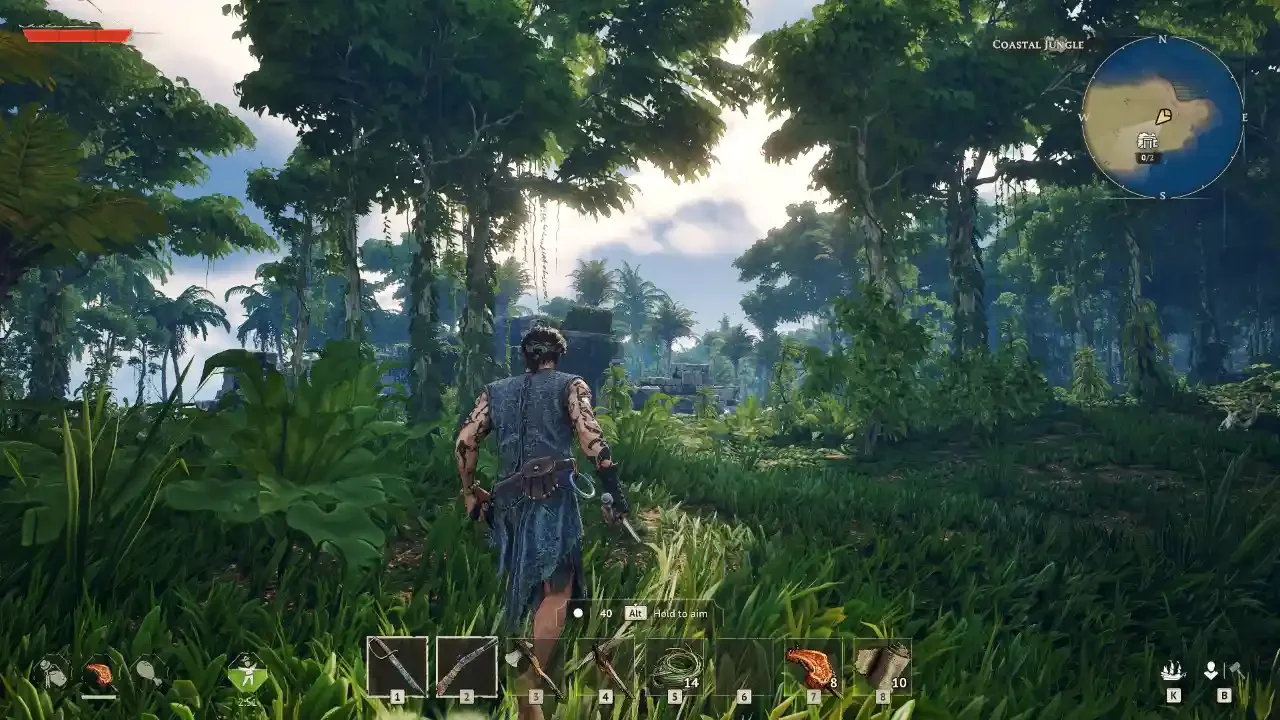
Running into the jungle wearing torn rags and swinging a stick is a guaranteed death sentence.
Combat in Windrose is incredibly unforgiving if you do not understand the underlying math governing your equipment. The game does not care if you have quick reflexes. If your weapon does not scale with your chosen attributes, or if you are wearing starter clothes in a late-game zone, the local factions will absolutely obliterate you.
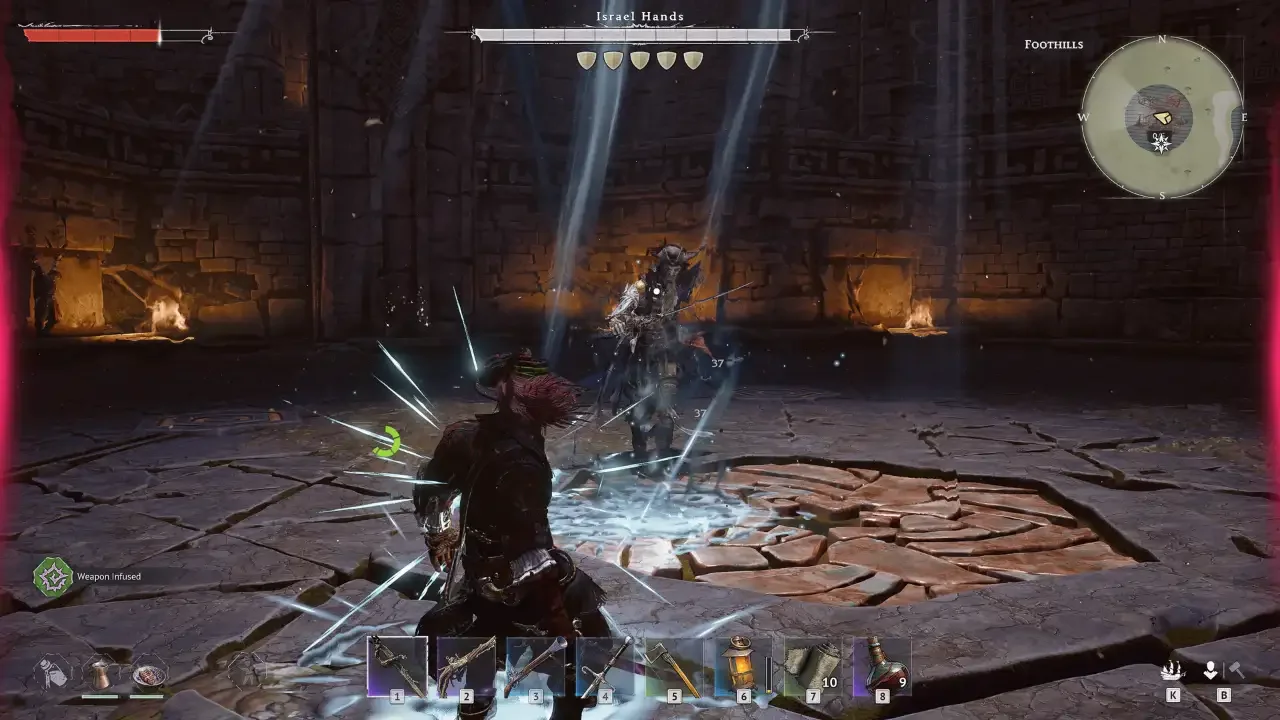
I spent hours getting stomped by pirate captains before I finally sat down and analyzed the gear system. You have to treat your loadout like a puzzle. Your weapon choice dictates your stat point allocation, and your armor set bonuses need to complement your specific playstyle. If you are still struggling to grasp the basic survival mechanics before worrying about combat, take a quick detour and read my beginner's survival guide.
Understanding the Weapon Arsenal
Weapons in Windrose follow a strict stat scaling system completely ripped from the Souls genre. The letter grade on an item card (ranging from D up to S) tells you exactly how much bonus damage you get from a specific attribute.
You have three primary combat stats: Strength, Agility, and Precision. If you dump all your early levels into Strength and then try to use a Rapier, you are going to hit like a wet noodle.
Precision: Scales Rapiers, Pistols, and Muskets. Best for single-target damage and ranged play.
Agility: Scales Sabers, Greatswords, and Blunderbusses. Best for fast combos and AoE clearing.
Strength: Scales Clubs and Halberds. Heavy blunt trauma with massive stagger potential, but lacks any ranged options.
Mastery: This is a universal stat that increases your critical hit chance across all weapon types.
Note: Weapon stat scaling faces diminishing returns. For example, the damage you gain per point of Precision drops by roughly 50% once you push past 20 points. Do not blindly dump 50 points into one stat; balance your Vitality and Endurance.
The One-Handed Advantage
There is a massive mechanical advantage to using one-handed weapons like the Saber, Rapier, or Club. You can equip a pistol in your off-hand. This allows you to weave quick melee strikes with devastating ranged blasts without ever having to swap your primary gear.
The caveat here is that you have to split your stat allocation. Sabers scale with Agility, but pistols scale with Precision. You have to find a comfortable balance. If you decide to pick up a massive Greatsword, Halberd, or Blunderbuss, both of your hands are occupied. You trade the versatility of the pistol combo for raw, staggering stopping power.
Unique Weapons and Ascension
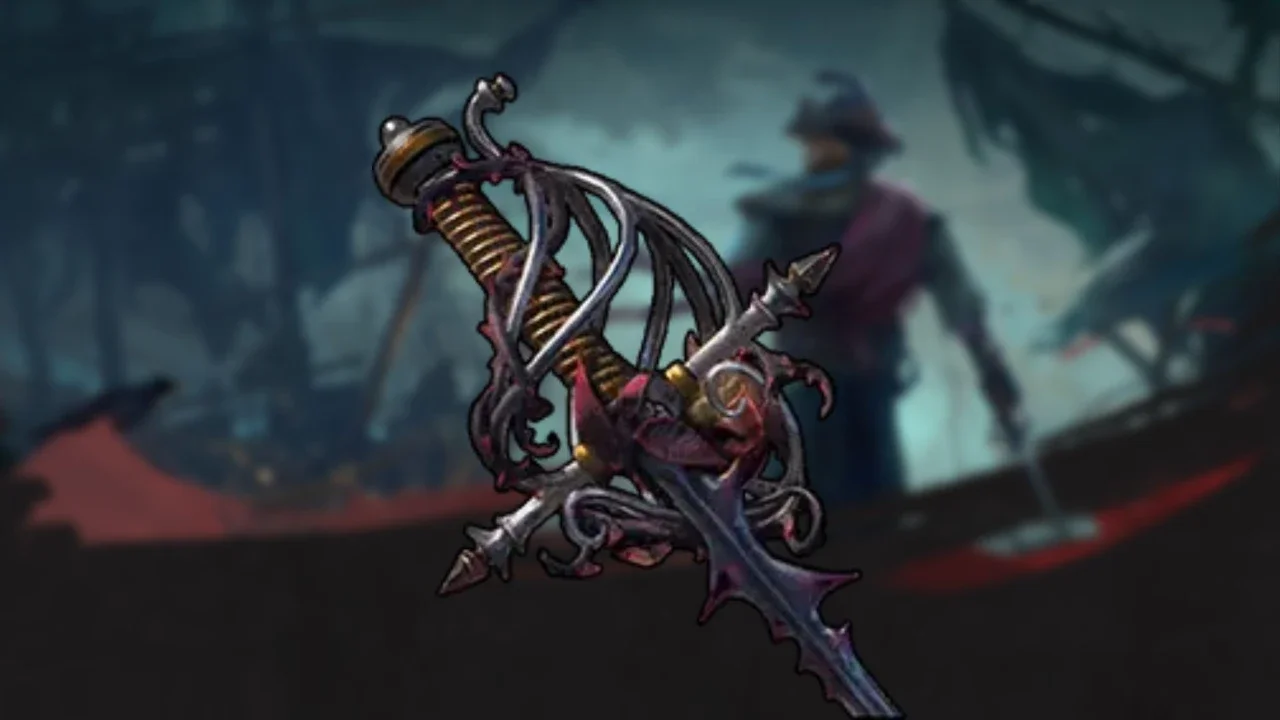
You will occasionally stumble across Epic-tier unique weapons while looting ruins or killing bosses. These weapons completely change the game.
The Rapier of a Thousand Cuts applies stacking bleed damage that spreads to nearby enemies on kill. The Executioner Halberd grants a massive damage resistance buff and critical hit chance every time you secure a kill. The Bonebreaker Club literally scales its damage based on how much stamina you currently have.
If you find a Common or Rare version of these unique weapons, do not throw it away. You can actually ascend lower-tier weapons into their Epic forms at your base using Tumbaga Ingots, unlocking all of their hidden passive effects.
Armor Sets and Synergy
Your clothing is not just cosmetic. Once you graduate past the basic Survivor's Outfit, you start unlocking Rare armor sets. Every piece of Rare armor belongs to a specific set, granting massive bonuses when you wear two or four pieces of the same collection.
The Frontline Tanks
If you want to survive boarding actions without getting knocked overboard, you need heavy armor.
Conquistador's Set: The undisputed king of tanking. Wearing two pieces grants a flat 15% Damage Resistance. Wearing four pieces unlocks the Bulwark passive. This makes all of your actions uninterruptible. You cannot be staggered while swinging a hammer or drinking a potion. It is entirely broken for boss fights.
Pikeman's Set: Caters to two-handed weapons. A two-piece set grants a massive 160-point boost to your maximum health pool. A four-piece set increases two-handed weapon damage by 15%.
The Agile Strikers
If you prefer dodging over blocking, you need to shed the heavy plate.
Flibustier's Attire: Built for fencers. A two-piece set reduces attack stamina consumption by 20%. A four-piece set increases one-handed weapon damage by 15%.
Marksman's Rig: Built for gunslingers. A two-piece set reduces the stamina cost of sprinting and dashing by 30%. A four-piece set increases all ranged damage by 15%.
Privateer's Regalia: Built for crowd divers. A two-piece set boosts base Critical Hit chance by 10%. A four-piece set increases your Critical Damage by 10% for every enemy physically standing next to you (caps at 30%).
The Best Meta Builds (Early Access)
You do not have to guess which endgame gear combinations work. Based on current meta testing, here are the 2 absolute best-optimized builds you can run to dominate the archipelago.
The "Iron Wall" Brawler (Heavy Strength)
This is for players who hate dodging. It relies on raw health trading and hyper-armor to flatten groups of Level 15 Plague enemies.
Core Weapon: The Plague Halberd or Soul Eater.
Off-Hand: The Plague Pistol (used strictly for the 40% damage-to-health conversion).
Armor Synergy: A full 4-piece Pikeman’s Set. The +160 flat HP bonus is mandatory because halberds cannot parry; you will be taking hits, and you need the massive health pool to survive them.
The "Secret Sauce": Eat Meaty Croc Kebabs (+20 Strength) and use the Major Warrior Ring. This setup scales your special [F] attacks to the point where they can one-shot most standard mobs while healing you for a third of your life.
Key Talent: Bonecrusher (3/3). Since you're using heavy Crude weapons, this maximizes your stagger potential.
The "Bleed & Breach" Duelist (Precision/Agility Hybrid)
This is the current "High-Skill" meta. It’s built around the Rapier of Devastation and mastering the Perfect Block mechanic to stay aggressive.
Primary Weapons: Rapier of Devastation + Drake’s Double-Barreled Pistol.
Armor Synergy: 4-piece Flibustier’s Set. Method might suggest mixing sets, but for pure endgame DPS, the 15% flat one-handed damage boost from the full set is mathematically superior once your stats are capped.
The Loop: Apply 8 Plague Marks with light attacks, swap to the Pistol to apply the "Vulnerability" debuff (Epic effect), then unleash a Heavy Attack.
Sustain: Prioritize the Major Necklace of Precision. Your healing comes from the Rapier's mark consumption, so you don't need to waste as many points in Vitality.
Key Talent: You Will Answer For This (2/3). This ensures that any mistimed parries result in Temporal Health that your bleed ticks will automatically claw back for you.
Upgrading Your Arsenal
You cannot craft any of this gear at a basic wooden table. You have to actively level up your base.
To forge Epic weapons, you need to build and upgrade the Weaponsmith Workshop by placing anvils and bellows around it. To stitch together Rare armor sets, you need the Armor and Clothing Workshop fully kitted out with mannequins. I highly recommend reading my base building and crafting guide so you understand exactly how to place those add-ons without ruining your base layout.
Finally, do not forget your actual ship. Your vessel has its own distinct weapon slots capable of holding 12, 24, or 36-pound cannons. A greatsword will not save you when an enemy galleon opens fire on your hull. Upgrade your ship guns at the Wharf before you pick a fight on the open water.