Windrose Cooking Guide: Every Recipe, and Why Raw Coconuts Won't Keep You Alive
Eating a raw coconut keeps your hunger meter happy in Windrose. It does nothing for the fact that a single pirate can still turn you into chum.
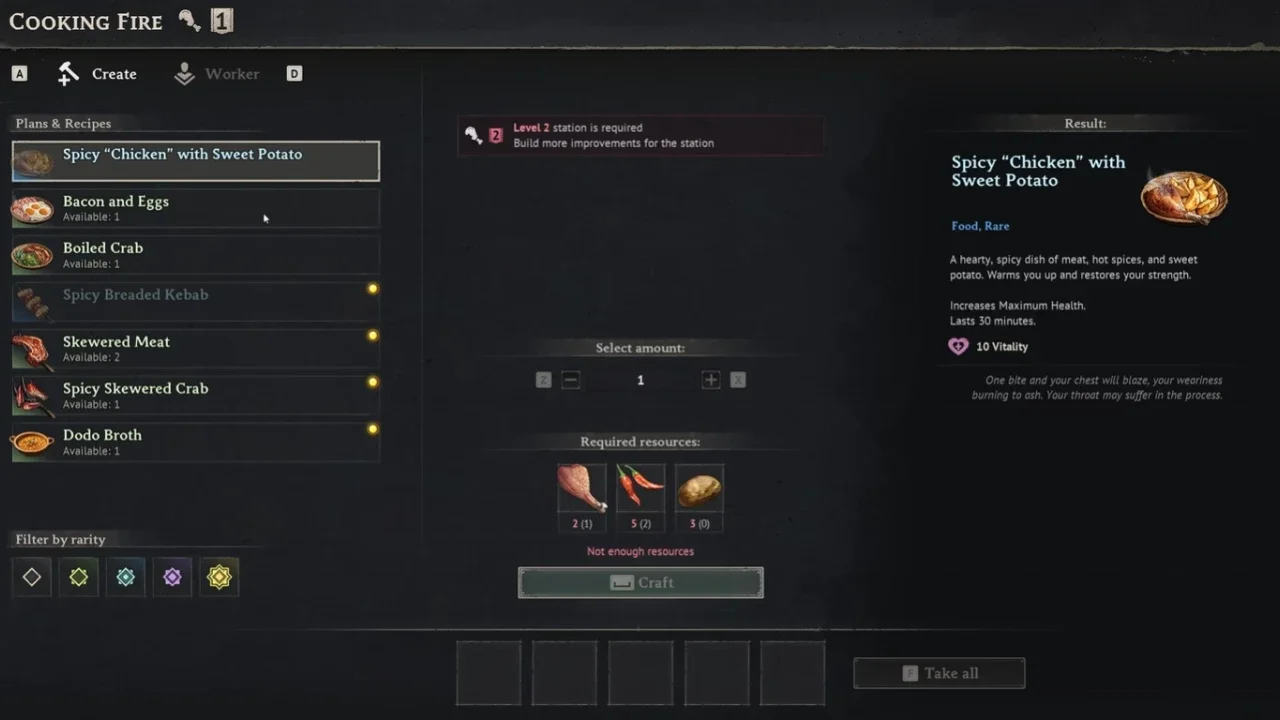
Cooked meals are the actual armor in this game. Not the plate stuff you craft at a Weaponsmith bench, the stuff simmering over your Cooking Fire. A good meal stacks real, extended buffs onto your max health, stamina, and combat stats, and treating food as a simple hunger bar instead of a survival tool is how you end up dead in a Blackbeard camp wondering what happened.
The Two-Buff Rule
Windrose only lets two food buffs run at once. Eat a third meal and the game quietly overwrites whichever buff you got first, no warning, no confirmation. Worth building a habit around this before heading into anything dangerous: pair one cheap, health-focused dish with something more specialized for whatever fight you're walking into.
Duration scales with rarity too. Basic Uncommon meals cooked at a Level 1 station last 15 minutes. Once Rare and Epic dishes enter the picture, that duration doubles to a full half hour, which changes how often you actually need to be thinking about your next meal.
Upgrading the Kitchen
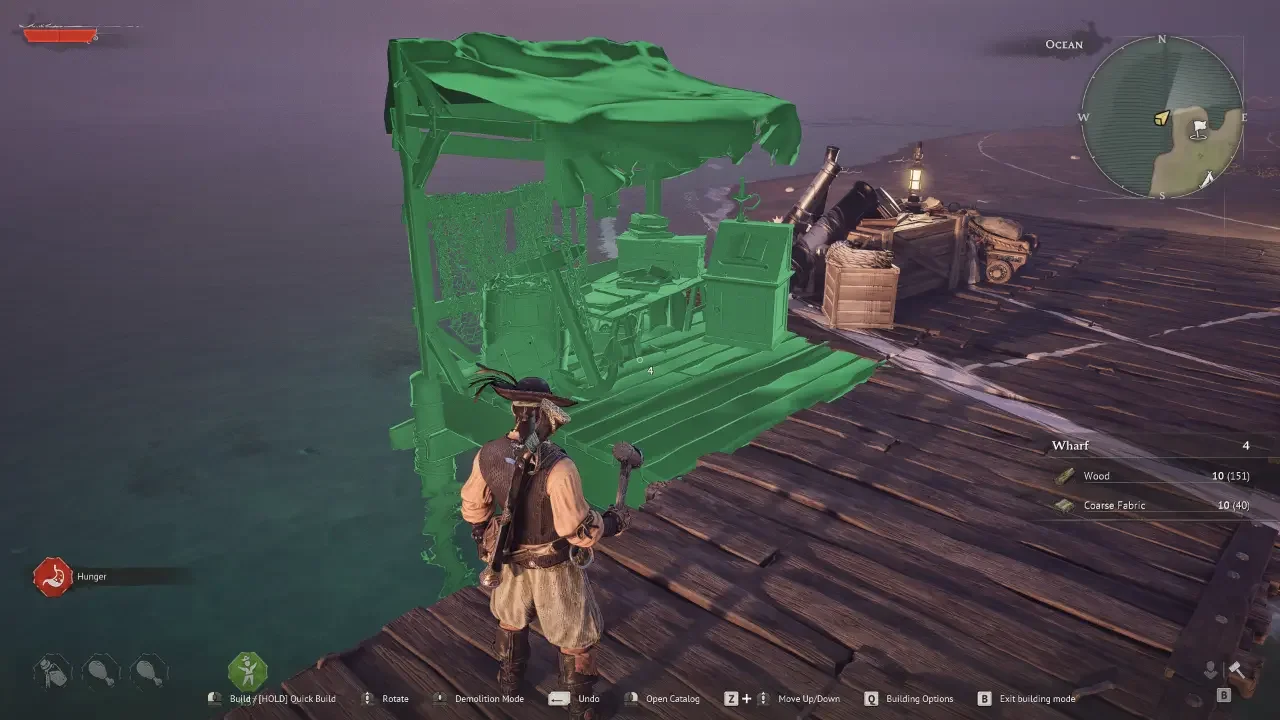
The starting Cooking Fire gets you through the first few hours and not much further. Better recipes are locked behind physical upgrades, running through the same proximity system that governs the rest of base building and infrastructure in Windrose.
The path looks like this:
Level 1, Cooking Fire: 3 Stone, 3 Wood
Level 2, Cutting Table: 2 Copper Ingot, 10 Wood
Level 3, Cookware Shelf: 10 Hardwood, 2 Ironware
Level 4, Supplies Rack: 5 Hardwood, 5 Coffee Beans, 5 Salt, 5 Nuts, 5 Lobster Mushrooms
That last tier is rough since it demands ingredients you won't have lying around early, which is really the point. The best food in the game is meant to feel earned.
Where the Ingredients Actually Come From
Coconuts and bananas litter the starting beaches, so the earliest meals practically cook themselves. Corn, tomatoes, and leeks are a different story, and getting a steady supply going means setting aside time to grow your own farm plots rather than relying on what you happen to stumble across.
Meat's everywhere, but the good proteins take effort. Crabs are an easy shoreline grab. Crocodile tails mean a trip into the Swamp biome, which is exactly as pleasant as it sounds. Fish Fillets are their own project entirely, requiring a rod and enough patience to get the hang of Windrose's fishing and filleting system, and they end up gating some of the strongest Vitality dishes on this list.
The Full Recipe List
Here's everything currently craftable, split by the fire tier it needs.
Level 1 recipes are cheap, quick, and exactly what you should be leaning on through the early hours. They hand out a flat Max Health boost or a modest +5 stat bump, lasting 15 minutes.
Once the Cutting Table's up, Level 2 dishes take over. These run a full 30 minutes and hit for +10 on their stat instead of +5, enough to genuinely change how a fight goes.
And then there's the endgame tier. Cookware Shelf and Supplies Rack unlock these, leaning on ingredients pulled straight from the Swamp, but the payoff is a flat +20 to whatever stat you're building around.
Stacking Alchemy on Top
Food covers half the equation. Elixirs brewed at the Alchemy Table cover the other half, and since those buffs run on a completely separate slot from your two meals, there's nothing stopping you from running a full meal loadout alongside a combat elixir at the same time. Between the two systems, a fight that would've flattened you on day one starts looking a lot more manageable by the time your kitchen's fully upgraded.