Windrose Base Building Guide: Crafting Upgrades and Demolition
Designing a pirate fortress in Windrose is a brutal lesson in architectural frustration, but mastering the build system is the only way to actually survive.
Survival games have a nasty habit of letting you place a wooden foundation slightly off center and then refusing to let you fix it. Windrose leans heavily into this specific type of base building anxiety. You will spend hours trying to make your coastal shack look presentable, only to realize your crucial crafting stations are not properly connected to your storage chests.
The game does not hold your hand when it comes to organizing your industrial sector. It expects you to figure out its weird proximity rules and upgrade requirements entirely on your own. After spending an absurd amount of time redesigning my own camp because I kept placing things backward, I mapped out exactly how the structural mechanics function. If you are still struggling to gather the raw wood and stone needed to even begin constructing a house, take a detour and read my beginner's survival guide.
The Reality of Moving Buildings
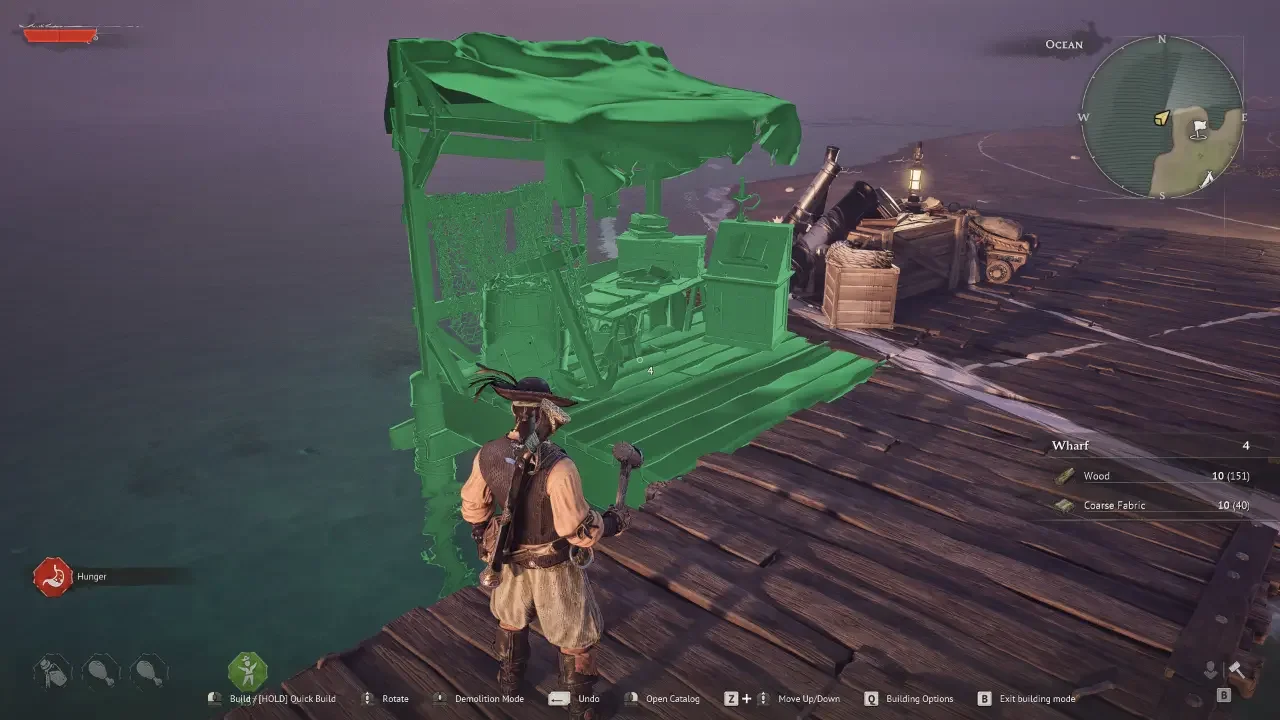
Let me rip the bandage off right now. You cannot simply pick up a placed object and gently slide it two inches to the left. The game currently lacks any sort of dedicated "move" function in its build menu.
The Demolition Workaround
If you accidentally place a storage chest outside the safety of a roof, or if a wall is facing the wrong direction, you have to tear it down.
To do this, you need to open your Build mode by pressing B. Once the menu is open, click your middle mouse button. This toggles the game into Destroy Mode. Point your cursor at the offending piece of architecture and click it to instantly vaporize it.
The silver lining here is massive. Windrose is incredibly forgiving with its demolition mechanics. When you destroy a structure you built, the game refunds one hundred percent of the raw materials used to craft it. You do not lose half your wood just because you made a placement error.
Managing Your Pockets During Demolition
There is a catch to this generous refund system. You have to actually have enough empty space in your pockets to hold the refunded materials. If your backpack is completely full of monster parts and you try to demolish a massive stone wall, those heavy rocks will instantly spill out onto the dirt. I highly recommend sorting out your personal carrying capacity before you decide to remodel your entire kitchen. You can read my inventory and storage guide to learn how to upgrade your bags and manage the clutter.
Upgrading Your Crafting Stations
You are going to need better gear to survive the later islands, and better gear requires leveled up crafting stations. You cannot just open a menu and pay a handful of gold to magically upgrade a Workbench to Level 2.
The Add-On System
Windrose uses a physical proximity system for base progression. To level up a specific station, you have to craft and place distinct pieces of furniture, called add-ons, near it.
For example, if you want to unlock advanced recipes at your Workbench, you have to build a Sawhorse. Once you construct the Sawhorse, your Workbench automatically levels up. You unlock these add-on recipes organically by exploring the map, discovering new raw materials, and completing early game quests.
Understanding the Bonfire Radius
This is the most important rule in the entire game. You do not have to cram every single add-on directly against the crafting station it modifies.
The game tracks upgrades via the glowing radius of your Bonfire. As long as the crafting station and its required add-on are placed anywhere within the exact same Bonfire zone, the upgrade applies. You can have your Workbench sitting in a shed on the beach and your Sawhorse sitting inside a house up on a hill. If they share the same fire, they are linked. This is the exact same system that dictates how you pull resources from base chests, which I detail more in my dedicated server setup guide regarding how bases function in co-op.
Do Not Spam Furniture
A single add-on covers your entire base. If you decide to build three separate Workbenches for aesthetic reasons, you only need to build one single Sawhorse. That one Sawhorse will broadcast its Level 2 upgrade to every compatible bench within the fire radius. Crafting duplicates of the same add-on is a massive waste of copper and wood.
Crafting Station Add-On Requirements
Keeping track of which specific piece of furniture upgrades which table gets confusing quickly. You need to know exactly what to build to unlock your mid-game progression.
Why You Cannot Ignore Upgrades
If you neglect your base, you will die. The game physically gates essential survival tools behind these upgrades.
You cannot craft the mid-tier Sailor Backpack until you install a Sawhorse. You cannot forge decent firearms or proper defensive plating without leveling up the Weaponsmith and Armor workshops. Even your emergency escape routes are tied to this system. The incredibly useful Homeward Journey potion, which I cover extensively in my fast travel guide, is permanently locked until you build a Stove and Pot to upgrade your Alchemy Table.
Focus on establishing a wide Bonfire radius first. Keep your stations spaced out so you actually have room to drop the add-ons later without having to demolish everything. If you are curious about what actual metal gear you can craft once you get those anvils placed, check out my weapons and armor guide.