Mina the Hollower: Fast Travel Guide
Before you wear down your thumbsticks running across the entire map, you really need to unlock the fast travel networks.
I spent way too much time trekking back and forth between dungeons before I realized how robust the travel systems actually are on Tenebrous Isle. You are playing as a tiny mouse, so your little legs can only carry you so fast. Thankfully, you have three main methods to zip around the map: an absurdly expensive train, a network of haunted mirrors, and some highly convenient dirt holes hidden under a shop.
It takes some serious cash and a bit of puzzle solving to get everything running. If you are also trying to find the best gear while you explore, I highly recommend keeping my trinket location guide open in another tab. You will want those upgrades before you accidentally teleport into a boss room.
The Train Network
The bad news is the main train in Ossex is completely missing when you arrive. The locals apparently expect you to foot the bill for a replacement (because of course you have to fund public infrastructure out of your own pocket).
You will need to dump 10,000 Bones into the donation panel to get the locomotive running again. Do not panic if your wallet is light right now. You can donate incrementally from your reserve Bonestone, and by the time you actually need the train to reach Coltrane Peak late in the game, you will easily have the cash.
Once you get the engine running, you just have to find the stations out in the wild. Oh, and a quick tip: taking the route from Bone Beach to Nox's Bayou drops you into a secret area called the Coupling. You will find a merchant named Vitas selling a rare item, plus a hidden cloak behind the second door if you bring some Kears.
The Mirror Portals
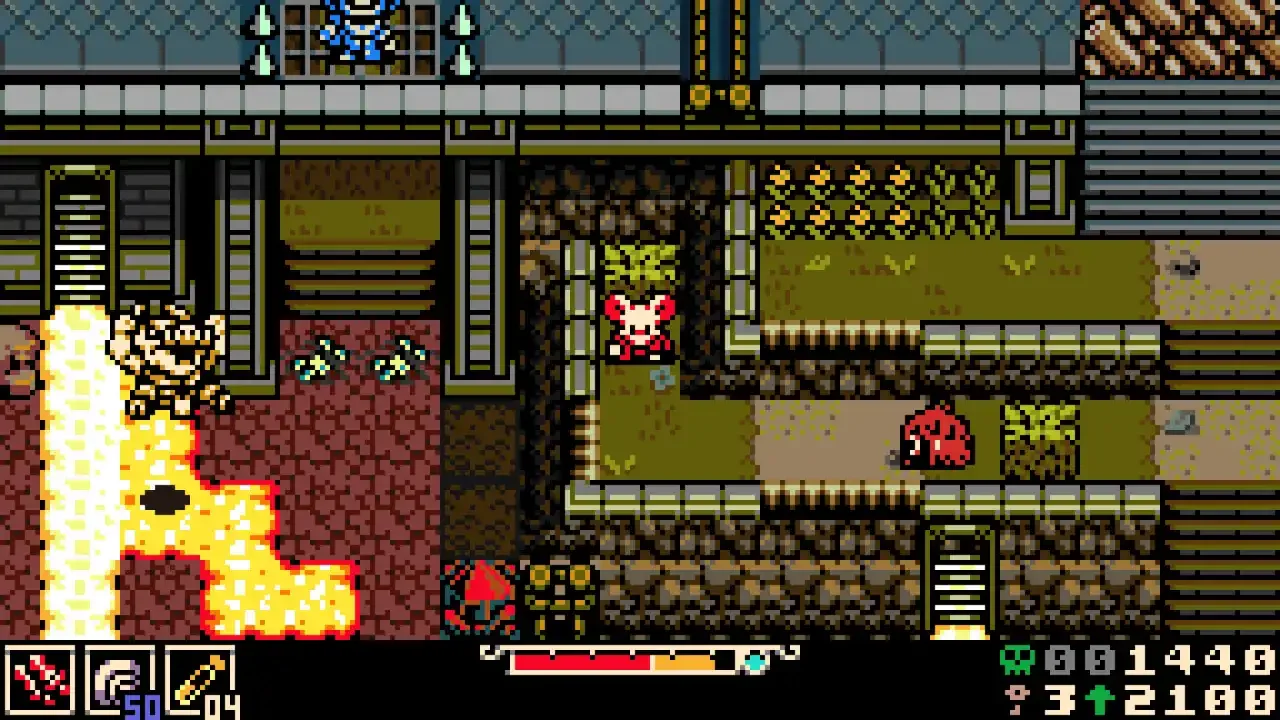
While the train handles the outer regions, you will need the mirror network to access the Astral Orrery and flip essential platforms for the main dungeon. It is a bit cryptic at first. There are seven mirrors total, but only five hidden ones you need to hunt down to activate the required switches.
You literally just walk right into the glass to phase through to the other side. It feels wrong the first time you do it, but it works.
Poppit Shop Burrows
If you just need a quick hop back to the early zones bordering Ossex, Grinnsly's lair has you covered. Once you track down all three Poppit Shop locations in the wild, you will permanently open up three dedicated fast travel holes right in his floor.
The colored tiles in front of each hole tell you exactly where you are going. Memorize these early so you do not accidentally jump into a lava zone when you were trying to go to the grassy plains.
Also, if you are completely tired of funding public transit and fighting horrifying crypt monsters, you can always just grab your rod and check out my fishing location guide instead. Taking a break is highly recommended.