Mina the Hollower Guide: How To Unlock The Map And Underlab Upgrades
I spent an embarrassing amount of time wandering around completely lost before I realized the map was sitting right under my nose the entire time.
I felt incredibly stupid when I discovered how close the Isle Map actually was to Ossex. You return to this main hub constantly to shop and talk to locals, yet the map is locked behind an easily missed rescue mission. Before you waste hours running in circles looking for the next dungeon, you need to repair the Hollower's Guild.
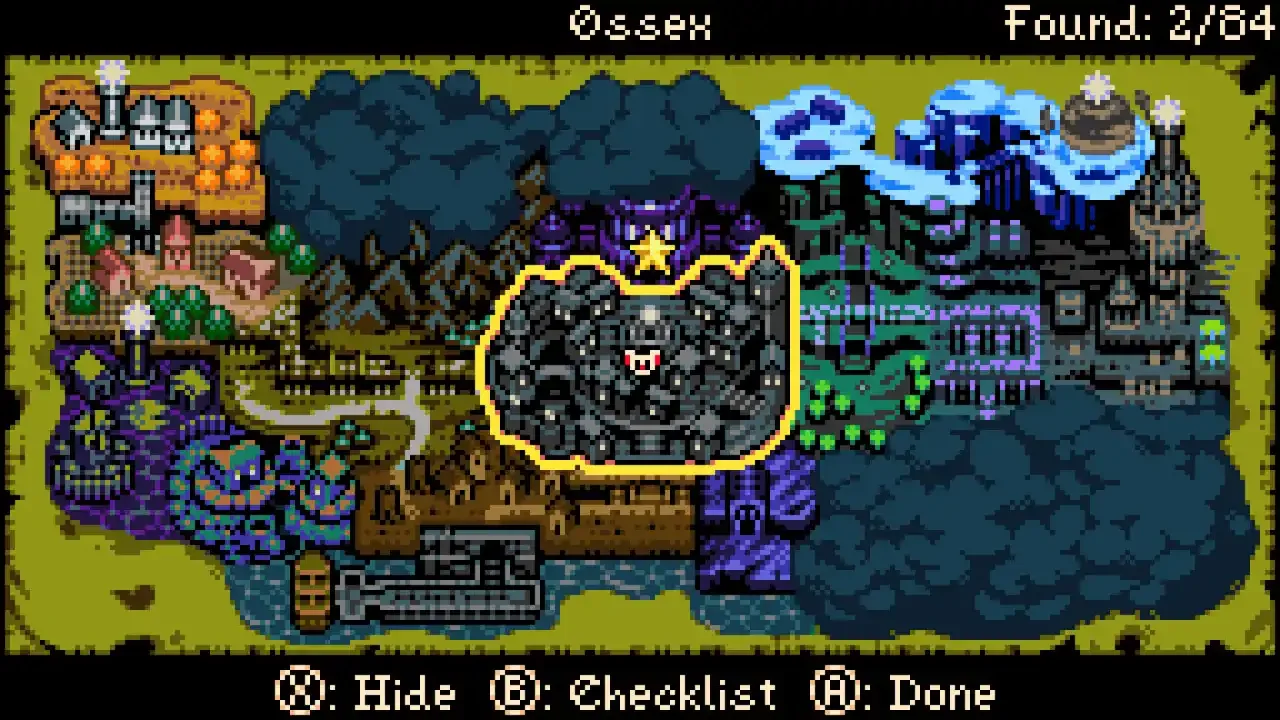
The map in Mina the Hollower functions as a broad regional overview and an area completion checklist rather than a highly detailed grid. It won't hold your hand, but it's absolutely essential if you want to track down missing collectibles. If you're already trying to optimize your routes, you should also unlock the train stations and mirrors by checking out my Mina the Hollower fast travel guide so you don't have to walk everywhere.
Restoring The Hollower's Guild
To get the map, you first need to find the Guild Hall. It's one of the very first buildings you pass when entering Ossex from the south, but the front door is totally blocked off.
Finding The Secret Entrance
Head down the street to your right, hop over the barriers, and smash the crates blocking the side door. Once inside, burrow through the far wall to enter the main hall. You'll meet Muriel, who casually mentions that the other two guild members, Rhene and Drillhardt, are missing in action. Grab the free Kear from the blue chest in the room. You're going to need it.
Rescuing Rhene From The Rebel Barracks
Rhene was captured by Thorne's rebel forces. You'll find her holding cell just south of the city, but getting inside takes a bit of preparation. You need at least one Kear and one Plasma Vial on hand. I also highly recommend having about three Spark Generators active before trying this, otherwise the path might still be blocked.
Escorting Rhene To Safety
Head south out of Ossex into the Southern Outskirts Commons. Walk past the guards, head down the stairs, and keep walking south until you hit a literal wall. Look left to spot a block you can open with your Kear. Jump down, wipe out the enemies, and step on the switch to drop the spikes. Interact with the yellow block marked with a '1' to spend your Plasma Vial and enter the Rebel Barracks.
Make your way down to the lower levels to find Rhene huddled in a corner. Use a Plasma Vial to heal her. If you're empty, smash the nearby candles to find a spare. Once she's back on her feet, you have to escort her out. She can only jump a single tile distance, so you have to constantly burrow around to flip switches and drop spikes to clear a path for her.
If she takes a hit, she panics and runs in circles. Just clear the enemies and interact with her to get her following you again. As a nice bonus, Rhene sweeps the floors while you walk and digs up Joules, Bones, and vials. During the final fight against three guards (including one annoying guy with an extending spike ball), Rhene will start digging up massive bombs. Smack those bombs right into the guards to clear the room, break the crates in the top right corner, and hit the switch to escape.
Rescuing Drillhardt And Upgrading The Underlab
Rhene runs back to Ossex, so you should follow her. Return to the Hollower's Guild Hall and you'll see it looking much cleaner.
Rhene and Muriel fixed the place up, but Drillhardt is still missing. Look at the dirt on the left side of the room to spot a strange green object poking out. Burrow directly under it and pop up to unearth Drillhardt (he was literally just stuck in the floor).
Drillhardt runs the upgrade shop for your Underlab. You can finally buy the Isle Map for 500 Bones, which you can check anytime you visit a checkpoint. Keep checking back with him as you repair more Spark Generators across the island, because he gradually expands his inventory with incredibly useful tools.
Here is everything he eventually offers for your base.