Outbound Farming Guide: How to Build Crop Plots and Stay Fed
Before you collapse from starvation while trying to sprint away from a canyon drop, you need to secure a permanent agricultural loop inside your vehicle.
Survival mechanics in this game are relatively forgiving right up until you completely ignore them. Your hunger level is represented by the green circle wrapped around the banana icon in the bottom right corner of your screen. When that gauge runs dry, your character becomes sluggish and completely loses the ability to sprint. Navigating the massive open zones at a walking pace is pure torture. You can survive your first few hours by stuffing your face with random foliage, but if you want to explore the deeper biomes safely, you have to master the base building mechanics.
Foraging for Immediate Survival
You step out into the first zone with absolutely no infrastructure and an empty stomach. Before you even think about building complex machinery, you have to rely on the environment.
Harvesting Roadberries and Mushrooms
The absolute easiest way to keep your character moving early on is to strip the wilderness of its natural snacks. Keep an eye out for deep green bushes dotted with blue berries. These yield Roadberries, and each one you consume replenishes your hunger gauge by roughly 15 to 20 percent. You will also spot small mushrooms growing near the base of large trees and scattered around thick foliage. These offer the exact same nutritional value.
Grabbing handfuls of raw mushrooms is a great temporary fix, but you have to constantly step out of your van to hunt for them. This ruins your exploration momentum. You need a setup that generates food while you are actively driving to your next objective.
The Processing Prerequisite: Building a Sawmill
You cannot build a functioning farm without refined materials. Most of the mid-game blueprints, including your gardening equipment, require processed wood rather than raw logs.
Locating the Sawmill Blueprint
You will naturally collect plenty of raw Everwood by chopping down the trees with brown trunks and green leaves. You cannot bolt those raw logs directly into a farm bed. You need Everwood Planks, which means you need a Sawmill.
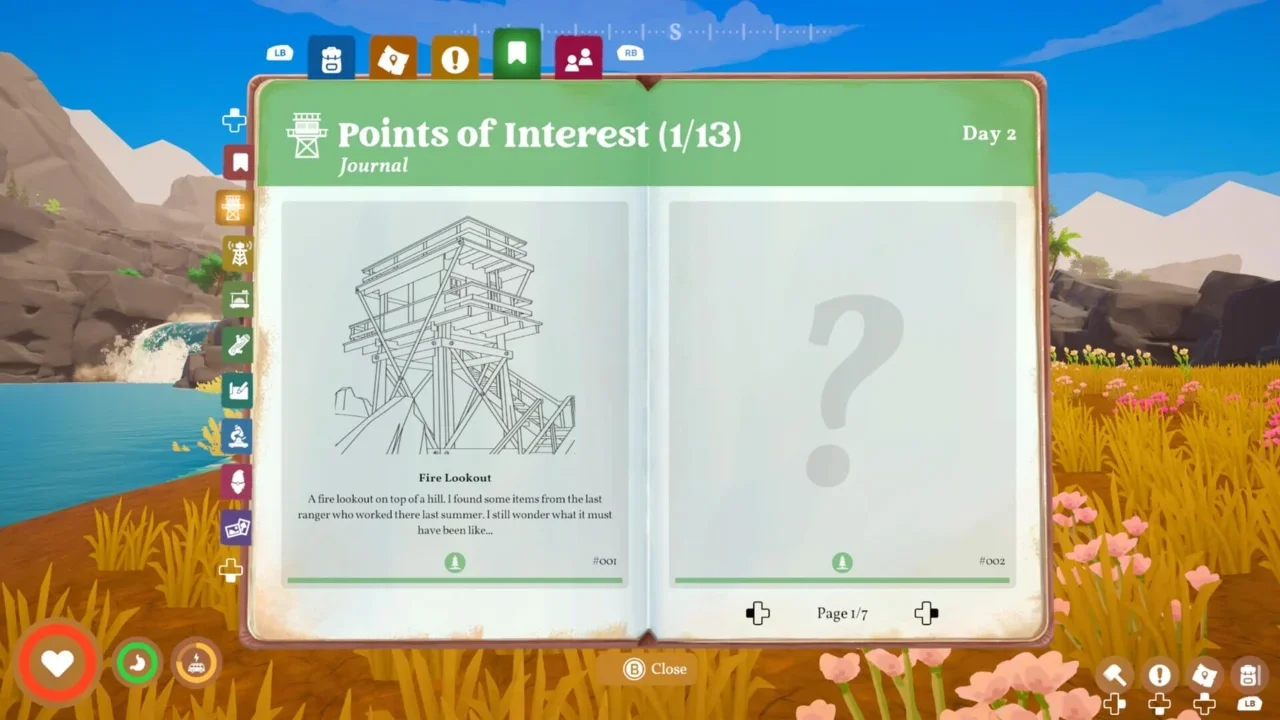
To unlock the machinery, you have to locate the forecast tower sitting just southeast of the Fire Lookout Tower. Climb to the top and interact with the terminal. You must exchange a Download Voucher to secure the Sawmill blueprint. If you are struggling to process litter into vouchers, you should review my breakdown on where to find every basic material.
Assembling the Saw and Processing Planks
Return to your camper van and open the Build Mode menu. Navigate to the Workstations tab and select Material Processing. You cannot just drop the Sawmill on the floor of your van. It must be snapped directly onto a built counter.
Load your raw timber into the input slot and select the 'Off' button to toggle the power on. With your new supply of refined planks, you are finally ready to start farming.
Setting Up Your Agricultural Loop
A few hours into your road trip, you will gain access to the Gardening Blueprint. This is the single most important technology for automating your survival.
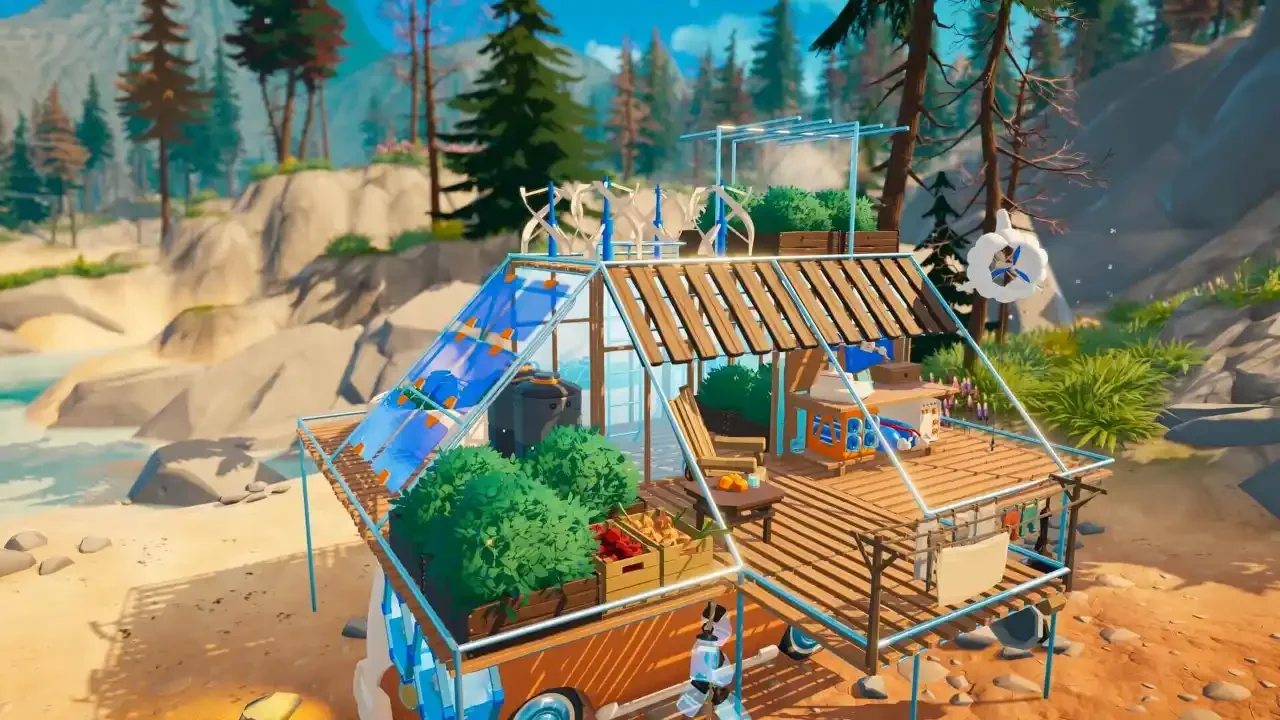
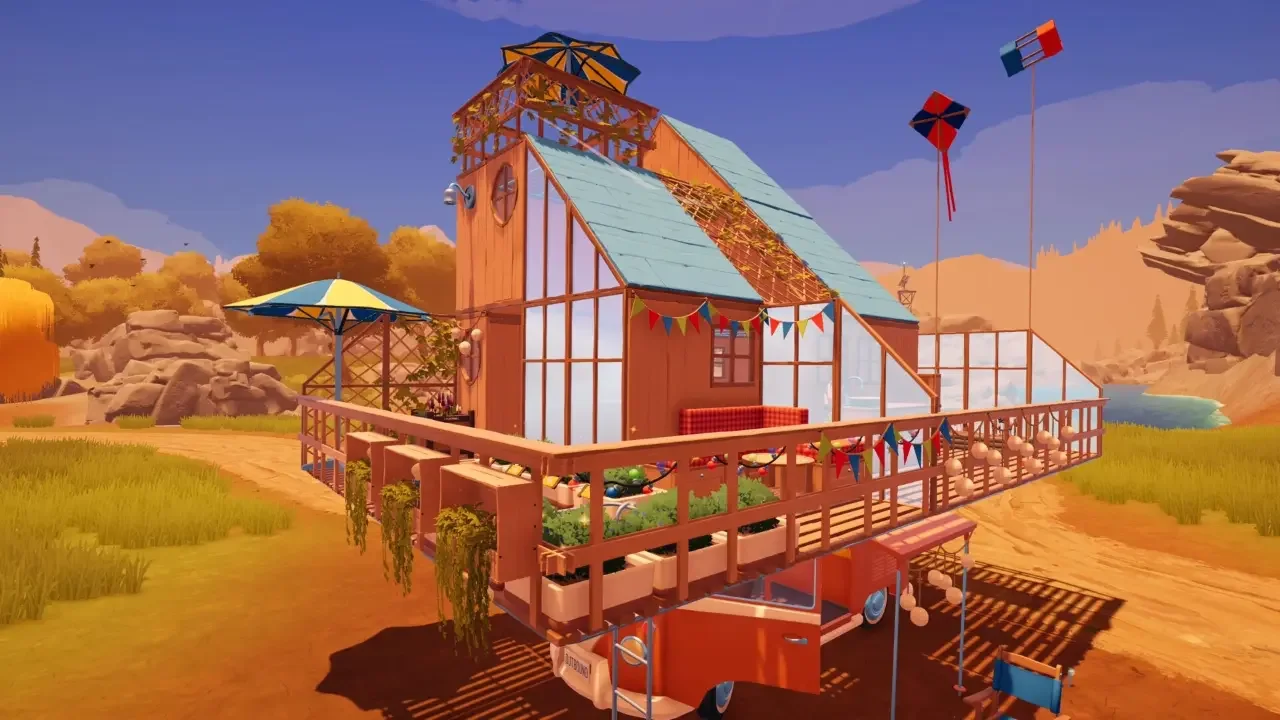
Constructing Crop Plots and Watering Cans
The gardening tech unlocks two crucial items in your crafting menus. You gain the Crop Plot in your standard build menu and the Watering Can at your primary workbench.
Building a basic Crop Plot costs 2 raw Everwood and 2 Everwood Planks. The Watering Can costs 4 Scrap Metal. If you are entirely out of metal, you need to check the ground immediately surrounding any signal towers you pass in the first, second, or fourth biomes. Scrap pieces spawn heavily in those specific spots.
Once you have your watering can equipped and your plot placed neatly inside your living space, you need to understand how the planting mechanics actually function.
How to Plant Without Seeds
You do not need to scour the map looking for tiny packets of seeds. The game simplifies the agricultural process entirely.
Walk up to your newly built Crop Plot and look directly at the small orange label attached to the front frame. Interact with this label to open the planting sub-menu. Click on the empty box on your screen. This pulls up a list of every single fruit, vegetable, or harvestable crop currently sitting in your backpack or locked inside your vehicle storage.
If your inventory is a complete mess and you cannot find your crops, you might need to reorganize your layout using my guide on inventory management and storage capacity. Select the crop you want to duplicate, hit 'Plant', and the item goes into the soil.
Watering and Yields
Once the crop is planted, green text will display beneath the menu screen telling you exactly how many days are left until harvest.
You cannot just walk away and expect a miracle. A small red watering can icon will periodically appear on the orange label. This means the soil is dry and the growth timer has paused. Equip your Watering Can and interact with the soil to hydrate the plant. You have to continually refill your can by interacting with water bottles or the stone wells scattered around the environment.
The payoff is massive. When you eventually unlock the Efficient Crop Plot in the later biomes, the grow times are drastically reduced. If you plant a single Coastberry, maintain the water levels, and wait out the timer, you will harvest 10 fresh Coastberries in return. You turn one piece of scavenged food into an entire week of rations.
The Truth About the Food Processor
You will eventually stumble across a blueprint for a Food Processor. This machine allows you to combine your raw ingredients into complex, high-tier meals.
You can definitely spend your time crafting pizzas and coconut smoothies, but I highly advise against making it your primary focus. The hunger mechanics are incredibly forgiving. I survived perfectly fine just eating handfuls of raw berries and the massive stacks of crops I pulled straight out of my planter boxes. Save your complex crafting materials for engine upgrades and base expansions, and let your automated Crop Plots handle your daily caloric intake. Keep a stack of ten berries in your pocket at all times, and you will never see that green gauge run empty.