Outbound Landmark Guide: Fixing the Windmill and Finding the Lookout
Before you throw your controller across the room because a rusty ladder refuses to let you climb it, you need to understand how the landmark puzzles actually function.
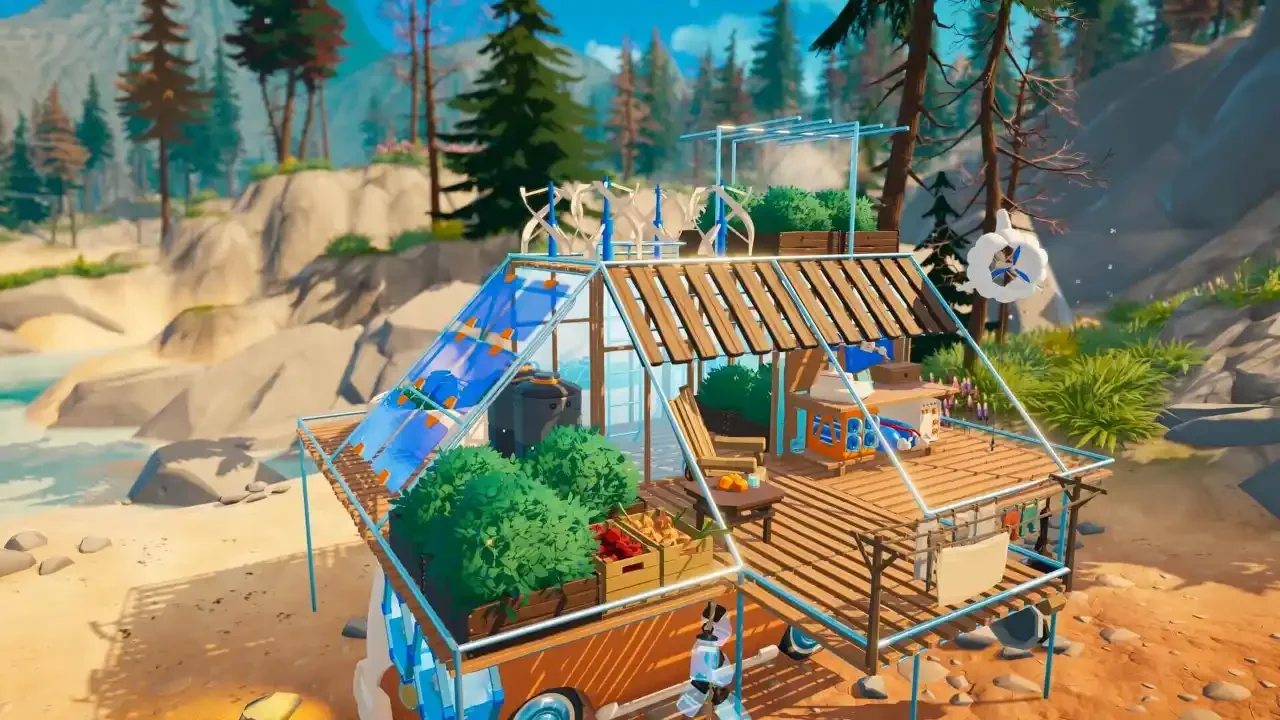
Driving aimlessly across the map is a great way to drain your battery, but you will never actually progress your tech tree without stopping at the massive structures littering the horizon. Landmarks are the core progression gates in this game. They hide the crucial blueprints you need to upgrade your van and survive the harsher biomes. If you roll up to one expecting a free handout, you are going to be severely disappointed. The game locks the best rewards behind fetch quests, environmental puzzles, and occasionally broken geometry. I spent hours wrestling with rotating floors and hunting for hidden observation decks so you do not have to suffer the same fate.
How Landmark Terminals Actually Work
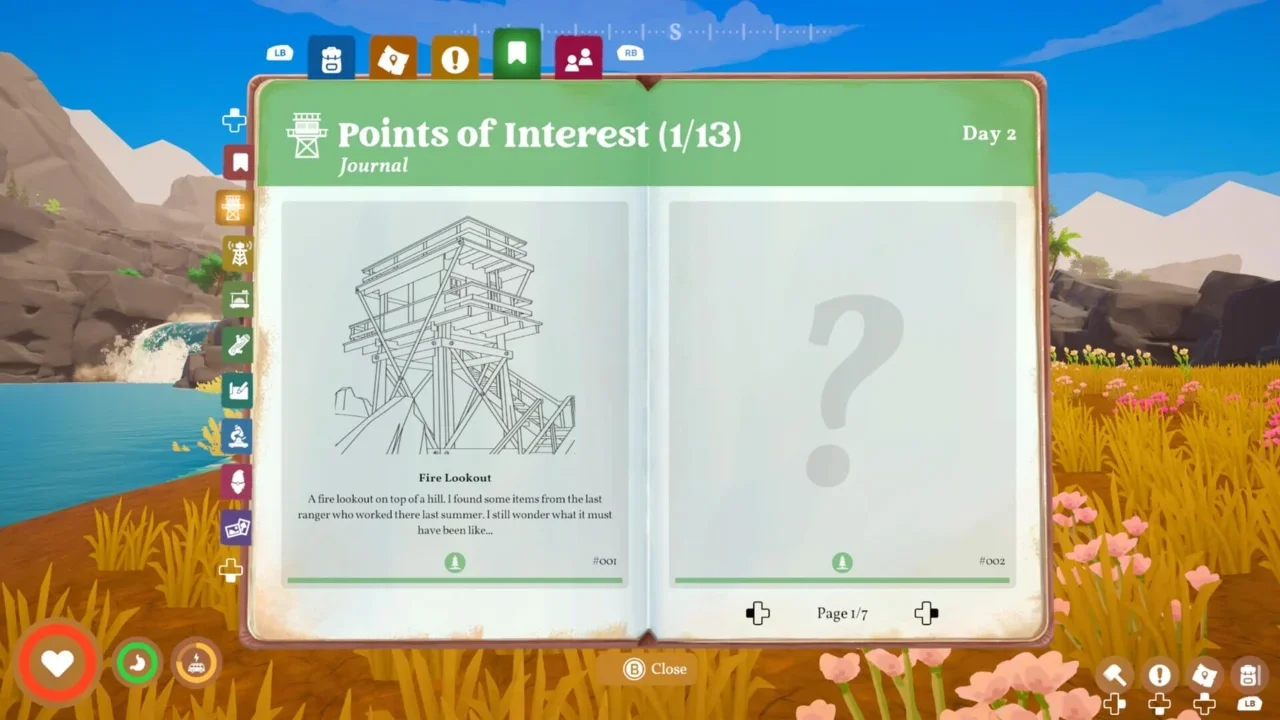
When you spot a giant question mark inside a hexagon on your map, you have found an unvisited landmark. The vast majority of these structures operate on the exact same access logic. You arrive, you find the computer, and you realize you are locked out.
Finding the Three Keys
You cannot just walk up to a terminal and hit the download button. The computer is secured, and you have to scour the immediate area for three specific digital keys. The developers love to hide these items on top of random shelves, under dark tables, and tucked away in corners. You never have to leave the boundaries of the landmark to find them, but you do need to open your eyes.
Once you collect all three pieces of hardware, walk back to the central PC, plug them in, and the blueprint is yours.
How to Fix the Windmill Puzzle
The Windmill completely breaks the standard terminal rules. When you arrive, the power is dead, the terminal room is locked tight, and you have to repair the actual machinery before you can claim the Mortar and Pestle blueprint.
The Rotating Floor Enigma
Head up the first set of stairs until you find a control panel with two levers. These levers rotate the floor above you clockwise and counter-clockwise. If you climb the ladder right now, you will notice a second ladder dangling entirely out of reach. You will also see some shelves and a random wooden plank sitting on some barrels.
Climb back down to the control panel. Pull the left lever exactly two times. Climb back up. The barrels and plank will have shifted over to the wall where the shelves used to be, revealing a hidden switch. Jump onto the barrels, walk up the wooden plank, and hit that switch to drop the second ladder.
Surviving the Glitchy Climb
Be warned, the newly dropped ladder is a technical nightmare. Walking directly into it rarely works. You either have to aggressively jump at it or drop to the lower floor, climb the first ladder, and use your momentum to carry you up the second one. Once you reach the top, make sure you actually land on the upper floor. If you miss the ledge and plummet to the bottom, you are going to eat a massive health penalty.
Repairing the Cogs
At the top, you will find a broken cogwheel sitting directly behind a dead brake lever. You need exactly 20 Scrap Metal to fix the gears. If your pockets are empty, you have to climb all the way down and go scavenge around the nearest signal towers. Do not climb this windmill without checking your inventory first.
Before you climb back down, look to the right of the ladder. The Terminal Executable disk is sitting right there on a wooden crate. Grab it now so you do not have to fight the glitchy ladder a second time. Once the cog is repaired, pull the brake lever to restore power. The giant blades will start spinning, the door downstairs will unlock, and you can finally access the terminal to get your Mortar and Pestle blueprint.
Finding the Stormhold Overpass Lookout
Not every landmark holds a terminal or a shiny new schematic. The Stormhold Overpass in the northern coastal biome is essentially just a giant bridge with a completely different type of objective.
Locating the Observation Deck
The game simply tells you to find a lookout with a clear view of the entire overpass. Do not waste time scouring the bridge supports for a computer terminal that does not exist. Head northeast from the bridge itself, moving toward the campfire in the area. You are looking for a small wooden observation deck built right onto the edge of the cliffside.
Walk onto the deck and stand directly in front of the blue binoculars mounted on the stand. Turn your camera to look at the massive bridge on your left. The game will quietly check off the objective and clear it from your screen.
The Hidden Loot Drop
You do not get a blueprint or a material reward for doing this. It feels a bit hollow, but you do not have to leave empty-handed. From the lookout side of the bridge, face the massive structure and look to your left. You will spot a dirt path leading down underneath the bridge supports. Follow it down into the shadows to find a supply box packed with useful items. It is not a massive tech upgrade, but it absolutely justifies the detour.