Outbound Beginner's Guide: 10 Things I Wish I Knew Before Playing
Before you stall out in a desert canyon with a smoking engine and zero inventory slots, let me save your road trip.
The cozy aesthetic of this game is a massive trap designed to lull you into a false sense of security right before it hands you a brutal inventory management grind. You roll out of the starting area with a tiny van, incredibly limited pockets, and absolutely zero instruction on how to actually build a mobile base. I spent my first few hours dropping valuable metal in the dirt and overheating my engine because I did not understand the underlying mechanics. To save you the frustration of backtracking across the entire map on foot, I have compiled the ten crucial systems you need to understand immediately.
Essential Camper Van Mechanics
Your vehicle is your entire lifeline. If you do not understand how to optimize its carrying capacity and storage, you will spend half your playtime crawling up shallow hills at a walking pace.
1. Your Starting Chassis Choice is Permanent
The game hits you with an irreversible decision before you even take control of your character. You have to pick a starting vehicle, and you can never swap it for a different model on that save file. While the Pathmaker handles corners beautifully, the interior space is completely miserable. I highly advise you to pick a model with maximum build space, like the Big One. If you are terrified of making the wrong call, read my full breakdown on which starting vehicle to choose so you know exactly what you are getting into.
2. The Auto-Deposit Hatch Will Steal Your Food
Your van is your primary storage unit, but the physical hatch to dump your items is practically invisible. It sits right below the rear left window near the back tire. Interacting with it automatically dumps your entire backpack into the van storage. This sounds amazing until you realize it just deposited all your food and the Download Vouchers you need for tech upgrades. You have to manually lock items in your backpack menu by clicking the padlock icon.
3. Vehicle Weight Actually Matters
Your character is not the only thing that suffers from carrying too much junk. Every piece of furniture and raw log you toss into the back lowers your vehicle's energy use rating. A heavy van struggles to drive and drains the battery much faster. You have to build the Vehicle Research Station and craft Bolt Press upgrades to increase your maximum payload. Do not ignore your motor info panel, or your van will turn into a very expensive brick. I cover the exact crafting loop for this in my guide on how to store items and increase capacity.
Survival and Power Management
You cannot survive on metal shavings, and your van cannot run on hopes and dreams. You have to secure your power grid and food supply early.
4. Stop Burning Raw Wood for Fuel
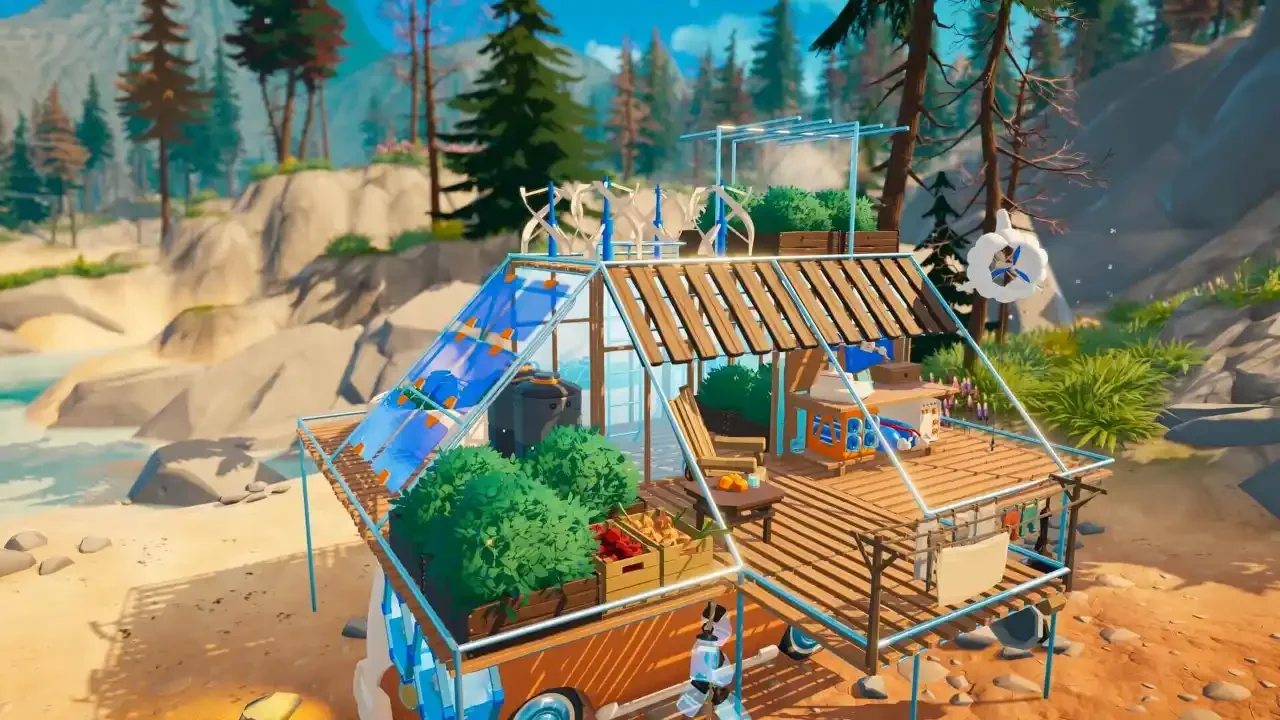
When your battery gets low, the game tells you to throw raw Fiber and Everwood into the engine burner. This is a terrible long-term strategy. Wood is a critical crafting component for almost every base upgrade. Burning it just to drive down the road will completely throttle your progression. Focus on finding recharge stations out in the world, and prioritize building an upper deck on your van so you can install a permanent solar panel array.
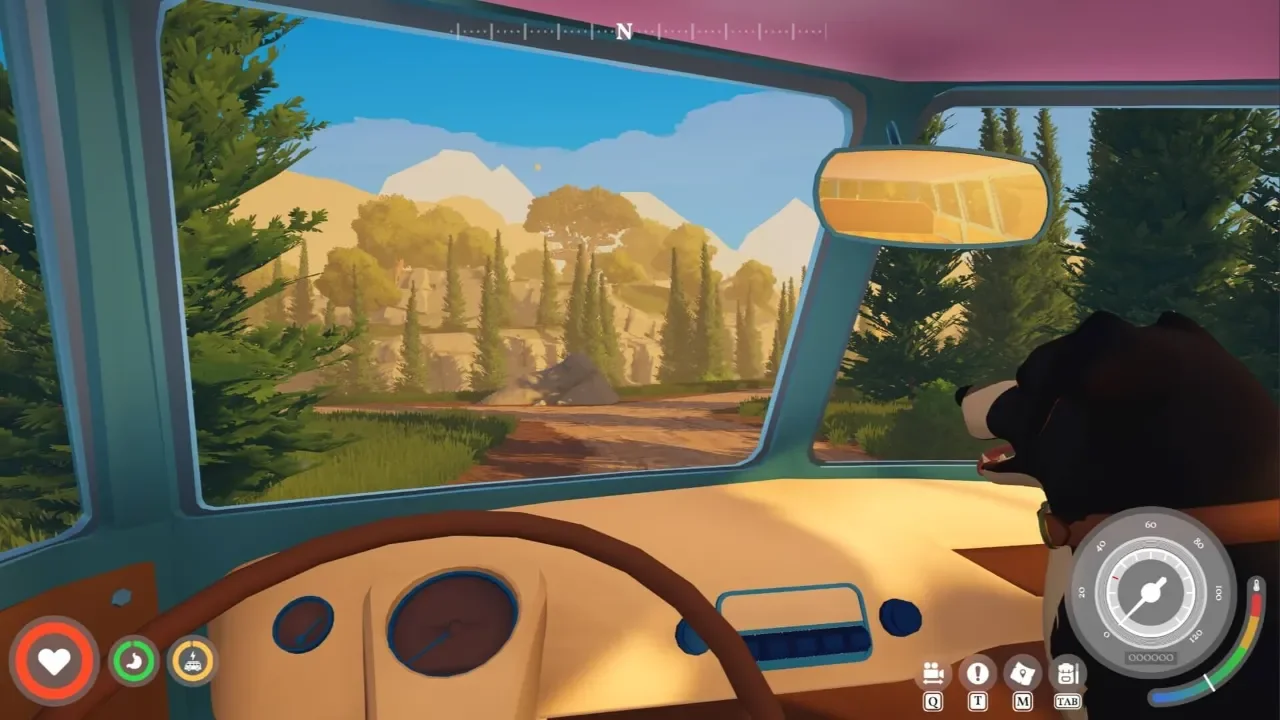
5. You Can Cool the Engine with Drinking Water
Eventually, you will drive into the northwest section of the canyons. The extreme heat will cause your engine temperature gauge to spike and shut off your vehicle completely. You can just step out of the van and let it air cool, but if you are in a rush, you can open the engine bay and pour your drinking water directly onto the block. Each splash drops the heat by roughly 25 percent. To fix this permanently, you will need to hunt down Hardened Metal.
6. Farming Does Not Require Seeds
Your hunger gauge dictates your ability to sprint. If you let it run dry, you are stuck walking. You can forage for wild berries, but building a Crop Plot inside your van is the only way to automate your food supply. The game never explicitly tells you that seeds do not exist. If you want to grow carrots, you just open the planter menu and stick a full, raw carrot directly into the dirt. Just remember to water it. If you want to maximize your yields, review my guide on how to farm and stay fed.
Progression and Tech Trees
You cannot guess your way through the technology tree. You have to physically locate the data in the open world before your character knows how to assemble the parts.
7. The Sawmill is Your First Major Bottleneck
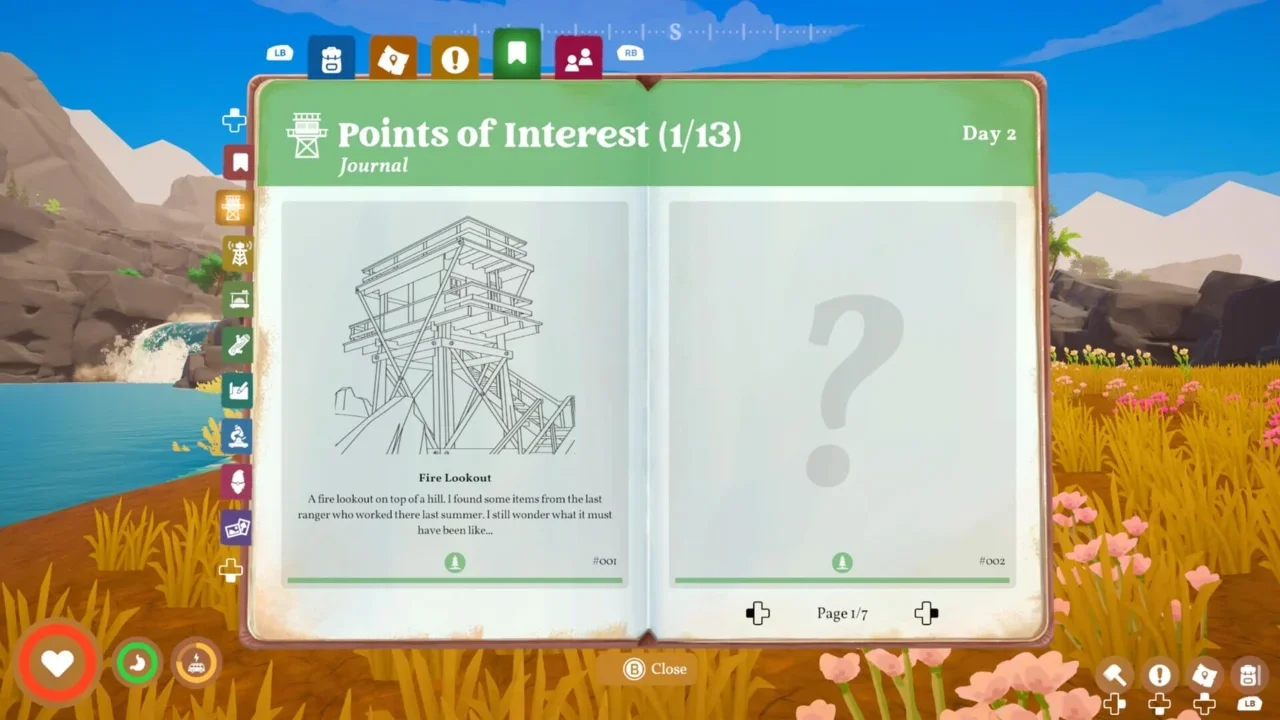
You will collect massive piles of raw Everwood during your first hour. Raw logs are useless for building complex base parts. You need Everwood Planks, which means you need to find the Sawmill blueprint immediately. Do not aimlessly wander the map hoping to stumble across it. Head directly to the forecast tower located southeast of the Fire Lookout Tower and trade a Download Voucher for the schematic. If you get confused by the processing loop, I have a dedicated guide to help you find the sawmill blueprint.
8. Landmarks Hide the Best Blueprints
Those massive structures dominating the horizon are not just for decoration. They act as the primary progression gates. Every landmark features a locked computer terminal. You have to scour the immediate area to find three specific digital keys to bypass the security. Some of these structures require you to solve environmental puzzles to even reach the terminal. The windmill rotation puzzle is notoriously annoying. If you get stuck climbing broken ladders, follow my walkthrough on fixing landmarks.
Exploration and Companions
The map is massive, and trying to gather everything entirely on your own will drain your sanity.
9. Scrap Metal Disappears in the Canyons
Scrap Metal is used for almost every essential workstation in the early game. You will find it littered on the ground immediately next to the metallic Signal Towers in the starting biomes. It respawns daily, so farm it aggressively. Once you reach the canyon biomes, the towers change to wooden structures, and the free metal completely vanishes. Stockpile it early so you do not have to backtrack. If you are struggling to locate other base components, I mapped out the entire material index in my guide on where to find every resource.
10. Your Dog Can Automate the Grind
Do not ignore the Paws & Whiskers Lodge in the second biome. Adopting a dog immediately grants you a companion with a 10-slot inventory backpack. That alone is worth the trip, but you can actually train the dog to hunt for rare materials while you manage your base.
You have to build the Dog Research Station and the Companion Training Station to unlock these abilities.
If you combine these two tricks, your dog becomes an automated farming machine. If you want the full breakdown on pouch upgrades and research costs, I cover it all in my guide on how to adopt and train your dog. You handle the driving, and let the dog handle the heavy lifting.