Outbound Inventory Management: Expanding Your Pockets and Van Storage
Before you find yourself stranded in a canyon with a broken spine and zero inventory slots, you need to understand how the storage mechanics actually function.
Survival games are secretly just inventory management simulators dressed up with pretty lighting and crafting trees. When you first step out into the world, your natural instinct is to pick up every single stick, rock, and scrap of metal you see. You will quickly realize the base carrying capacity is a complete joke. The tutorial objectives practically ignore the storage mechanics entirely, leaving you to figure out why your character suddenly refuses to move. I spent my first few hours dropping valuable resources in the dirt, but I have mapped out the exact path you need to follow to expand your backpack and offload your junk.
The Nightmare of the 20-Slot Limit
You start the game with a miserable 20-item limit. To make matters worse, stacked items do not condense into a single slot. If you pick up ten pieces of Scrap Metal, they occupy ten individual slots in your backpack. You need a safe place to dump your materials before you can even think about exploring further.
Finding the Hidden Storage Hatch
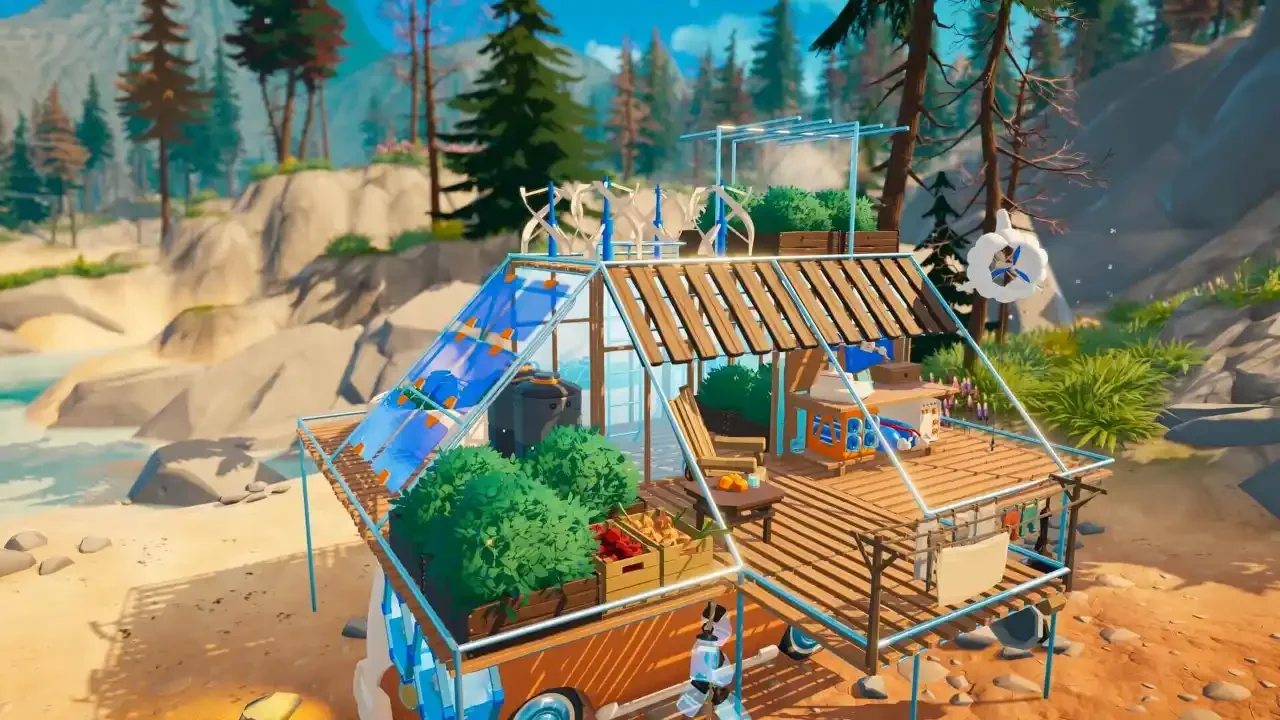
Your van is your primary storage unit. The actual interface to deposit your items is remarkably easy to miss. The game does not give you a massive glowing chest in the middle of your living room.
To dump your materials, you need to walk outside and look at the rear left side of your vehicle. Just below the rear window and near the back tire, there is a small hatch door. It only highlights when you look directly at it. Interacting with this hatch automatically deposits every single item in your backpack directly into the van.
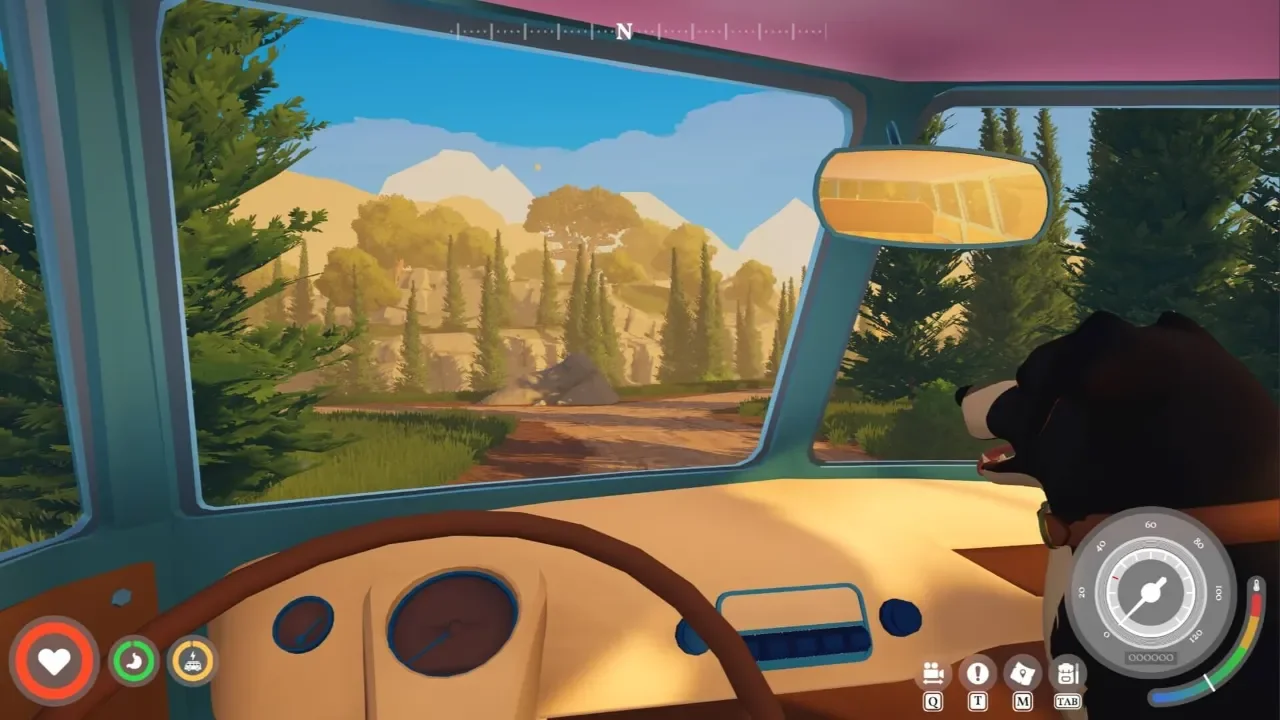
Retrieving items is another confusing hurdle. If you just click the hatch again, nothing happens. To actually see what is inside your van, look slightly above the hatch container to the mirror. If you hover over the mirror and select it, the storage interface opens up. From here, you can manually transfer materials back into your backpack. You rarely need to do this because your workstations and building menus automatically pull resources directly from the van storage. You do not need to hold the raw materials in your physical inventory to construct new parts.
How to Lock Your Valuables
The auto-deposit feature sounds incredibly convenient until you realize it takes everything. It will strip you of the food you need to survive and the Download Vouchers you need for unlocking terminals.
To prevent this, you have to manually lock specific items. Open your inventory, select the item you want to keep on your person, and click the open padlock icon in the top right corner of the description box. If you are playing on a controller, press the Square or X button. This locks the item in place so the auto-deposit feature ignores it entirely.
Upgrading Your Backpack Capacity
Offloading items into your van is great, but you still need more pocket space to make long gathering trips viable. You have to break free of the default restrictions by crafting better gear.
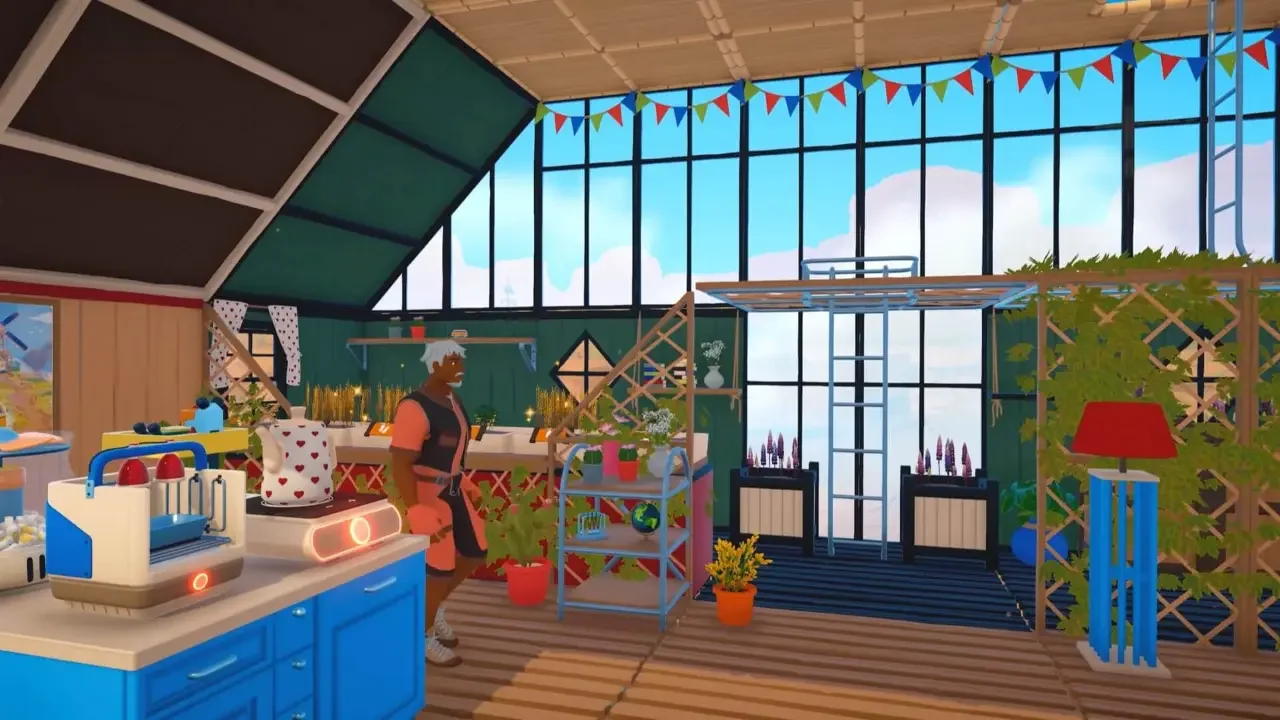
Crafting the Sewing Table
You need to construct a Sewing Table inside your van. You unlock the blueprint by interacting with the computers at various landmarks or by downloading it from a signal tower. The table itself only costs five Fiber to build. If you are struggling to identify the right plants to harvest, you should review my breakdown on where to find every basic material. You are looking for the slim orange and brown plants scattered around the starting biome.
Once you place the Sewing Table in your van, you automatically gain access to the Backpack Upgrade 1 recipe. This upgrade costs 12 Fiber and immediately doubles your carrying limit from 20 to 40. You will need to scour the map for more signal towers to unlock the subsequent tier upgrades.
Health and Stamina Bonuses
While you are using the table, take a moment to tab over to the clothing menu. You can craft gear using Thread and Rough Stuffing to permanently increase your max health and stamina. Do not ignore these upgrades, as they make sprinting away from danger and exploring harsh environments much more forgiving.
Increasing Your Camper Van Payload
Your character is not the only thing that can suffer from carrying too much junk. Every piece of furniture, workstation, and raw material you load into the vehicle adds to the overall build weight.
Checking Your Motor Info
You can check your current status by opening the engine bay and interacting with the Motor Info panel on the right side. Look at the energy use rating in the top left corner. As you weigh the van down, this rating drops. A low rating means the engine struggles to move the chassis, resulting in sluggish driving and rapid battery drain.
If you picked a heavy chassis from the start, you might already be feeling the drag. If you want to know how the different models handle weight, check out my guide on which starting vehicle to choose. Driving an overloaded van makes keeping your battery charged a total nightmare, which I covered extensively in the camper van power guide.
The Upgrade Crafting Chain
To increase the amount of weight your van can handle without failing, you have to work your way through a specific mechanical crafting chain.
If you do not have the Everwood Planks required for the initial research station, you need to set up a processing loop. Read my breakdown on how to build a sawmill so you can convert raw timber into actual building supplies. Once you lock in the first weight upgrade, your engine will run much smoother and you can finally start hoarding materials without penalizing your top speed.