Outbound Camper Van Guide: Upgrades, Power, and Engine Cooling
Before you find yourself stranded in the desert with a smoking engine and a dead battery, you need to turn your starter vehicle into a self-sustaining mobile base.
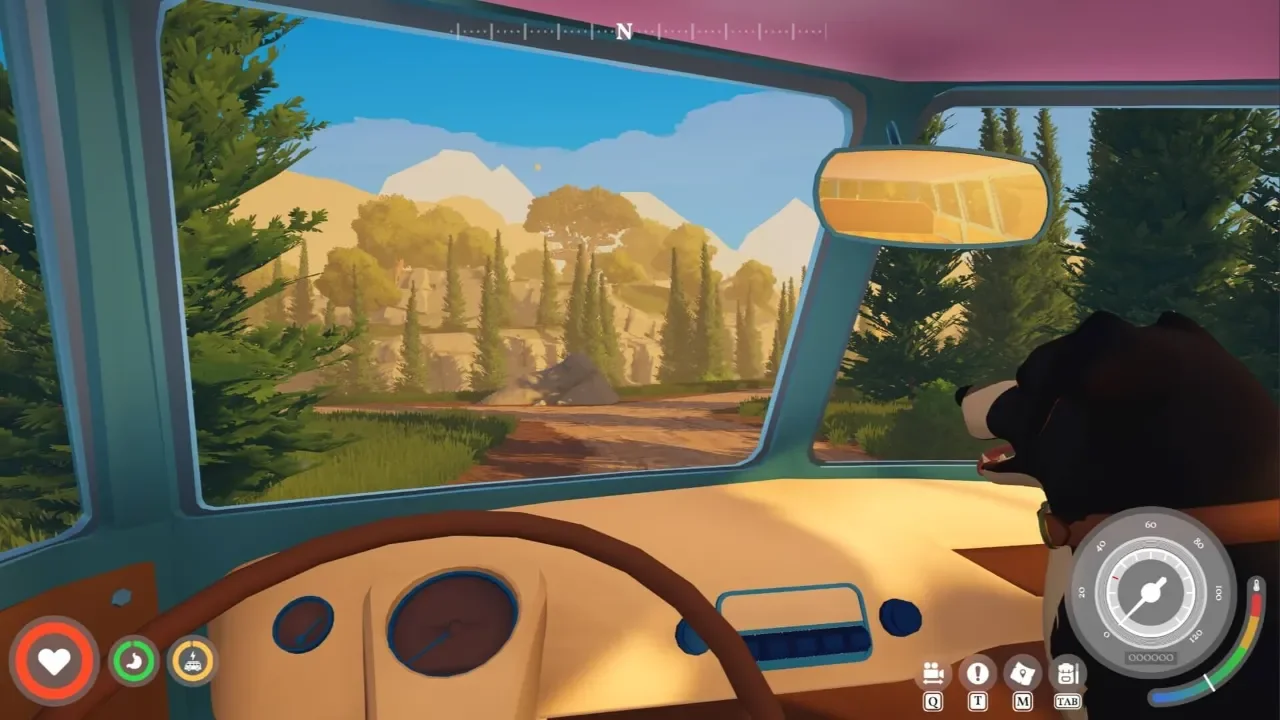
The open road in this game is gorgeous right up until your dashboard lights start flashing red. When you first roll out of the starting area, your van is painfully slow, tiny, and incredibly inefficient. If you are still paralyzed on the main menu, I highly advise checking my guide on which vehicle to choose because your base chassis absolutely dictates your early game. Once you are actually driving, your primary focus shifts to survival and expansion. You need to manage your battery life, secure the Vehicle Research Station, and upgrade your radiator before the harsher biomes literally stop you in your tracks.
Unlocking the Vehicle Research Station
You cannot just magically bolt better engines to your chassis. You have to build a Vehicle Research Station inside your van to access the upgrade tree, and getting the blueprint requires some legwork.
Hunting for the Blueprint
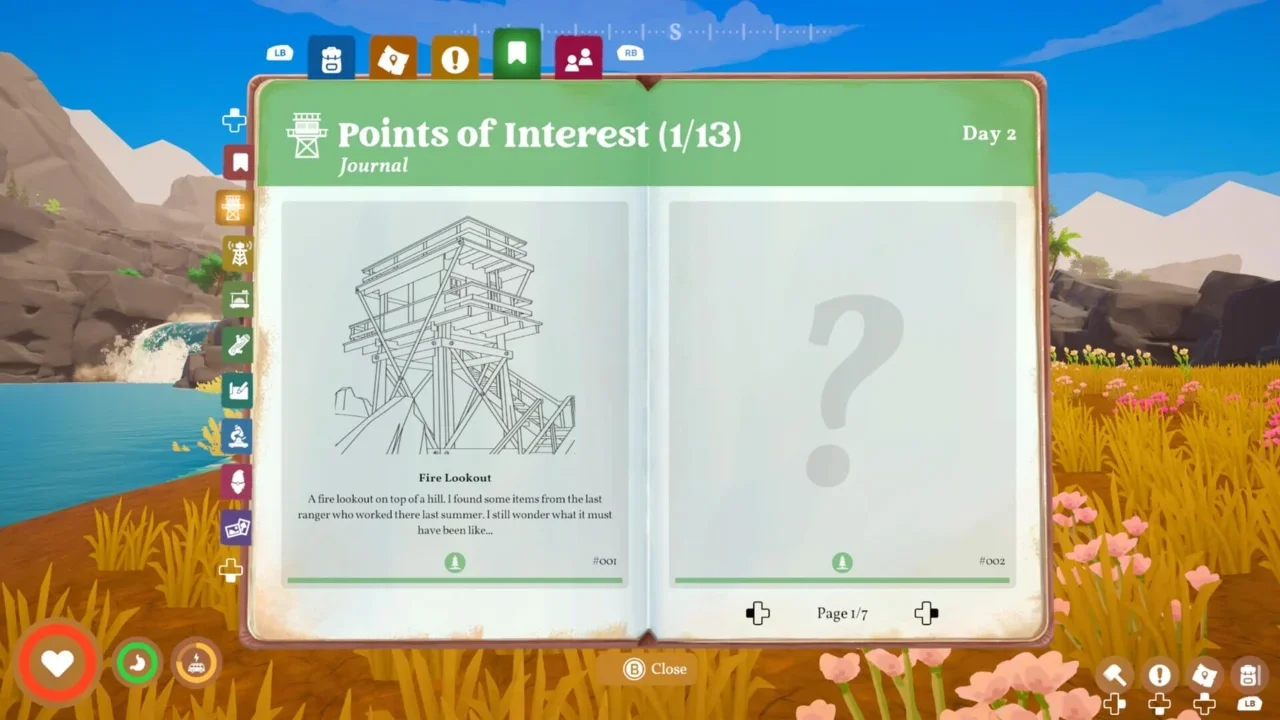
You unlock this blueprint at a terminal attached to a Signal Tower. In my playthrough, I found it locked inside The Community Tree landmark just across the broken bridge north of the Fire Lookout. Keep in mind that the game dishes out blueprints randomly based on the order you unlock them. If it is not at the tree, just keep hitting up the points of interest marked with a question mark on your map.
Once you have the data, place the little station on any empty countertop inside your van. The great thing about this station is that it pulls resources directly from your van storage, so you do not need to juggle raw materials in your backpack. If your trunk is already overflowing, you should read my breakdown on how to expand your inventory and carry capacity.
The Complete Camper Van Upgrade Tree
These upgrades are meant to last your entire playthrough, so do not panic if you lack the materials for the high tier stuff right away. Focus on the basics and climb the tree as you explore new biomes.
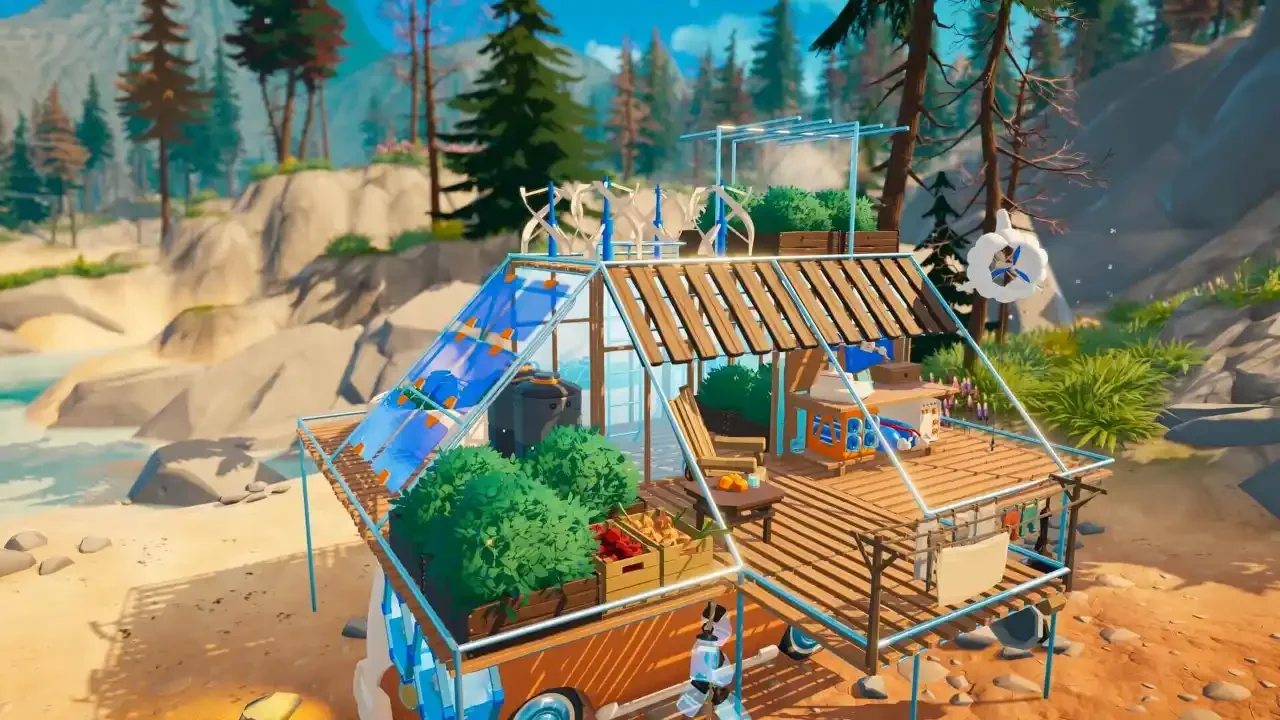
Expanding Your Space with the Upper Deck
Your starter van barely has enough room for a bed and a single workbench. Before you worry about advanced machinery, you need raw physical real estate.
Claiming the Building Blueprint
To unlock the second floor, you need to secure the Building blueprint. Head north from the Fire Lookout tower until you spot the Treehut landmark. You have to find three specific items to unlock the central PC terminal.
Grab the Signal Decryptor from the shelves opposite the PC. Walk out of that room, turn right, and climb the ladder to grab the Password Databank sitting near the fungi cases. Finally, climb the ladder on the opposite side of the PC room to find the Terminal Executable. Plug all three into the computer, and the blueprint is yours.
Return to your camper van and open the rear window to access your workbench. You can craft the Base Building Deck for 10 Everwood and 3 Scrap Metal. If you are lacking processed planks, you should read up on how to build a sawmill to speed up your production. Once crafted, a hatch appears in your roof with a ladder, giving you an entirely new level to lay down wooden floors and walls.
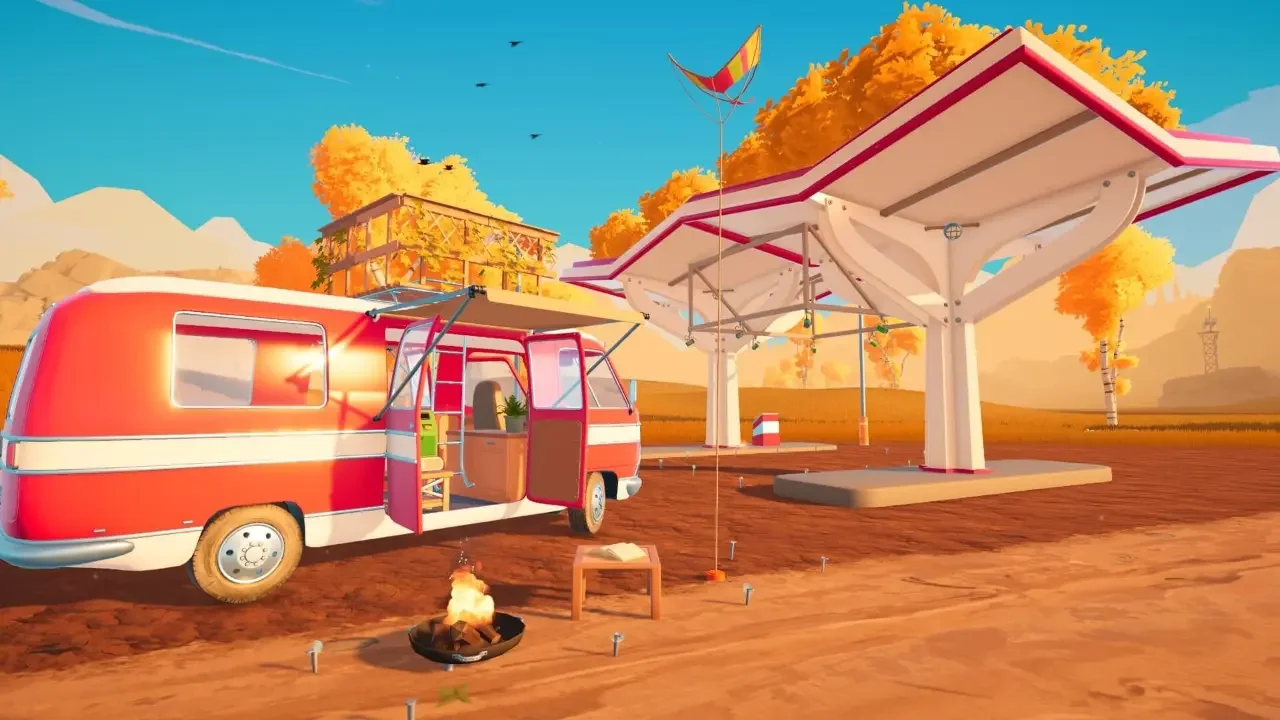
Recharging the Battery and Green Energy
Your battery drains rapidly as you drive around. If you ignore your fuel gauge, you will end up completely stalled out.
Stop Burning Your Crafting Wood
In the early hours, the game prompts you to throw raw Fiber and Everwood into the engine burner to keep moving. I highly advise against relying on this. Wood is a critical crafting material. Burning it just to drive down the road will completely throttle your base progression.
Instead, look for Recharge Stations. They look like tiny, abandoned gas stations marked with a lightning bolt icon. Park your van inside the ground markings, hit the terminal button, and your battery fills up for free. They have a 15-minute cooldown, so use them wisely.
Setting Up Solar Power
The permanent solution is green energy. Once you build your upper deck, you can place solar panels and wind turbines on the roof. A basic solar panel only costs 5 Scrap Metal. Snap it onto your wooden flooring, and as long as you are parked in direct sunlight, the battery fills up automatically. Since the weather changes daily, I always install a mix of solar panels and wind turbines to guarantee a steady charge regardless of the forecast.
Beating the Heat and Engine Overheating
Eventually, your road trip takes you into the northwest section of the canyons biome. The ambient heat is brutal, and your engine will not survive long without modifications.
The Temporary Water Fix
About thirty seconds after crossing the border, your engine temperature gauge spikes into the red. If it stays there, the engine completely shuts off. You can step out of the van and let it air cool. If you are in a rush, open the engine bay and pour your drinking water directly onto the block. Each splash drops the temperature by roughly 25 percent. Do not waste your entire drinking supply doing this, especially since you need that water for farming and cooking.
Installing the Cooling System
To fix this permanently, you must craft the Cooling System Upgrade. You need Hardened Metal, which does not spawn in the starting zone. Drive to the northeast section of the canyons where the ambient temperature is slightly lower. Mine Red Ore deposits and run them through a Metal Smelter. If you cannot find the ore, check my complete resource locations guide.
Research the upgrade at your Vehicle Research Station for 2 Hardened Metal, 4 Electronics, and 10 Water. Finally, build the physical part at your workbench using 5 Hardened Metal and 4 Electronics. Once you bolt the new cooling system onto your engine block, you can drive through the deepest parts of the canyon without constantly pulling over to pour water on a steaming engine.