Palworld 1.0 Tier List: The Only Pals Worth Your Time
The 1.0 update rebalanced the roster and added new raid bosses, rendering a lot of older early access strategies obsolete.
The raw numbers on a stat sheet rarely tell the whole story. A massive attack rating just gets you killed if a long animation locks your Pal in place during a boss mechanic. Similarly, Level 6 Handiwork is a waste of a base slot if the AI constantly wanders away from the assembly line. I built this ranking based purely on how these creatures actually handle late-game resource loops and high-tier raids.
S-Tier: The Heavy Hitters
These choices form the foundation of a late-game setup. They offer solutions to the hardest encounters and streamline the most tedious base tasks.
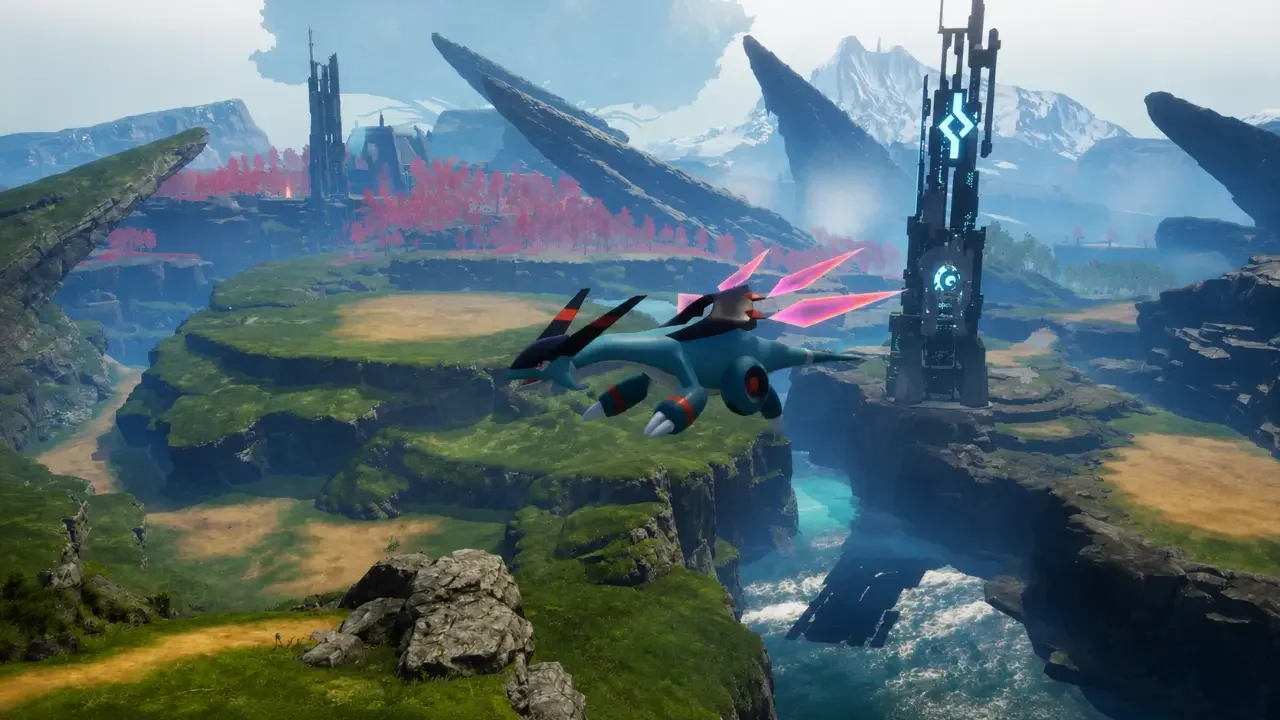
Jetragon (Dragon): The flight speed alone makes this mandatory. Trying to cross the map on anything slower feels like a punishment after you unlock this mount. The missile barrage skill also clears out enemy camps in seconds, saving you ammunition.
Hartalis (Neutral): The Sacred Barrier skill blocks incoming damage while you ride it. Boss attack patterns in high-tier raids frequently drop your health to zero if you misstep. Hiding behind the barrier gives you a reliable way to survive those damage spikes without relying purely on dodge rolls.
Bellanoir Libero (Dark): Standard Dark attackers tend to struggle against high-level targets, but the Siren of the Void passive solves that problem. It boosts Ice damage on a Dark creature, giving you a clean counter against late-game Dragon types.
Neptilius (Water): Ocean travel is often annoying due to sheer cliffs blocking the shoreline. Neptilius fixes this with a vertical water jump that clears the rocks easily. At home, its Level 7 Watering skill finishes crop cycles almost instantly.
Anubis (Ground): Anubis earns a spot for Level 6 Handiwork and a great combat sidestep, but it comes with a frustrating catch. I spend half my time physically carrying it back to the assembly line because its AI constantly decides mining a nearby rock is more important than building my items. You have to build your base entirely clear of natural ore spawns if you want it to stay on task.
A-Tier: Reliable Specialists
These picks do exactly one thing incredibly well, but they often require a specific setup or environment to actually shine.
Astegon (Dragon/Dark): This is your primary ore farmer, but you have to actively ride it to get the bonus yield. If you hop off the saddle to fight a passing enemy and let Astegon swing at the rocks automatically, you lose the extra materials entirely.
Ragnahawk (Fire): It lacks the top-end speed of Jetragon, but it makes up for it with a small collision box. Large flying mounts constantly get jammed on low ceilings and narrow walls inside cavern dungeons. I take Ragnahawk into caves simply because it fits through the geometry.
Paladius (Neutral): A solid ground mount choice. The triple jump clears cliffs smoothly, and the high base sprint speed gets you across flat terrain quickly when flying isn't an option.
Selyne (Dark/Neutral): A great worker with Level 7 Handiwork, but securing one relies on the Meteorite Event in Sakurajima. Because it relies heavily on random event spawns, it takes a lot of luck to actually add one to your base.
B-Tier: The Stepping Stones
You rely on these options to bridge the gap between the mid-game and the elite boss encounters. They are accessible and get the job done until you find upgrades.
Fenglope (Neutral): A dependable double-jump mount that carries you through the middle hours of the game. It earns this spot because the breeding requirements are incredibly simple. You can mix basic early catches like Chikipi and Lapure to get one long before you venture into dangerous territory.
Knocklem (Ground): A capable hauler with Level 7 Transporting and Mining. In a fight, you can activate its self-buff to increase its defense, letting it hold a boss's attention while you reload.
Skutlas Ignis (Water/Fire): Instead of relying on the standard AI to land hits, this creature transforms into a katana. It gives you direct, manual control over your damage output, which is useful when you are trying to carefully lower a target's health for capture.
C-Tier: Niche Applications
These choices fall behind in raw numbers, but they possess specific utility that keeps them relevant in very narrow situations.
Jormuntide (Dragon/Water): It cannot jump over terrain like Neptilius, but it completely removes stamina drain while moving across flat water. If you need to cross a wide stretch of deep ocean and don't have a fast flyer yet, this guarantees you won't run out of energy and drown halfway.
Mossanda Lux and Grizzbolt (Electric): The mounted grenade launcher and minigun skills inflict heavy stagger on enemies. This lets you stun-lock early syndicate camps and clear out outposts safely. They lose their punch in the late game, but they are great tools for your first dozen hours.
Felbat (Dark): The Life Steal passive siphons health during a fight. It won't save you from a late-game raid boss attack, but it keeps your health topped off during long exploration runs so you can stop burning through your medical supplies.