Palworld Guide: How To Rob The New 1.0 Wildlife Sanctuaries
Getting vaporized by a laser drone was definitely not on my bingo card when I went to catch a fuzzy forest creature.
The 1.0 update stripped away the safety of the early access islands and replaced them with protected conservation areas enclosed by huge energy barriers. You can still walk straight through the fields, but the ancient civilization that built these reserves left behind a highly aggressive security system.
Understanding the Drone Patrols
Security drones sweep every sanctuary with bright red detection beams. If a drone spots you, the game immediately flags you for trespassing and activates the crime system. A wanted level means stronger pursuers will continuously spawn to hunt you down.
The drones deal incredibly heavy damage, and defeating them rewards you with absolutely nothing. Engaging in a firefight is a pure drain on your ammunition and armor durability. You have two choices when running a sanctuary. You can carefully sneak through the searchlights to grab your loot, or you can go loud and fight through the heat. If you botch a stealth run, just sprint behind a rock formation to break line of sight and wait for the drones to stand down.
Wildlife Sanctuary No. 1: The Forest
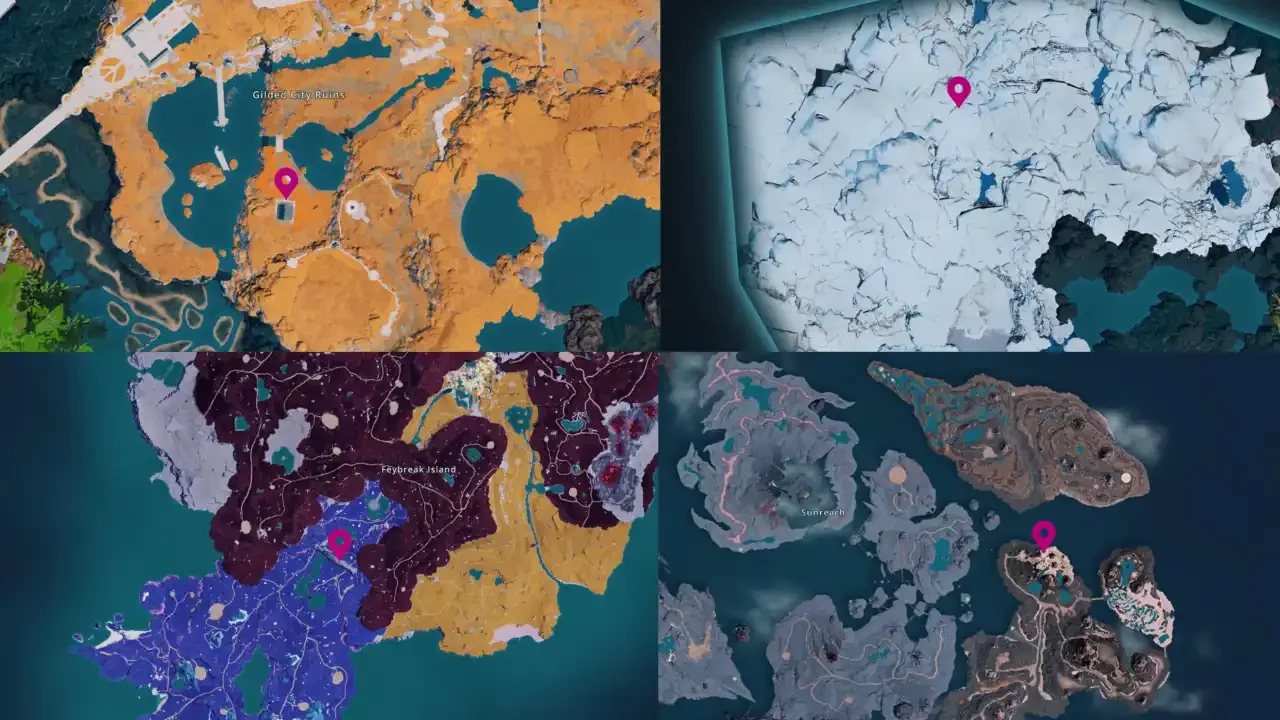
The Forest Sanctuary acts as your baseline introduction to the new heist mechanics. You can reach it by teleporting to the Sea Breeze Archipelago Castaway Great Eagle Statue and heading north to coordinates (57, -677).
Your primary goal on the ground is harvesting Ancient Bark. The local wildlife provides excellent workers for early base upgrades, featuring Elgrove, Lunaris, Vaelet, Eikthyrdeer Terra, Elphidran, and Penking. The main target here is a Grizzbolt boss. Instead of burning through your heavy ammo in a prolonged fight, wait for it to sleep and throw an Exotic Sphere to capture it quietly.
The Tier 2 chests scattered around the forest give you Sapphires, Bellanoir Slab Fragments, and a range of weapon schematics from handguns to swords. Pendants no longer drop from these chests at all. You have to craft them yourself now, meaning farming these boxes for accessory upgrades is a dead end.
Wildlife Sanctuary No. 2: The Volcano
The Volcano Sanctuary turns up the difficulty with a completely open layout. Travel to the Ruined Fortress City in the north and head to (-677, -113).
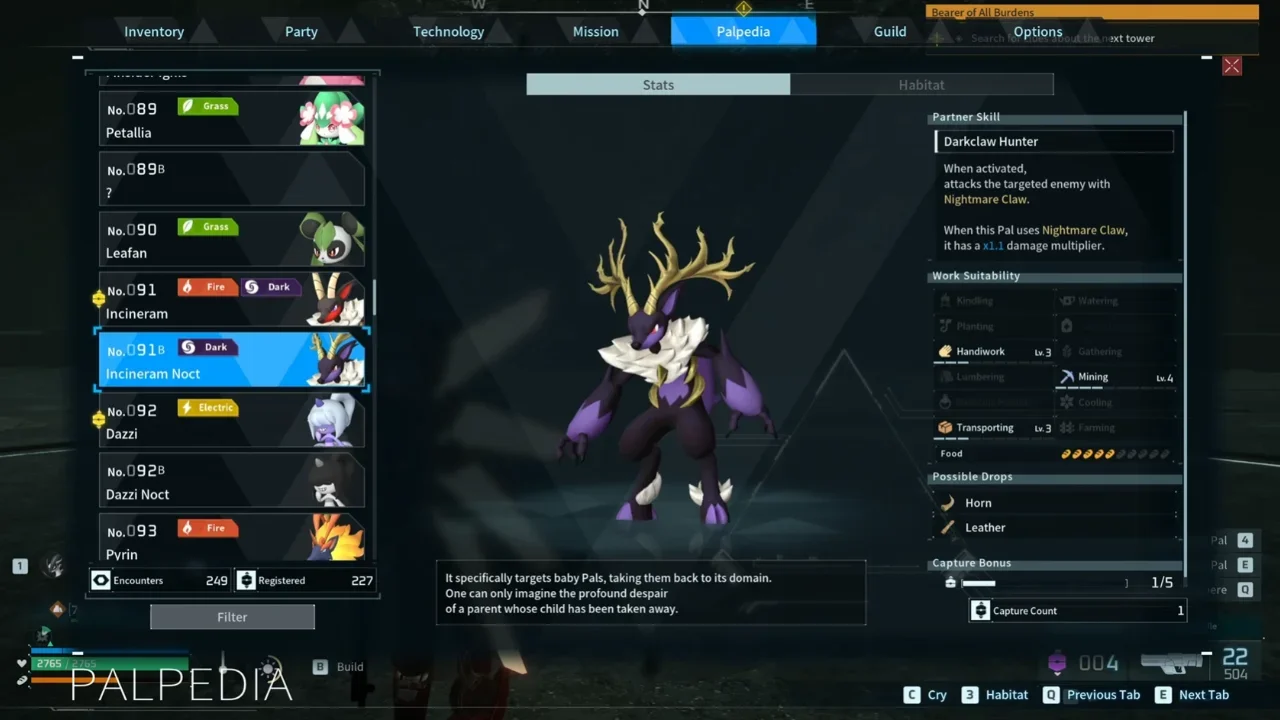
Without natural cover, the drones have much wider lines of sight. You have to move deliberately to collect the Ancient Lava stones scattered across the ground. The local spawns jump to Level 38 and 40, featuring Kitsun and Pyrin Noct. The area is guarded by a Level 55 Astegon boss, and you can find a few fishing spots around the perimeter. Your main focus should remain on grabbing the Ancient Lava and getting out before a drone spots you across the flat terrain.
Wildlife Sanctuary No. 3: The Desert
This is the endgame gauntlet. Fast travel to either the Deep Sand Dunes or The Furtherest Flats and glide to (660, 635).
The terrain is entirely flat and heavily patrolled by multiple drones. I found it incredibly easy to accidentally pull drone aggro during a standard Pal battle because a stray attack clipped a sensor beam. Your target resource here is Ancient Bone, which is scattered around as skeletal remains.
Almost everything in this zone spawns at Level 50 or higher, including Mammorest Noct, Fenglope, and Frostallion Noct. The area is capped off by a Level 51 Shadowbeak boss. Taking on a high-level boss while simultaneously dodging security lasers requires a highly optimized party preset, otherwise you are just booking a fast trip back to the respawn screen.
Crafting With Ancient Materials
Escaping with these new materials allows you to craft the best accessories in the game. Ancient Bark, Ancient Lava, and Ancient Bone act as the core ingredients for top-tier traversal gear and defensive charms.
Check the exact material costs below to plan your heist and avoid wandering the islands longer than necessary.
Dogen Emblem (20 Refined Ingot, 30 Bone, 35 Paldium Fragment, 30 Ancient Bone): Greatly raises your and your Pal's attack output, letting you burn through late-game raid boss health bars much faster.
Reptyro Charm (20 Refined Ingot, 20 Bone, 20 Flame Organ, 30 Paldium Fragment, 30 Carbon Fiber, 30 Ancient Bark): Adds heavy resistance to fire damage, giving you a wider margin for error during volcano encounters.
Vanguard Charm (30 Polymer, 30 Bone, 20 Ice Organ, 20 Fire Organ, 30 Ancient Bone): Increases heat and cold resistance alongside your health. This removes the need to constantly swap elemental armors when moving between extreme climate zones.
Wandering Merchant Charm (30 Polymer, 30 Leather, 20 Ice Organ, 20 Fire Organ, 30 Ancient Bark): Greatly increases hot and cold resistance while increasing carrying capacity. This is the optimal accessory for long mining runs where you need to transport heavy ores.
Pal Tamer's Glasses (20 Refined Ingot, 30 Paldium Fragment, 10 Ancient Parts, 15 Ancient Bark): Stops the attacked Pals' health from going below 1 and reveals hidden potentials. This completely eliminates the risk of accidentally killing a rare spawn while weakening it.
Air Walker MK I (20 Hexolite, 30 Paldium Fragment, 15 Dark Fragment, 30 Nightstar Sand, 15 Ancient Bark): Grants the ability to jump mid-air and dash, letting you clear environmental hazards without slowing down.
Air Walker MK III (20 Coralum Ingot, 50 Paldium Fragment, 35 Dark Fragment, 50 Nightstar Sand, 30 Ancient Bone): Grants the ability to double jump mid-air and dash, which is essential for dodging wide area-of-effect boss mechanics.
Air Walker MK EX (30 Coralum Ingot, 60 Paldium Fragment, 45 Dark Fragment, 60 Nightstar Sand, 60 Ancient Bone): Grants the ability to double jump mid-air and double dash. This maximizes your aerial mobility and keeps you entirely off the ground during chaotic fights.
Ring of Trust (15 Refined Ingot, 30 Paldium Fragment, 10 Beautiful Flower, 30 Ancient Lava): Makes it easier to increase your trust with your Pals, cutting down the time needed to unlock their full working potential at the base.