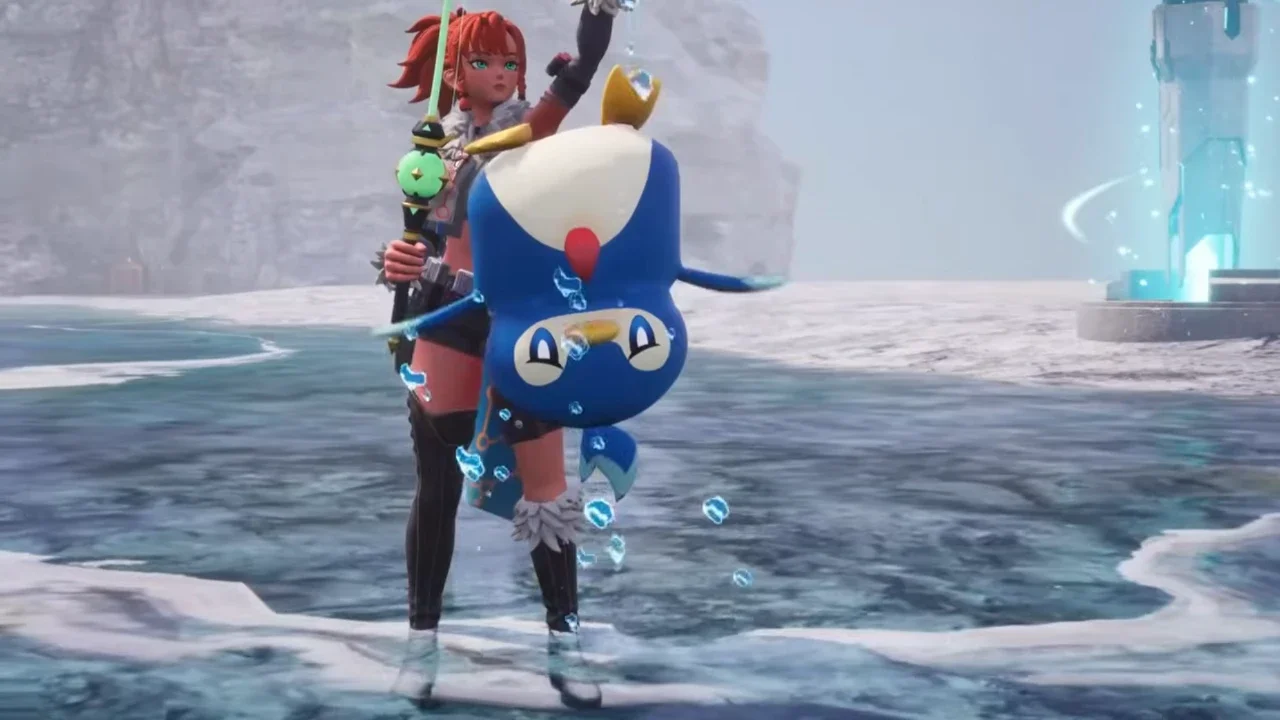
Fishing looks like a throwaway side activity right up until it starts handing you Alpha Pals, rare passive skills, and materials base building alone won't give you.
Fishing doesn't come free. You need to unlock the Beginner Fishing Set in the Technology menu at level 15, which requires 10 Paldium Fragments, 3 Aquatic Pal Fluids, 8 Ingot, and 8 Fiber. That craft gets you the rod itself plus the recipe for Simple Bait (2 Aquatic Pal Fluids, 4 Red Berries, 2 Flour), and it hands you a starting batch of ten so you're not stuck crafting before your first cast.
Don't bother rushing past this tier immediately. Low-level fishing spots don't punish a basic rod, so save your Technology Points for something else until you're actually locked out of a spot you want.
When to Upgrade
You'll know it's time to upgrade when a fishing spot simply won't let you interact with it at your current gear level. The two upgrades worth planning around:
Intermediate Fishing Rod (around level 28-29, 2 Technology Points): 30 Paldium Fragments, High Quality Pal Oil, Cement, and Fiber
Advanced Fishing Rod (level 45, 3 Technology Points): 70 Paldium Fragments, High Quality Pal Oil, Pal Metal Ingot, and Carbon Fiber
The Advanced Rod is the one that actually matters long-term. It's what opens up Master and Grand Master tier spots, which is where the good Pals and materials live. Bait scales the same way, with High Quality (level 22), Deluxe (level 38), and Alluring (level 52) each improving your bite odds or the size of the mini-game's success window. Alluring is worth prioritizing once you hit 52, since it also boosts how many items you pull per catch, not just your odds of landing the Pal.
Reading the Water Before You Cast
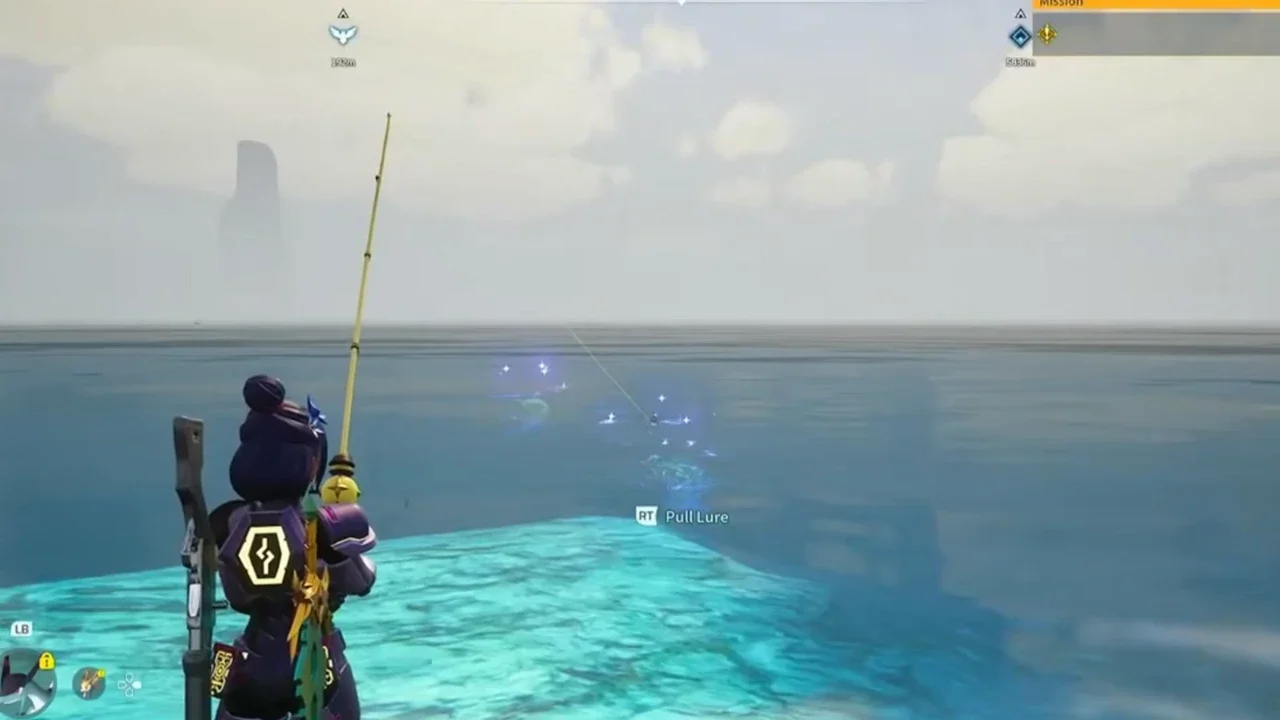
Fishing spots show up as clusters of colored silhouettes in the water, and the color tells you what you're about to hook before you spend a single piece of bait:
Green sparkles guarantee a Rainbow Passive Skill on capture
Purple sparkles guarantee an Alpha Pal
Purple geyser guarantees the Lunker passive, which boosts Water and Ice damage by 20% and Defense by 20%
That last one is worth pausing on. Lunker isn't a cosmetic bonus, it's a real combat stat bump, so a Pal fished out of a geyser spot is worth a spot in your actual battle party, not just your base roster. If you're farming a spot purely for a specific outcome, skip anything that isn't showing the right color. Plain silhouettes are still worth grabbing for materials, but they're not going to give you anything special.
Building a Pond So You Don't Have to Travel
Once you're tired of flying across Palpagos every time you want to fish, build one at base instead. The Fishing Pond unlocks at level 31 for 3 Technology Points (Wooden Board, Cement, Cryogenic Coolant), and the Large Fishing Pond unlocks later for 4 Technology Points, using higher-tier materials like Coralum Ingot and High Quality Pal Oil. Either version lets you fish on your own schedule without eating travel time, which matters more than it sounds once you're deep into base management and don't want to abandon it for twenty minutes just to farm bait rewards.
Pals Worth Bringing Along
A handful of Water-type Pals carry Partner Skills that directly improve your fishing, and some pull double duty:
Jelliette boosts items obtained from fishing by 55%. Bring this one specifically when you're grinding a spot for materials rather than a catch.
Gloopie slows how fast the capture gauge drains when the bars aren't overlapping, which is basically free insurance during the mini-game.
Whalaska and Whalaska Ignis are both rideable and give the capture gauge a head start plus faster fill speed while the bars overlap, so you get a mount and a fishing buff in the same party slot.
Solmora and Solmora Lux are rideable on water and specifically make it easier to fish up Pals with good passive skills, which matters more than raw catch rate if you're hunting for something specific.
Where to Actually Go
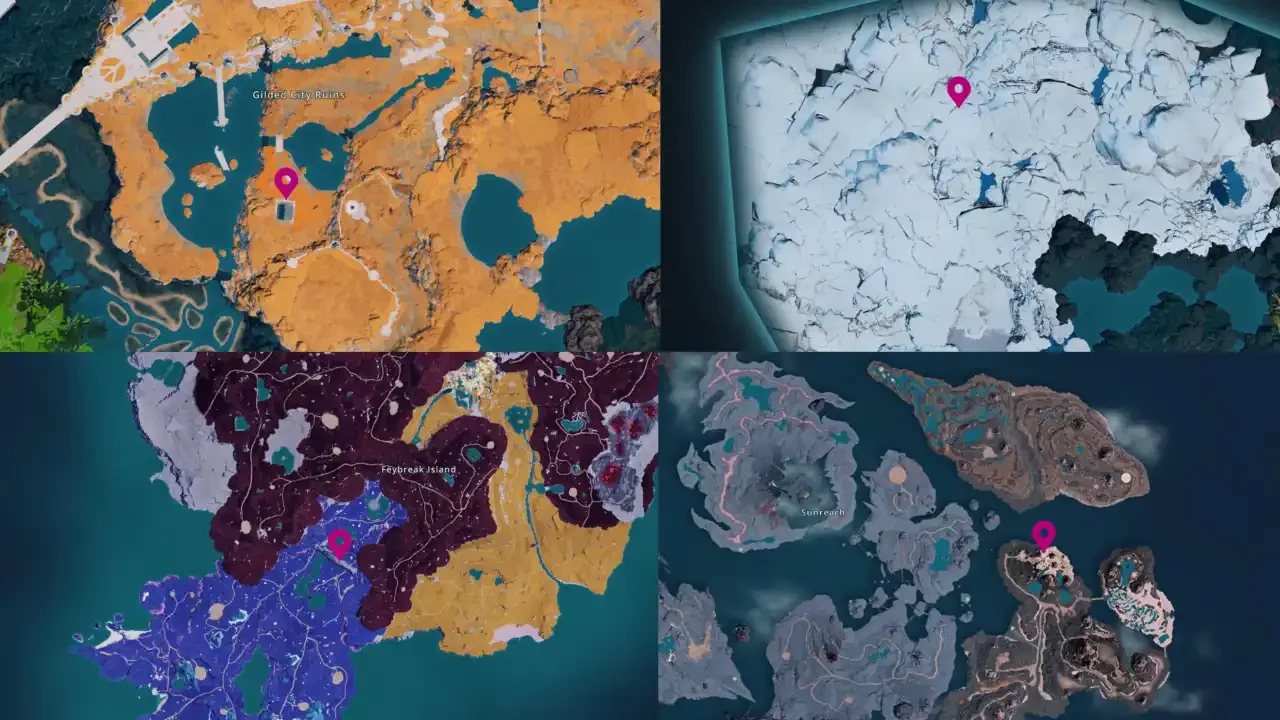
A few spots stand out enough to plan a trip around. Fisherman's Point on the southern coast of Mount Obsidian is Intermediate tier and easy to reach, good for early upgrades. The Rayne Syndicate Oil Rig is Expert tier and comes with anti-aircraft towers that'll shoot down flying mounts, so approach on a swimming Pal like Azurobe until you've disabled the towers. Feybreak Island has three separate Expert-tier spots worth hitting in one loop, including one behind a waterfall near the Shield Dragon Tunnel and one at a shipwreck off the southwest coast. For the endgame stuff, the two World Tree spots near the Gilded City Ruins Watchtower and Alluvion Lakefront are Grand Master tier, so don't bother without your best rod and bait already sorted.
Salvaging While You're Out There
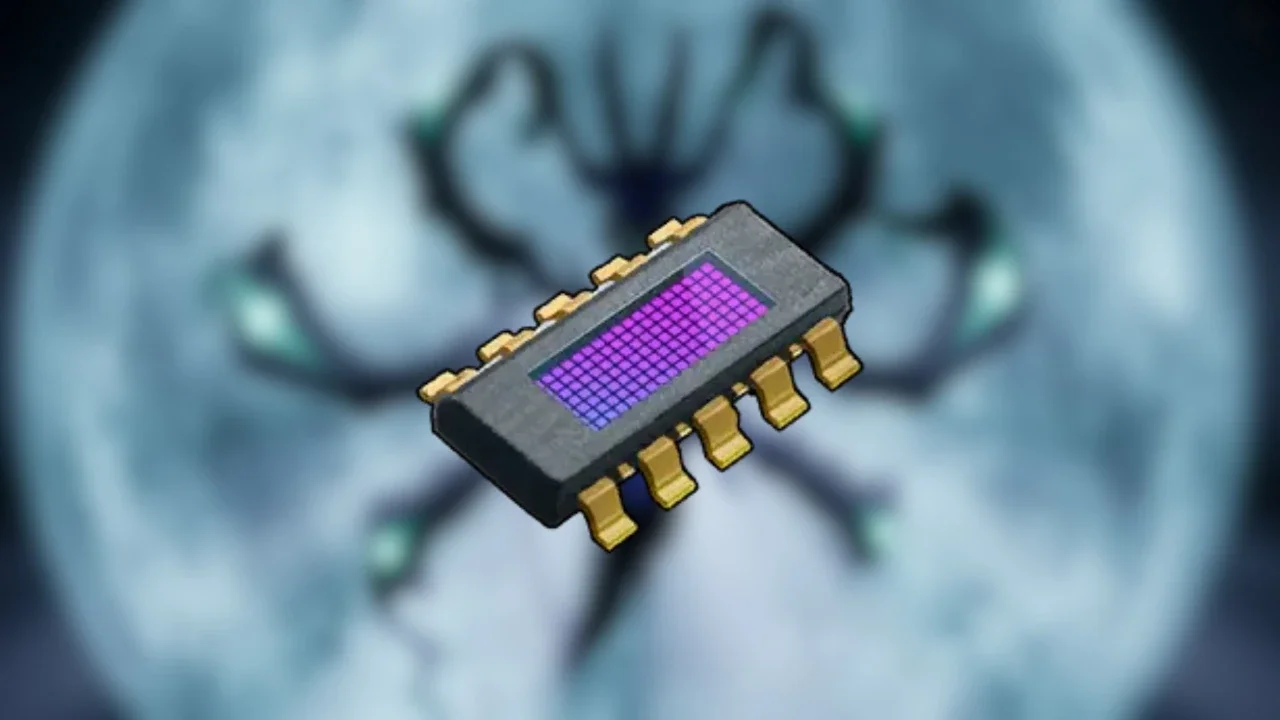
Your fishing rod also doubles as a salvage tool at sea. Wreckage floating in the ocean can be interacted with directly, triggering a timing-based mini-game where you press to align a yellow bar with a green one. Some wrecks need more than just a rod though, they require a Powerful Fishing Magnet, unlocked at level 61 and crafted from Hexolite, Cryogenic Coolant, and Bio Battery at an Advanced Workshop or Production Assembly Line II. If a salvage spot isn't responding to your normal rod and mount combo, that magnet is almost certainly why, and it's worth crafting a batch of ten since you'll burn through them fast.