Paralives Build Guide: Real Estate, Foundations, and Advanced Tools
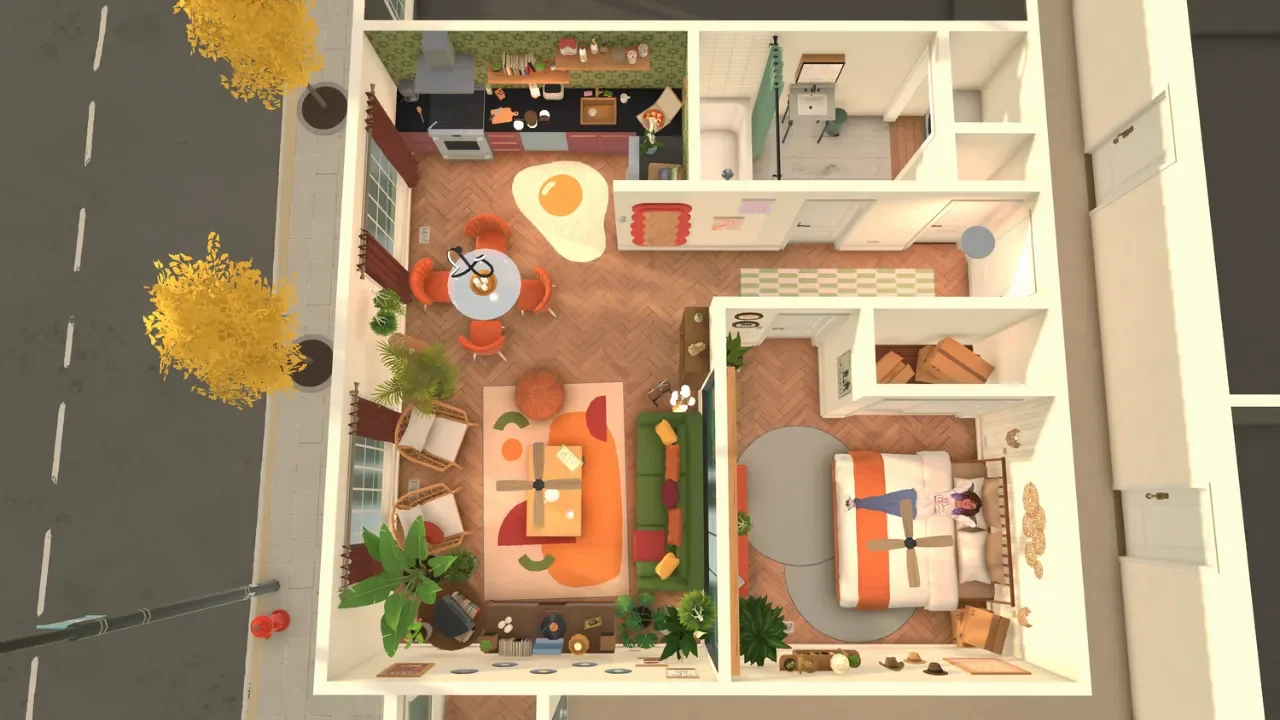
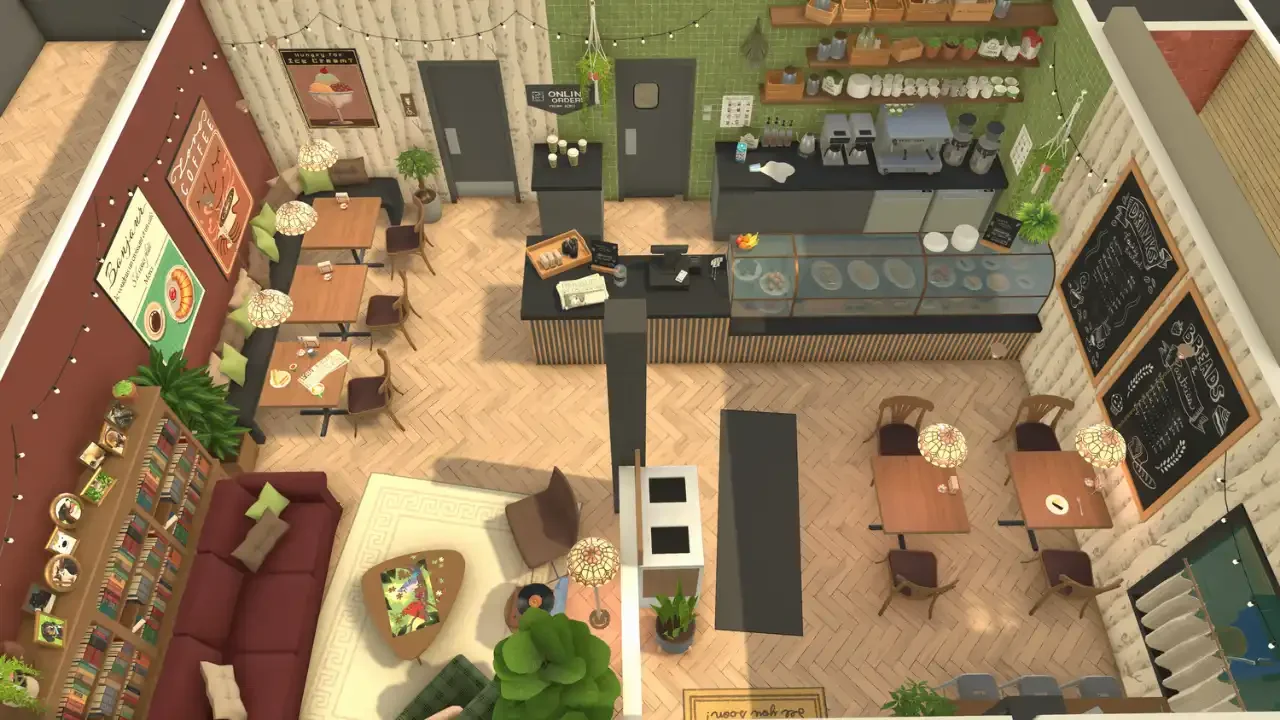
Turning an empty patch of grass into a beautifully decorated home in Melino takes a little practice with the in-game toolset.
Finding Your Perfect Lot
I love having options when starting a new build project. Melino actually features 44 different residential lots to choose from. If you want a completely blank slate to work with, pick one of the 10 empty lots. These range from a budget-friendly 644 Paradimes up to 10,046 Paradimes for a massive space. I highly recommend picking up one of the cheaper narrow lots and trying to build vertically to challenge your architectural skills.
Sometimes you might not feel like building an entire exterior from scratch. The game offers nine empty pre-built houses ready for immediate move-in. If none of those fit your vibe, you can actually evict the current residents from any of the 25 occupied homes. Just zoom out to the town map, click Switch Household, select an occupied property, and press the Sell This Lot button.
I organized the nine standard pre-built options below so you can check your budget before going house hunting.
Laying the Groundwork
Paralives has fantastic tools for drawing walls and placing curved windows, but it currently lacks a dedicated foundation button. The official mechanics are still being worked out but you can fake a solid base layer in the meantime.
Go into Wall Placement Mode and draw the outline of your ground floor. Click on that new wall and drag the top arrow down until it hits the third dot on the vertical slider. Grab the arrow tool to move your camera up one floor. You can now build your actual living space right on top of those shortened walls. Decorate that bottom layer with brickwork and add some stairs to the front porch so your characters can actually get inside.
Painting and Separating Rooms
Designing a huge open-concept living space is really fun until you try to paint the walls. The game applies wallpaper room by room, which instantly floods the entire enclosed area. To fix this, grab the Wall Separator tool. It creates an invisible division across a single room. You can paint your kitchen walls green and your living room walls white without needing a physical barrier between them.
Perfecting Your Interior Design
You'll definitely make a few structural mistakes while testing out floor plans. The basic toolkit is right on your screen to help clean things up. The Sledgehammer instantly destroys anything marked in red. The Pipette perfectly copies a piece of furniture or wallpaper so you can place a matching item somewhere else. The Bulldoze button wipes the entire lot clean for a total restart, but you can always press CTRL+Z if you click it by accident.
Standard placement works fine for basic furniture drops, but the advanced transform tool gives you absolute freedom to get creative. Select any item and click the three dots icon or press the asterisk key on your keyboard. This brings up directional circles wrapped around the object with cubes and arrows inside.
These controls let you resize, rotate, and elevate absolutely anything you select. The game rarely stops you from breaking the laws of physics. I love using this to flip a cute framed painting completely flat, resize it, and drop it onto the floor as a custom carpet. You can even stick chairs upside down on the ceiling to create a spooky haunted house vibe. It makes the decorating process so much more flexible when you know how to push the boundaries of the engine.