Phasmophobia Alan Wake Event Guide: All Charm Locations
Before you wander aimlessly into the dark and get folded like a pretzel, let me show you exactly where to find every Alan Wake charm in Phasmophobia.
The Alan Wake crossover event has injected some much-needed strangeness into your regular ghost hunting routine. Beyond the atmosphere and the overarching easter eggs, there is actual loot to secure before everything disappears on June 2. You can pin these exclusive charms right onto your character's shirt to show off your dedication. Finding them, however, is a massive headache if you do not know exactly where to look.
I highly recommend you swallow your pride and set up a Custom Difficulty lobby for this. Turn "Friendly Ghost" on. These charms have multiple random spawn points. If you walk into a location and the item is not sitting in the specific spot I describe, you will need to safely restart the map and try again. Doing this with an active, aggressive ghost on your tail is a fantastic way to end up dead and frustrated. Save the actual survival horror for your regular contracts and treat this like a simple scavenger hunt.
The Complete Charm Checklist
To keep things simple, I put together a quick reference guide so you know exactly which map holds which item. You will need to hit four specific locations to complete the set.
Oh Deer Diner: The Thermos
This one is incredibly straightforward as long as the spawn logic plays nice. You will not have to venture deep into the dark to secure this piece of iconic memorabilia.
Load into the Oh Deer Diner map and head straight through the front entrance. Ignore the corners and the counter entirely. Walk forward until you reach the middle row of seating. Look for the third booth specifically. You are checking the red seating area of this booth. If the Thermos spawned here on your current run, it will be sitting right on the cushion. Interact with it, head back to your truck, and end the match to secure the charm. If it is missing, just hit the button to leave the contract and reroll the lobby.
Cauldron Lake: The Deer Mask
The Deer Mask is fittingly creepy and requires you to dig through the kitchen. It is completely out of place in a modern culinary setting, which makes spotting it relatively easy in the gloom.
When you arrive at Cauldron Lake, push through the main area and take your very first left. Proceed through the double doors to enter the commercial kitchen space. Ignore the countertops and head straight for the large refrigerator unit. Open it up and check the top compartment. You will find the Deer Mask staring back at you from between the empty shelves. Grab it, get back to your van, and wrap up the run.
Coffee World: Mr. Drippy Mascot
I hate everything about public restrooms in horror games, and Coffee World forces you right into one. At least the prize is a ridiculous mascot head to lighten the mood.
Open the main entrance gates to the Coffee World park and keep moving forward. You will pass the games tent on your way. Just past that tent, you will spot a sketchy wooden shack functioning as the public toilets. Walk inside and push open the door to the first cubicle on your left. You will find the Mr. Drippy Mascot charm resting directly on top of the toilet bowl. It is definitely gross, but you need it for the collection. Pick it up and leave the map immediately.
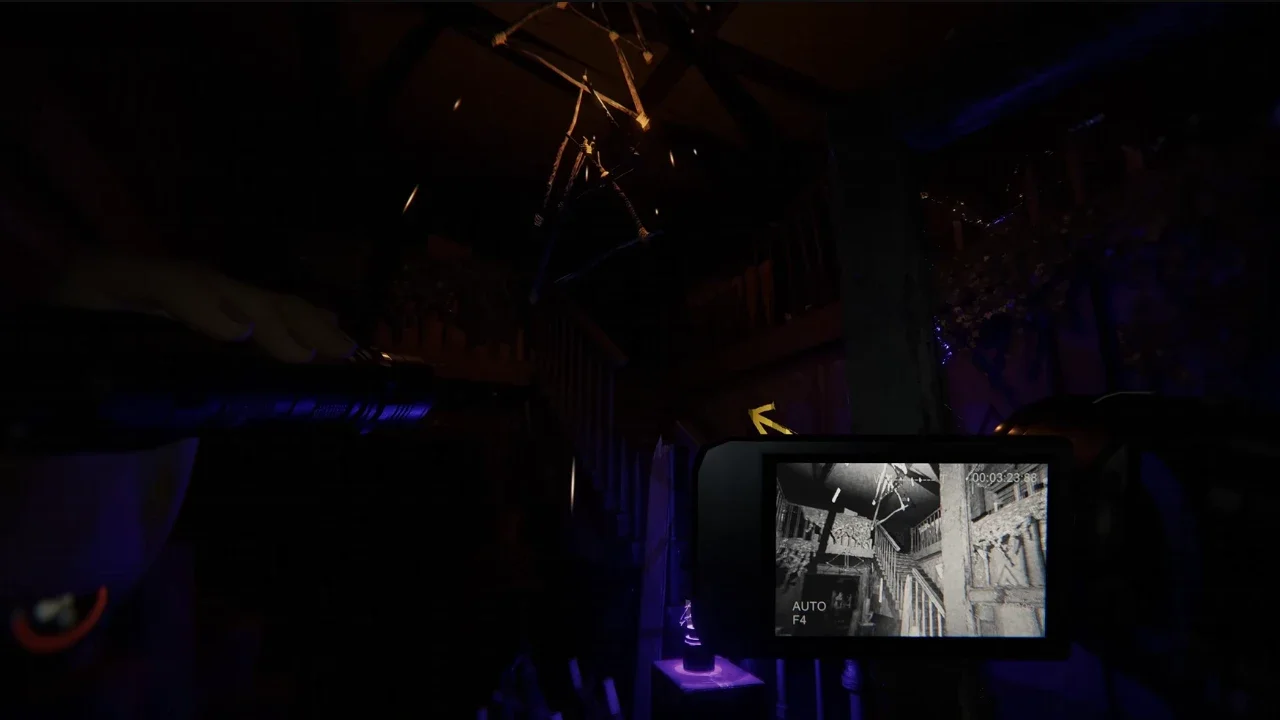
Elderwood Palace Lodge: The Lunchbox
This is the most tedious charm to track down because it forces you to navigate multiple floors and narrow corridors. It also hides underneath a piece of furniture, so you actually have to look closely instead of just scanning the room.
The moment you walk through the front doors of the Elderwood Palace Lodge, turn right and locate the stairs. Head up to the second floor and follow the main corridor to your left. You will eventually hit a wall with three separate doors. You need to open the middle door to access the attic space. Push past the hanging bead curtain to find a lone bed in the room. Crouch down and check underneath the right side of the bed frame. The Lunchbox is tucked away down there in the shadows. Snag it and make your escape.
I want to reiterate the importance of my Custom Difficulty tip. Getting caught in a hunt while staring at a toilet bowl looking for a mascot head is not a badge of honor. It is just a waste of your time. Lock in the friendly ghost setting, grab your four charms efficiently, and equip them from your lobby menu. You have until June 2 to pull this off before the crossover content vanishes completely.