Resident Evil 9 Requiem: The Ultimate Leon Must Die Forever Ability Tier List
Getting torn apart by a horde because you picked a garbage upgrade is a rookie mistake I'm here to help you avoid.
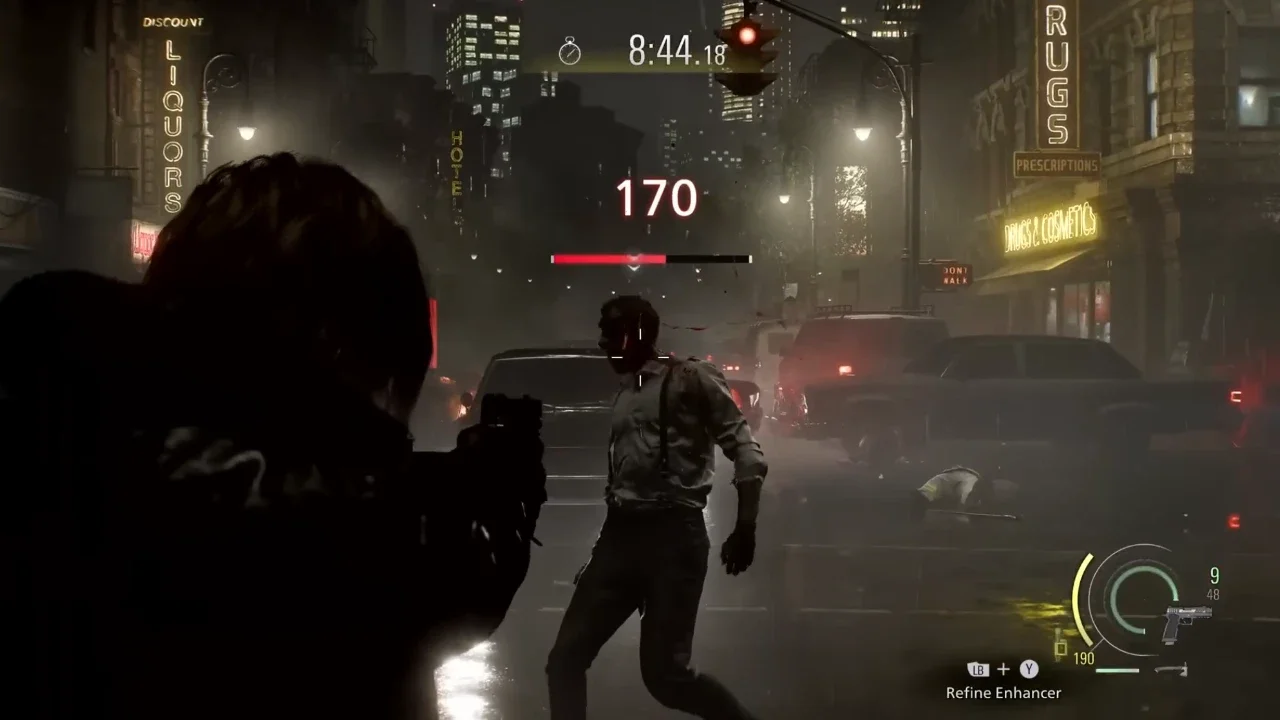
Resident Evil 9: Requiem introduces a gauntlet of misery with the Leon Must Die Forever Free Mini DLC. You start with basic gear and a prayer. For every 100 points you extract from the corpses of your enemies, the Ability Enhancer grants you a new perk. Some of these upgrades will turn you into an unstoppable juggernaut. Others will actively sabotage your run and send you back to the lobby faster than you can blink.
Before you waste three hours stacking the wrong buffs, you need a solid strategy. You can spend 20 points to shuffle your choices, and knowing exactly when to pull that lever is vital to your survival. If you're struggling to even reach the first major boss, you might want to brush up on my Resident Evil Requiem Leon Must Die Forever tips to get your fundamentals in order. Otherwise, keep reading. I've spent entirely too much time testing every single enhancer so you can focus on staying alive and maximizing your damage output.
S-Tier Abilities
If you see any of these pop up in the machine, you take them immediately. These are the heavy hitters that drastically shift the odds in your favor and will absolutely carry your run.
Scatter Shot
This is arguably the most reliable damage boost you can get in the entire mode. Scatter Shot increases your overall firepower by a flat percentage per shot up to a massive 60% cap. If you run a fast-firing weapon like a machine gun or a customized pistol, you'll max out this buff in a single frantic firefight. It completely trivializes the massive health pools of late-stage enemies.
Phantom Assassin
This is a gold-tier ability that demands your immediate attention. Phantom Assassin gives you a flat 100% increase to your firepower. The catch is that your close combat attack power drops by 50%. Assuming you're playing smart by keeping your distance and relying heavily on your guns anyway, this downside is barely noticeable. You'll melt standard infected before they ever get close enough to warrant a melee swing.
Unyielding Judge
Another gold ability and a literal lifesaver. This perk only triggers when you're near death. For thirty chaotic seconds, your attack power jumps by 150%, your attacks consume zero ammo or durability, and any zombies you kill will explode. It's the ultimate panic button. Instead of burning through all your healing items when backed into a corner, you temporarily become a walking apocalypse.
Parry Recovery
Survival in this DLC often comes down to managing your Hatchet durability. Parry Recovery restores 40% of your maximum durability every time you pull off a perfect parry. If your timing is sharp, you'll never have to worry about a broken hatchet leaving you defenseless again.
A-Tier Abilities
These abilities are fantastic additions to almost any loadout. They require a bit more situational awareness than the S-Tier picks but offer incredible returns if you play to their strengths. I've broken down exactly what the best of this tier brings to the table.
Maximizing the A-Tier
Streamlined is incredible if you manage your inventory ruthlessly. Dump any low-tier weapons or excess crafting materials you don't absolutely need. Combine your herbs early to free up squares. A tidy briefcase translates directly into a massive, passive damage buff that scales beautifully.
Sharpshooter forces you to be accurate. You should always aim for the head or glowing weak points regardless, so leaning into this upgrade simply rewards good fundamentals. Just make sure your aim is actually as good as you think it is, because hitting center mass with this equipped is a total waste of bullets.
Proximity Boost pairs beautifully with a dedicated shotgun build. If you like playing aggressively and staying in the thick of a fight, that 60% damage spike will put enemies in the dirt incredibly fast. Tough Stuff complements this playstyle perfectly by mitigating the physical damage you inevitably take in close quarters. Just keep an eye out for any enemies armed with guns or explosives, as they will shred your health bar.
B-Tier and Niche Picks
These upgrades aren't inherently bad. They just require very specific playstyles, precise loadouts, or a lot of luck to be effective. Don't build your entire run around them unless you have a clear plan.
Bloodshot
You get an 80% boost to firepower, which is undeniably massive. The problem is that you take 10% of the damage dealt back as recoil damage. You'll chew through your own health pool in seconds if you aren't constantly popping recovery items. If you have the Soul Sucker ability equipped to regain health on kills, this combo becomes much more viable. Without a reliable healing loop, Bloodshot will put you six feet under before the zombies even touch you.
Axe the Axe
This gives you a 60% firepower boost when your hatchet is unequipped. It's a great buff for raw gun damage, but giving up your primary defensive parry tool is a massive risk. You better be confident in your dodging and positioning skills if you pick this one.
Amped Up
Using a recovery item makes you invincible to standard damage and stagger for a short window. It's useful for pushing through a crowded hallway or ignoring an annoying boss mechanic for a few seconds. However, relying on taking damage just so you can heal and utilize a temporary buff is a terrible habit to form in survival horror.
Chronos Shot
Getting an extra three seconds of time on a kill sounds great on paper. The issue is the 20% activation chance. It's far too inconsistent to rely on when the timer is ticking down to zero and the pressure is on. If you need help managing the clock and finishing stages faster, you're better off checking out my Leon Must Die Forever challenges guide instead of praying to the RNG gods for a few extra seconds.
The Reroll Immediately Tier
Avoid these abilities at all costs. Spending points to shuffle the machine is a vastly better investment than cluttering your build with these traps.
Gathering Boost
This increases your collector fill rate by 40%, which sounds like a decent economic investment early on. The fatal flaw is the 20% reduction in attack power. In a mode where enemies become progressively tougher with every stage, sacrificing your damage output for a slight bump in resources will quickly leave you overwhelmed. Dead men cannot spend points.
Deadeye
You get a 50% damage boost when aiming through a scope, but a 30% penalty otherwise. This forces you into extreme tunnel vision. In a fast-paced mode where lethal threats spawn from every angle, restricting your peripheral vision constantly just to maintain your baseline damage output is a terrible trade.
Blazing Kick
Zombies hit with your melee kick are set on fire. It looks cool visually. But your kick is primarily used for crowd control and creating breathing room. The actual fire damage over time is negligible in the later, harder stages of a run. You need abilities that scale your main weapons, not flashy party tricks.
Building the perfect loadout requires patience and a bit of luck with the Ability Enhancer drops. Stick to the S-Tier and A-Tier options whenever possible, keep your inventory clean, and stop wasting points on bad investments.