Repo: Every Weapon and Tool in the Game

Don't throw your hard-earned cash at useless gear when you could be buying the exact tools needed to survive the late-game grind.

Surviving the higher levels in Repo takes more than just a fast sprint and a prayer. You need reliable gear. The Service Shop offers a massive variety of items designed to make your extractions significantly less painful. You can invest in heavy weaponry to deal with aggressive monsters or purchase utility devices that track down extraction points and shield your most valuable loot. Every item you buy operates on a battery charge. Once you deplete an item's energy through use, you have to haul it back to your truck and use the recharge machine. Knowing how to manage those charges and picking the right tool for the job determines if you make it out rich or end up dead in a ditch. I spent way too many hours testing every single piece of equipment available, so I'm going to walk you through the arsenal to make sure your loadout is optimized.

The Arsenal: Weapons of Repo

You get three main categories of weapons to choose from at the Service Station Shop. You can swing melee weapons, throw explosives, or rely on traditional firearms.

Up Close and Personal: Melee Weapons

Melee weapons are incredibly simple to handle. You don't have to worry about flipping switches or activating anything. You just hold the weapon in your hand and swing your mouse back and forth or up and down to hit whatever is in your way.

Weapon Name Cost Range & Details
Inflatable Hammer $9K to $12K. A joke weapon with terrible damage output. I only use this on extremely weak creatures like Gnomes, Animals, and Bangers when I'm desperate.
Baseball Bat Starts at $25K. A solid upgrade from the hammer. It takes a bit of practice to get the swing timing down, but it eliminates enemies quickly if you stun them first.
Sword Starts at $29K. Think of this as the deadlier version of the Baseball Bat. Be incredibly careful though. A strong impact with the environment can actually knock you down.
Frying Pan $23K to $30K. This provides a great middle ground for your loadout. It hits harder than the Inflatable Hammer and works wonderfully against an Animal, Rugrat, or Upscream.
Sledge Hammer $42K to $48K. An absolute powerhouse. When you need to deliver massive damage fast, this is the tool you want in your hands.
Prodzap $22K to $30K. This functions like a hybrid between a baton and a taser. It deals a tiny bit of damage while stunning the target for three seconds. It's my go-to for hit-and-run tactics.

Explosives: Mines and Grenades

These are the most affordable weapons available and serve as an essential crutch during your early runs when cash is tight. To use a mine, you hold it in your hand, press the E key to arm it, and then place it directly on the floor. If you mess up the placement, simply pick it up and press E again to deactivate it.

Grenades require you to press E to pull the pin, after which you either drop them or throw them. You can quickly cancel a live grenade by putting it away in your pocket before it detonates. Be aware that you can absolutely blow yourself up with your own explosives. I also put together a Repo secret shop location guide if you want to find the exclusive explosives listed below.
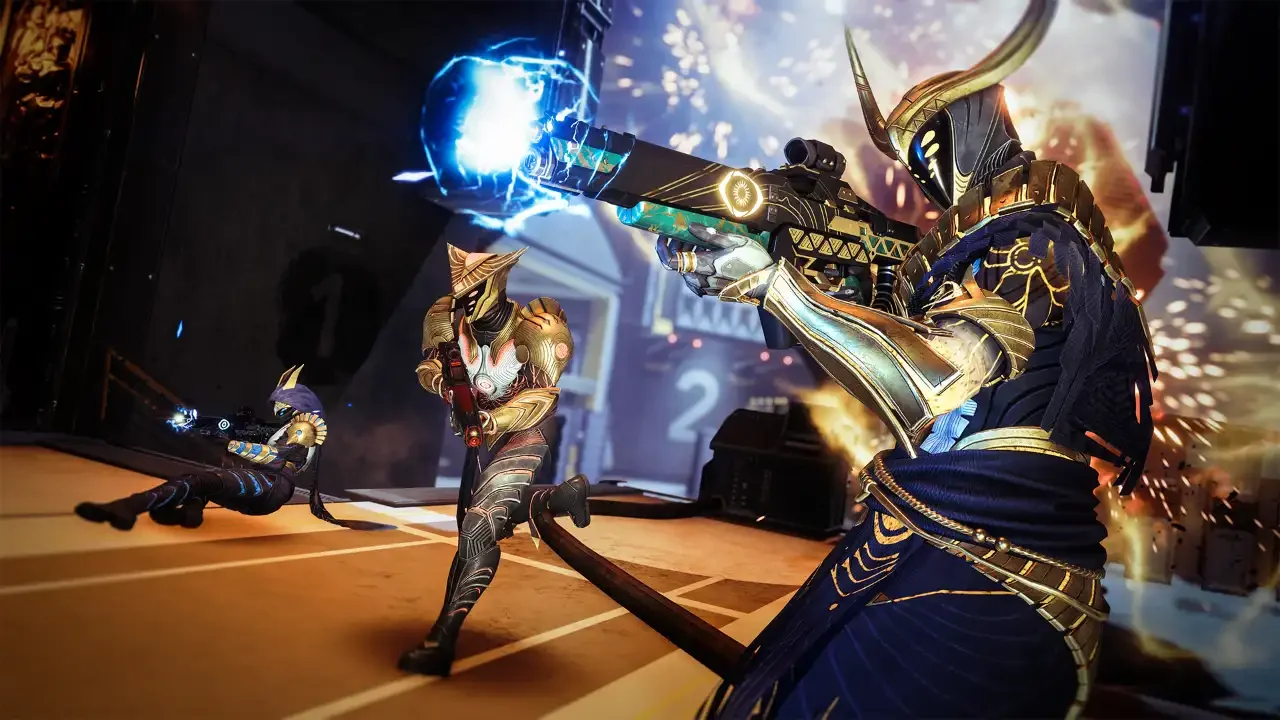
Explosive Name Cost Range & Details
Human Grenade $2K. Found only in the secret shop room. Highly effective for blowing up pursuing threats.
Duct Tape Grenade $2K. Also exclusive to the secret shop room. This item is literally a cluster of Human Grenades taped together to create multiple sequential explosions.
Trapzap Mine Starts at $3K. Emits a massive shockwave when triggered by a passing creature.
Stun Grenade Starts at $3K. Throw this directly at an attacker to freeze them in place for a brief window of time.
Stun Mine Starts at $3K. Delivers intense shocks to any monster or robot that steps on it. It inflicts minor damage continuously for about ten seconds.
Explosive Mine Starts at $3K. Creates a standard large explosion. Perfect for placing in the patrol path of a slow-moving enemy.
Shockwave Grenade Starts at $3K. Toss this to unleash a physical shockwave that violently throws targets backward.
Grenade Starts at $3K. Your standard explosive device. Run the other way once you throw it.
Rubber Duck $17K to $18K. A completely unpredictable tool. You throw it and it bounces erratically until it runs out of momentum. It can stun or damage targets, but I wouldn't rely on it for survival.

Firepower: Guns

When you reach level five and beyond, the monster density spikes heavily. This is when you need to drop the frying pans and pick up a firearm. Using them is identical to handling any other tool. You hold the gun in your hands and press the E key to pull the trigger.

Gun Name Cost Range & Details
Tranq Gun $15K to $18K. Temporarily stuns an enemy from a distance, buying you vital seconds to escape or line up a lethal strike.
Gun Starts at $46K. A standard handgun that allows you to shoot and kill threats reliably.
Shotgun Starts at $85K. The heaviest investment you can make. Grab this to ensure The Huntsman isn't the only thing heavily armed in the facility.
Pulse Pistol $14K to $18K. Inflicts 25 damage and provides a strong knockback effect. I use this constantly to fling enemies directly into deep pits.
Photon Blaster $38K to $48K. Melts targets by dealing 45 damage ticks in rapid succession for a massive 270 total damage. It easily tears through huge threats like the Robe.
Boltzap $14K to $18K. Operates exactly like the melee Prodzap but shoots a projectile. It stuns for 1.5 seconds and causes minor damage.
C.A.R.T Cannon $38K to $48K. You attach this heavy cannon directly to a C.A.R.T to fire devastating cannonballs at anything in your path.
C.A.R.T Laser $38K to $48K. Similar to the cannon, you mount this on a C.A.R.T to fry monsters with a high-powered continuous laser.

Utility and Survival: Tools of the Trade

Combat is only half the battle. If you want to successfully extract, you need utility items to manipulate the environment, move heavy objects, and locate your escape points quickly.

Aerial Assistance: Drones

Drones project a colored beam of light to alter the behavior of whatever they target. You can activate a drone on yourself to gain its buffs, or you can point it at a heavy object or a hostile monster. Just hold the device and press E to lock it in.

Drone Name Cost Range & Details
Roll Drone $9K to $12K. Forces you to roll continuously without draining your stamina bar. It makes escaping a breeze. Press space to stand up, then hold the drone to disable it.
Recharge Drone $4K to $5K. Replenishes the battery of your other tools while you are deep in the map and far away from the ship's recharge station.
Zero Gravity Drone $24K to $29K. Alters physics to give you a slow, floating jump similar to walking on the moon.
Feather Drone $15K to $16K. Removes your weight entirely. Pressing space launches you high into the air. I always use this on massive loot items to carry them effortlessly.
Indestructible Drone $26K to $27K. Prevents you from taking damage or stops a high-value fragile item from breaking during transport.

Magical Mayhem: Staffs

Staffs essentially let you cast spells. You hold the staff high above your head to charge it up, then point it directly at a threat to unleash its effect.

Staff Name Cost Range & Details
Roll Staff $22K to $30K. Fires a projectile that forces the enemy to rapidly roll away from you.
Zero Gravity Staff $14K to $18K. Shoots an energy burst that makes everything in the impact zone float helplessly in the air.
Void Staff $22K to $30K. Spawns a gravitational anomaly that violently sucks in enemies, random objects, and even your own Semibot. It perfectly mimics the dreaded attack of The Trudge.

Getting Around: Vehicles

The massive Cosmetics Update introduced fully drivable transportation. These spawn on every map and completely change the pacing of your extractions. If you want to know exactly how to obtain new looks for these rides, you should read my Repo cosmetic unlock guide. I also wrote a dedicated Repo complete vehicle guide if you want the exact speed stats.

Vehicle Name Cost Range & Details
Scouter $18K to $20K. A lightning-fast, nimble vehicle built purely for exploring the map quickly and dodging danger.
Hauler $38K to $48K. A durable transport vehicle that seats one Semibot while safely storing up to 20K worth of small valuables.

Navigation and Hauling

Running around aimlessly while holding expensive loot is a guaranteed way to lose your life. Trackers guide you directly to your objective. Press E to turn the screen on and follow the arrow. Carts, on the other hand, let you haul massive amounts of loot, but they have physical durability limits and break if they take too much damage.

Item Name Cost Range & Details
Extraction Tracker $6K to $9K. Acts as a compass pointing directly to the nearest extraction point. The small monitor also displays the exact distance remaining.
Valuable Tracker $16K to $17K. Operates exactly like the Extraction Tracker, but leads you straight to uncollected high-tier loot instead.
Pocket C.A.R.T. $17K to $18K. A miniaturized cart that folds up to fit inside your pocket. You must completely empty it before you can pocket it again.
C.A.R.T. $40K to $46K. A standard, full-sized cart available for purchase. You need this massive carrying capacity during late-game runs.

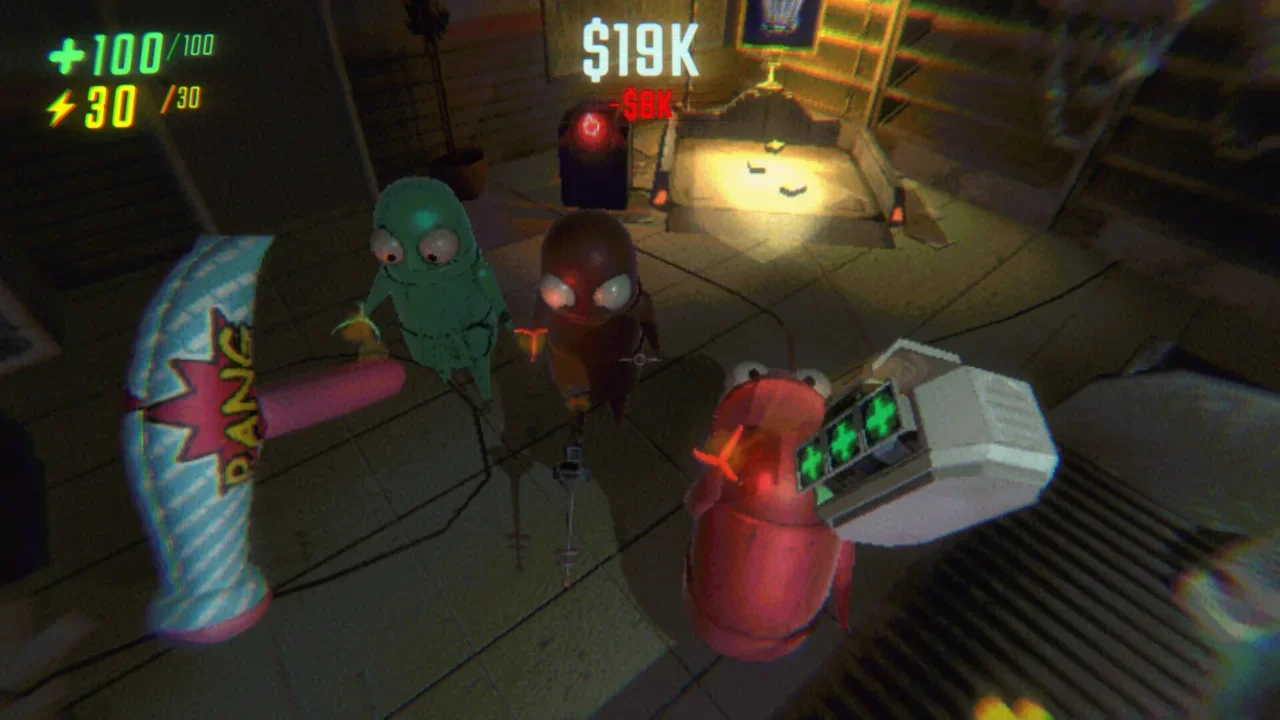
Odds and Ends: Miscellaneous Gear

Some of the most useful items don't fit into standard categories. The Zero Gravity Orb, for example, is used by holding E and throwing it exactly like a grenade to generate a floating bubble.

Item Name Cost Range & Details
Zero Gravity Orb $41K to $48K. Throw this to generate a localized zero-gravity bubble. Any creature foolish enough to walk inside gets sent floating.
Phase Bridge $18K to $20K. Deploys a solid, extendable bridge to help you safely cross lethal pits or access elevated loot rooms.
Duck Bucket $5K to $8K. A bizarre secret room item. You can forcefully attach this to the Apex Predator to ruin its day.
Crystals $5K to $24K. Portable power sources used to instantly recharge your drained items in the field.
Leaf Blower $8K to $12K. Projects a strong cone of air that pushes enemies far away from you. Try blowing threats straight into bottomless pits.
Defibro $38K to $48K. An absolute necessity for solo players. This medical device allows you to revive yourself after suffering a lethal blow.
Semibot Walkies $22K to $30K. Drop these to set up an audio spy network in a dangerous area.
Next
Next

Mixtape Grunge Metal Alchemist Trophy Guide: Slater's Secret Slushy Recipe