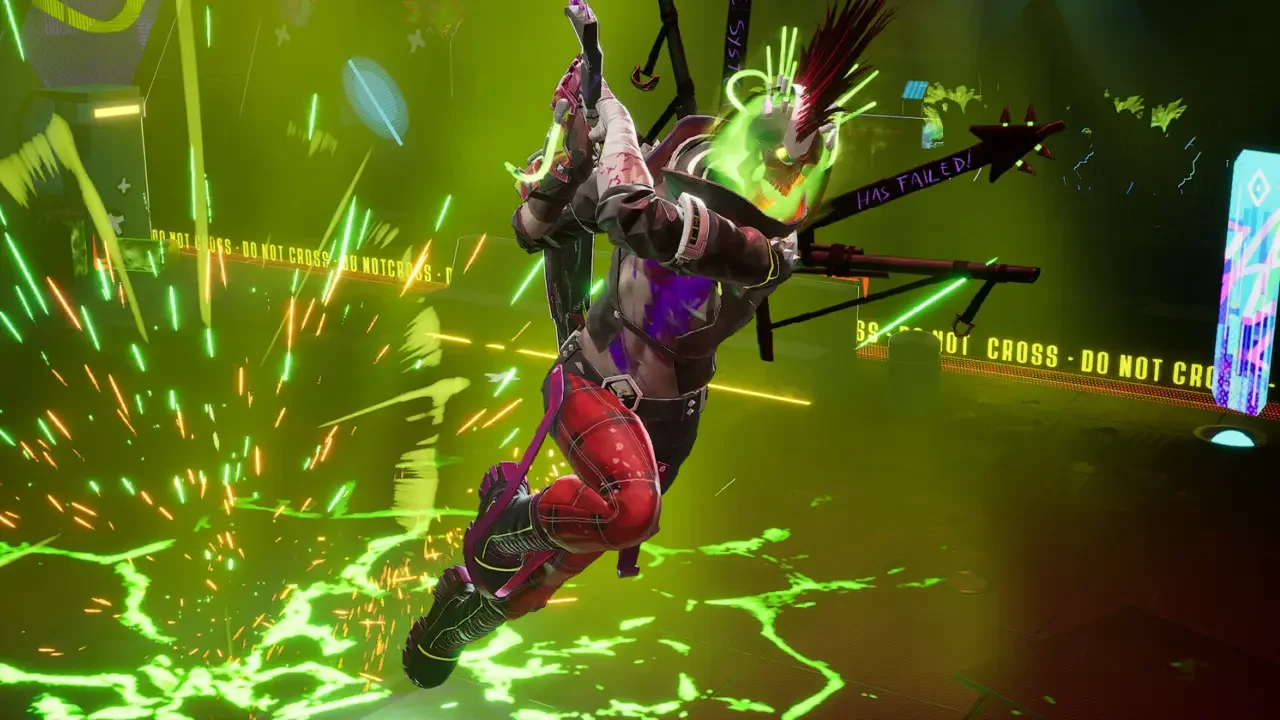
Dead as Disco Guide: How to Beat Arora and Master Combat
Charlie Disco's whole combat system runs on rhythm, and once that clicks, taking down bouncers and Idols alike starts feeling a lot less like guesswork.
Getting knocked around the arena a fair bit reveals a pattern pretty quickly. Dead as Disco rewards staying on beat far more than it rewards button mashing, and a handful of mechanics the game barely explains end up making the biggest difference once they click. Here's what actually helps, from picking the right gear to surviving one of the game's harder fights.
Picking the Right Weapon for the Moment
Swapping gear at the right time keeps a combo alive and opens up new talents, so it's worth treating weapon choice as part of the strategy rather than an afterthought.
Charlie's Sticks handle standard fights best, keeping combos fast and aggressive momentum easy to maintain.
Electric Guitars shine specifically when chasing a high score on a track, so they're worth saving for runs where score actually matters.
Prophet's Gauntlets are built for defense, making perfect parries and deflections against heavy hitters far more consistent.
Hemlock's Guitar melts through tough bouncers with a charged attack followed by a close range finisher.
Upgrading Hemlock's guitar and Prophet's gauntlets as early as possible pays off fast too, since both grant full immunity while equipped. That alone makes surviving the tougher crowds a lot less stressful.
Keeping the Combo Alive
Basic strikes alone won't keep a combo climbing. Dancing between enemy openings and landing perfect dodges is what actually keeps the number ticking upward, and leaning too hard on straightforward attacks leaves an opening enemies will happily punish.
The Windmill Kick Nobody Explains Properly
This one's easy to miss entirely, since the move list doesn't make the requirement obvious.
The Windmill needs a full upgrade in the Skill Tree before it's capable of launching enemies into the air at all. Without that upgrade, no amount of practicing the input will produce the launch, which makes that skill tree investment worth prioritizing early if air takedowns are the goal.
Once it's unlocked, the input itself takes a bit of muscle memory, especially on keyboard. Holding the attack button until Charlie glows blue, then tracing a full 360 circle on the stick or WASD before releasing, sets up the launch. That launch is the doorway to a devastating air takedown with serious splash damage, and once the circle motion feels natural, clearing entire waves with it gets a lot faster.
Surviving the Arora Fight
Arora throws off the rhythm the entire game has been building up until this point. Her tempo drags, the beat feels irregular, and she throws tracking meteors capable of ending a run in an instant. Her dodge attacks land on a delay too, which trips up anyone reacting purely on instinct.
Timing her dodge prompts takes patience more than reflexes. The visual QTE circles aren't quite trustworthy here, and letting the outer circle sit for a half second before hitting the button matches her actual timing far better than reacting the moment the prompt appears.
Her meteors during the one-on-one phase have a clean counter too. Standing completely still, equipping Prophet's Gauntlets, and using the guard ability to land a perfect parry knocks the rock straight back at her, and it opens up a free knockdown every time. Her telegraph for the toss is distinct enough that watching her animations closely makes the counter reliable rather than lucky.
Handling Mobs Without Losing the Whole Health Bar
Getting swarmed drains health fast, and a couple of physics tricks make crowd control a lot more manageable than fighting everyone head on.
Charging an attack during a stage countdown or the unskippable animation after a takedown means that charge is ready to fire the instant control comes back. That timing turns dead time into a free opening.
Shielded enemies are a different problem entirely, and attacking them directly rarely goes well. Charging an attack on a smaller, lower-level minion and aiming it right sends that minion crashing into the shielded enemy like a bowling pin, canceling their charge and leaving a wide window to follow up. It's a small trick, but it turns one of the more annoying enemy types into a non-issue once it's second nature.