Pragmata Economy Guide: Untangling Currencies, Printers, and the Training Sim
Navigating the economy of a ruined lunar base should not require an accounting degree, but IDUS security did not exactly leave a user manual behind.
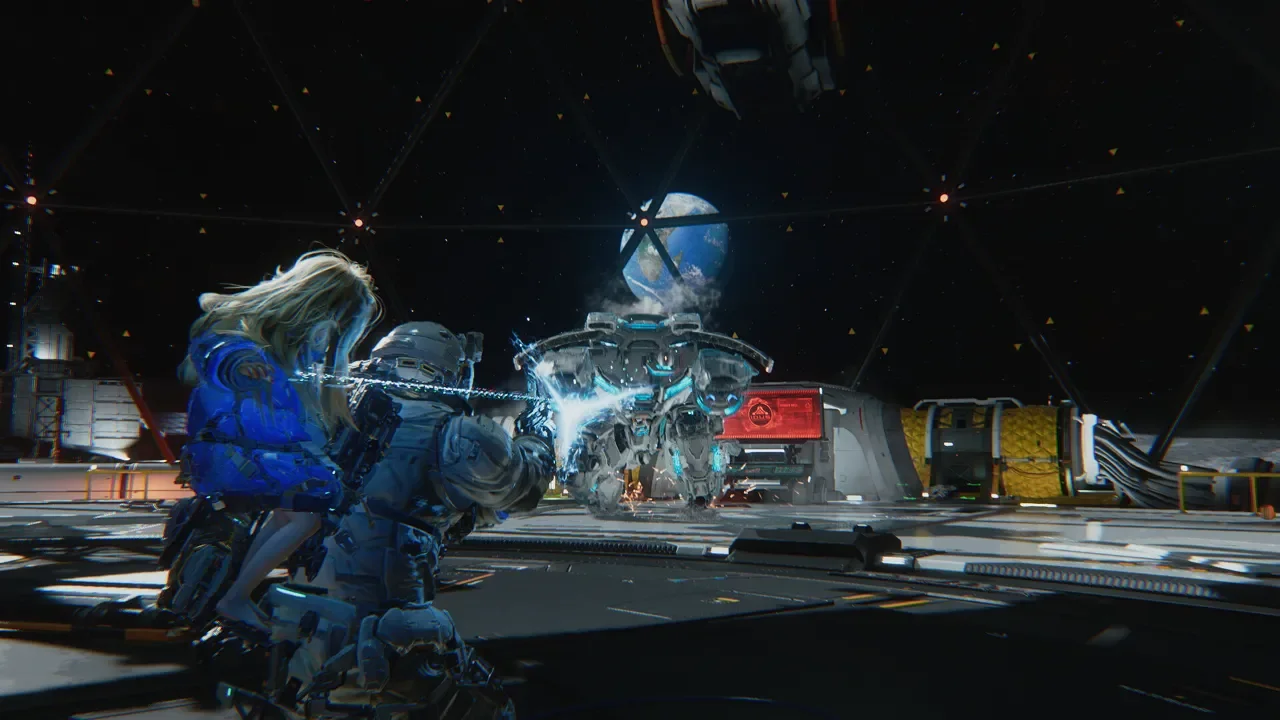
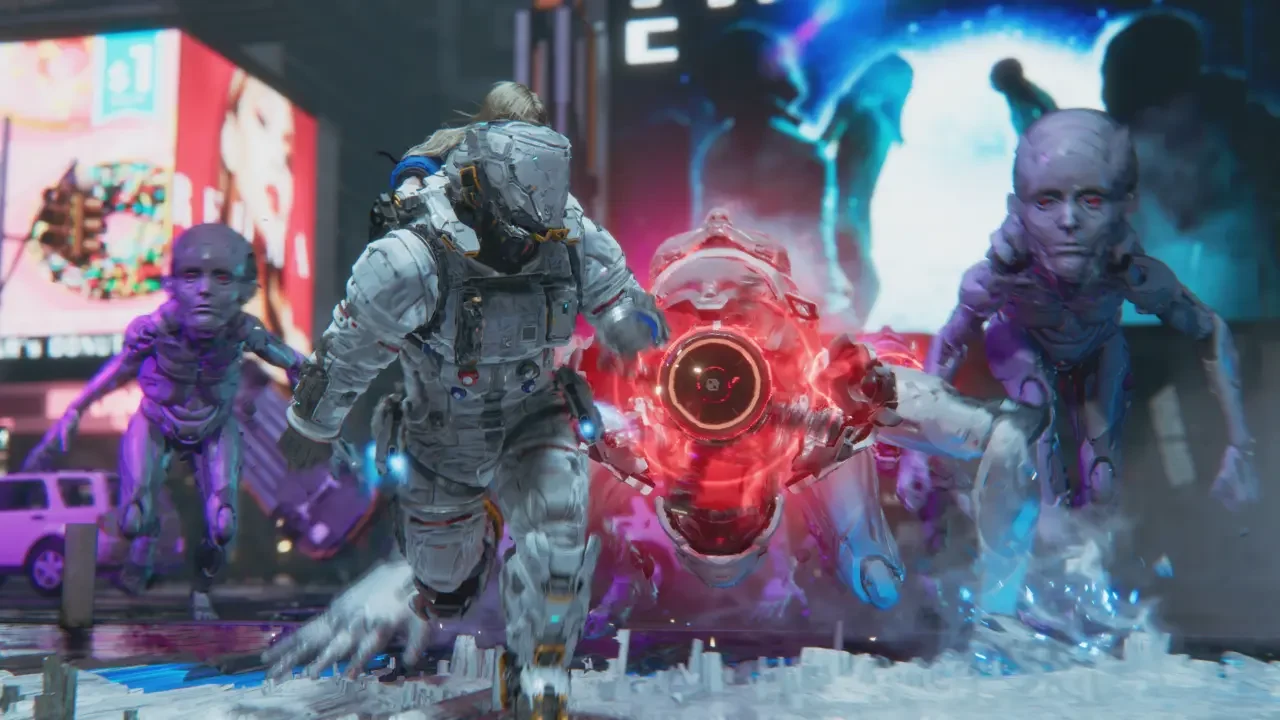
The game throws blue fragments, yellow cubes, and random coins at you, and then expects you to immediately understand the bureaucratic nightmare of printing your own weapons. If you do not know how the economic loop functions, you will end up endlessly grinding the wrong sectors for the wrong materials.
Now before you waste your hard earned Lunafilament on terrible upgrades, you need to understand how these systems feed into each other. You explore to find blueprints, you hit the Training Sim to farm the specific currencies required, and you bring it all back to the Unit Printer to actually build your loadout.
Here is exactly how to manipulate the Lunar Base economy so you never run dry on funds.
Making Sense of Your Wallet
There are five distinct currencies in the game. They do not overlap, and you cannot trade one for another. You have to know exactly what you are looking for before you head out into the Cradle.
If you are struggling to physically locate the hidden Delphi crates or the red laptops, you need to upgrade your scanning capabilities. Check out my guide on How to Easily Find All Hidden Items to permanently highlight these drops on your HUD.
The Unit Printer: Funding Your Arsenal
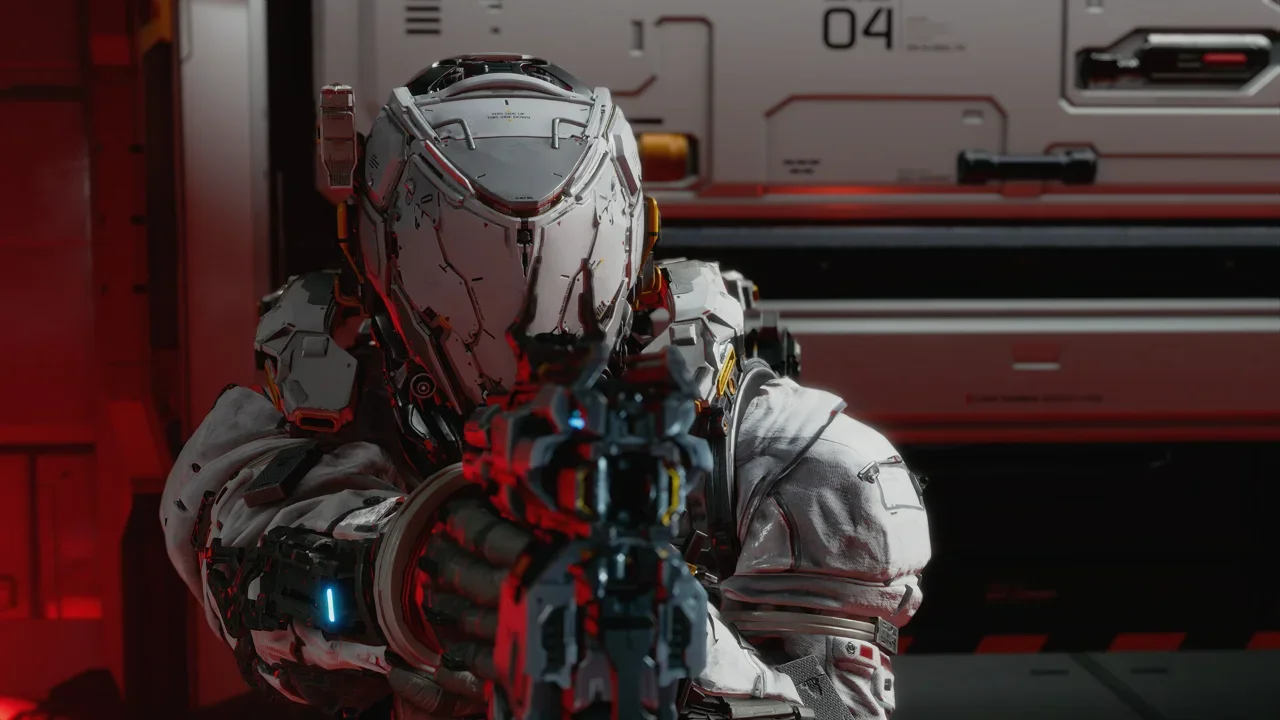
You will constantly stumble across new weapons and tactical gear while exploring the Cradle. However, just because you picked up a shiny new Shockwave Gun in Sector 1 does not mean you actually own it. You cannot equip it from the Tram Terminal until you bring the schematic back to the Shelter and permanently manufacture it at the Unit Printer.
The Printer is broken down into four tabs.
Weapons: This handles your Attack Units (like the Charge Piercer) and Tactical Units (like the Stasis Net). Once you print the base weapon with Lunafilament, you can dump more currency into it to increase damage, ammo capacity, and firing rates.
Hacking: This is where you purchase new nodes for Diana's hacking matrix. Grabbing tools like Decode or Freeze early on completely changes the flow of combat. If you want a deep dive into how to route these nodes effectively, you should definitely read my Hacking Masterclass.
Abilities: This tab houses the most expensive but vital upgrades in the game. You will need Pure Lunum to buy physical enhancements for Hugh like EC Thrusters and Fast Moves, or the incredibly important Auto-Hacking function for Diana.
Attachments: This covers your passive loadout. You use this tab to buy more Mod Slots, increase your Thruster Charges for dodging, and enhance your Repair Output.
If you are overwhelmed by the massive list of blueprints and do not know what to buy first, do not panic. I mapped out the exact purchase order you need in my Best Early Loadouts and Upgrades Guide.
The Training Sim: Farming Without the Risk
Grinding enemies in the open world for Lunafilament is slow and dangerous. The absolutely best way to fund your Unit Printer habit is the Training Sim pod located right next to Cabin in the Shelter.
You unlock this at Shelter Level 2. The beauty of the Training Sim is that it strips away all your current gear and forces you to use a preset loadout. This means you cannot be underleveled for a challenge. It is purely based on your mechanical skill.
You unlock new courses by finding Training Data hidden in the open world. Every single course guarantees a Cabin Coin just for finishing it, but the real money comes from hitting the optional objectives.
You do not have to hit all three objectives in a single run to get the rewards. If you beat the timer on your first attempt but miss the hidden boxes, just replay the course and focus entirely on the boxes. The game remembers your progress and dishes out the loot accordingly.
Cabin's Stamp Club and REMs
Those Cabin Coins you earn from the Sims have only one purpose. Take them directly to Cabin in the Shelter and spend them on the Bingo Boards.
It acts like a standard punch card system. Every time you complete a vertical or horizontal line on the board, you achieve a Bingo. This triggers a massive payout of unique rewards including exclusive outfits, hidden lore entries, and high end Tactical Units like the Code Generator or the Hacking Mines.
If you run out of Training Sims and still need a few more coins to finish a board, start hunting down REMs. These are small 3D printed toys scattered across the Lunar Base. When you bring them back to the Shelter and gift them to Diana, she gives you a Cabin Coin in return.
Mastering this flow is the only way to keep pace with the massive difficulty spikes in the back half of the game. Get your blueprints, hit the Sims, print your gear, and get back out there. For more deep dives into everything Pragmata has to offer, check out our full Pragmata Hub.