Pragmata Weapons Guide: Every Blueprint Location and Loadout Synergies
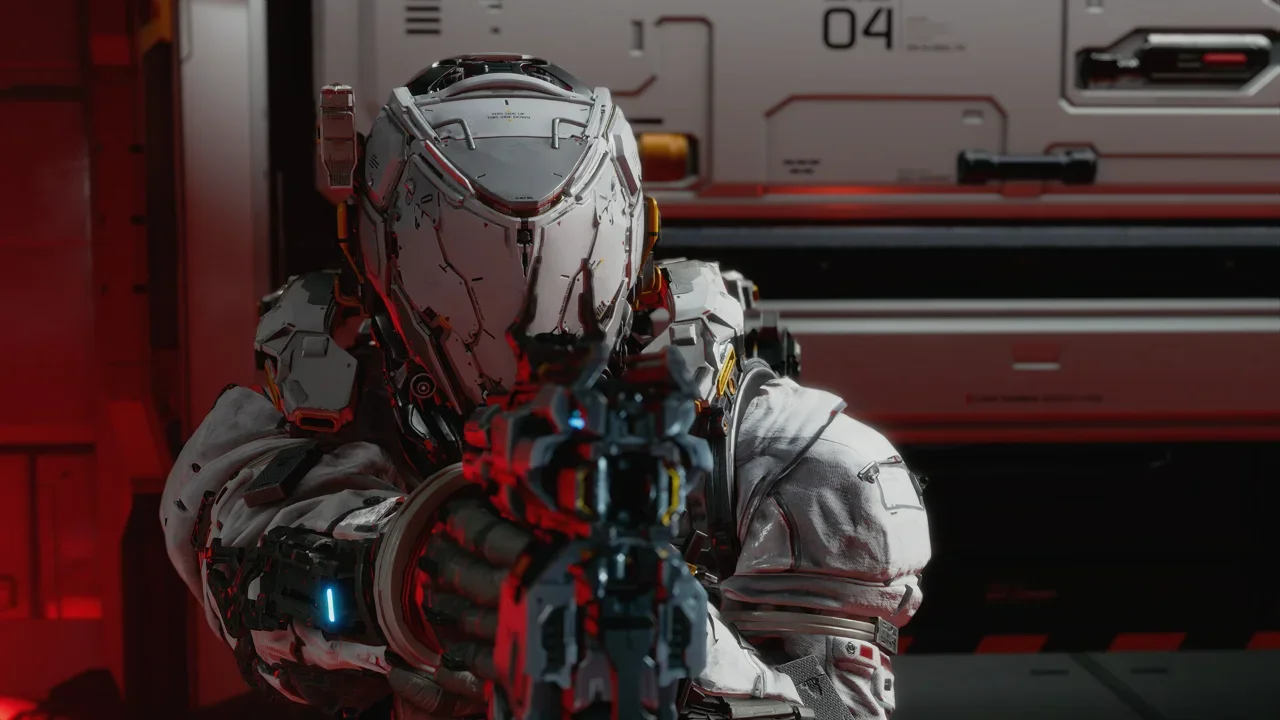
Your default Grip Gun is fine for shooting electronic locks, but if you try to use it to take down a massive security mech, you are going to be firing until your trigger finger cramps.
Pragmata features a surprisingly robust arsenal of 16 different weapons. The game splits these into four distinct categories: Primary Units (your recharging baseline guns), Attack Units (your heavy damage dealers), Tactical Units (your crowd control gadgets), and Defense Units (your shields and decoys).
You do not just magically unlock these as you level up. You have to physically find the weapon schematics in the open world or earn them through the Shelter's economy. Once you find a blueprint, you must take it back to the Unit Printer and permanently manufacture it using Lunafilament. If you are struggling to afford these blueprints once you find them, you should read my Economy, Printers, and Training Guide.
Now before you waste your time running around the Terra Dome wondering where your rocket launcher is, I have mapped out the exact drop location for every single weapon in the game.
The Complete Arsenal Checklist
The vast majority of these weapons are sitting in plain sight along the main path. They are usually marked with a massive "NEW" tag hovering over them. However, if you are rushing or distracted by a firefight, it is absolutely possible to walk right past them. The good news is that nothing is permanently missable. You can always use the tram to backtrack to an earlier sector.
If you are confused about how to actually get those Triple Bingos to unlock the Drone Hive and the Code Generator, you need to read my Stamp Club Rewards Guide. It maps out exactly how to bypass the Red Zone locks on the boards.
Building the Perfect Loadout
Just because you have sixteen guns does not mean you should upgrade all of them. Spreading your Lunafilament across every schematic is a terrible idea. You need to focus on building cohesive loadouts that synergize with your mods and Diana's hacking nodes.
Here are the three most effective loadouts I relied on to survive the late game difficulty spikes.
The Breach and Clear Brawler
Loadout: Shockwave Gun, Riot Blaster, Close Quarters Mod, Skirmisher Mod.
If you like playing aggressively, this is the build. The Shockwave Gun is essentially a sci-fi shotgun. It deletes health bars but requires you to be directly in the enemy's face.
To survive that range, you use the Riot Blaster to knock the target flat on their back. The Skirmisher Mod grants a 10% damage bonus against downed enemies, and the Close Quarters Mod grants another 10% bonus for being within ten meters. You knock them down, dash in, and unload the Shockwave Gun directly into their exposed weak point. It is a brutal, high risk loop that absolutely melts elites.
The Digital Sniper
Loadout: Charge Piercer, Sticky Bombs, Long-Range Targeting Mod, Relay Amplifier Mod.
Some bosses, especially in the Terra Dome, punish you severely for getting too close. For these encounters, you want to fight from across the room.
The Charge Piercer is your primary tool here. It deals massive piercing damage but requires a long windup time. To keep yourself safe while charging, you equip the Relay Amplifier Mod to increase Diana's hacking range by 30% and hit the boss with Sticky Bombs to shrink their hacking matrix. Once they are exposed, the Long-Range Targeting Mod grants you a flat 10% damage buff for firing from over twenty meters away. You sit back, charge your shot, and punch holes in their armor.
The Chaos Coordinator
Loadout: Drone Hive, Stasis Net, Extended Breach Mod, Performance Boost Mod.
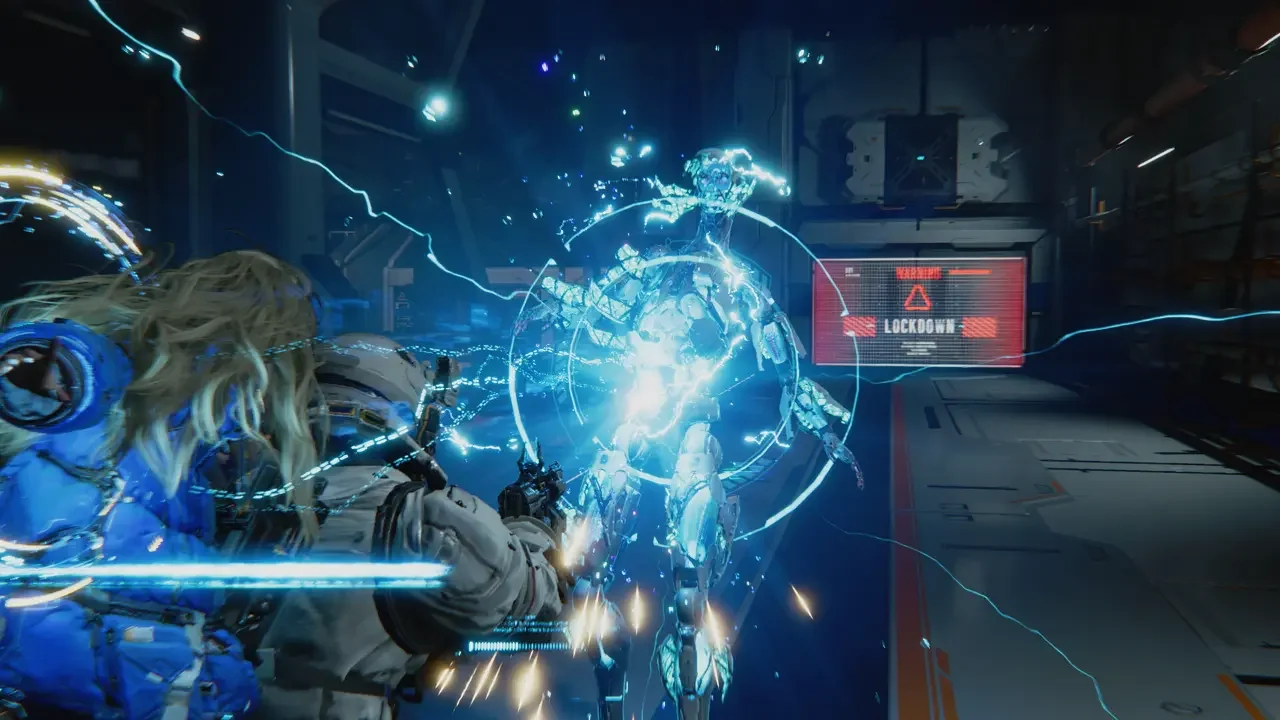
When you trigger a Red Zone and get swarmed by a dozen enemies at once, raw damage will not save you. You need absolute crowd control.
The Stasis Net is mandatory here. It completely immobilizes a target, stopping them dead in their tracks. While they are trapped, you deploy the Drone Hive to harass the rest of the room. The Performance Boost Mod makes all your hacking nodes more potent, and the Extended Breach Mod keeps enemies in the OPEN state significantly longer. You are not the one dealing the damage in this build; you are locking down the room, letting the drones chip away health, and methodically hacking the stragglers while they are paralyzed by the net.
If you want a deeper understanding of how to exploit these digital combos with Diana's matrix, head over to my Hacking Masterclass Guide.
For more tactical breakdowns, check out our complete Pragmata Hub.