Vampire Crawlers Beginner Guide: How to Survive the Deckbuilding Dungeon
Transitioning from real-time bullet hell to a methodical deckbuilder is a massive shock to the system, but I have the survival tactics you need.
If you booted up this game expecting to hold the thumbstick in one direction while a slot machine of colors explodes on your screen, you are in for a rude awakening. Moving to a first-person grid changes the entire DNA of the experience. You have time to think, time to plan, and plenty of time to realize you just made a fatal mathematical error.
The tutorial throws you into the deep end fast. It gives you the bare minimum to survive the prologue and then leaves you to figure out the intricacies of mana management, village economies, and grid traversal on your own. I spent hours bashing my head against early dungeon walls so you do not have to. Whether you are browsing our Vampire Crawlers hub for general knowledge or you are actively stuck on the Mad Forest floor, these are the fundamental rules of survival.
Master the Ascending Combo System
The entire combat engine revolves around the combo system. The game barely explains how vital this is, but if you ignore it, you will find yourself dealing chip damage while enemies tear you apart.
The rule is simple. You must play your cards in ascending mana cost order. If you play a 0-cost card, any 1-cost card in your hand lights up with boosted stats. Play that 1-cost card next, and your 2-cost cards get an even bigger multiplier. This creates a snowball effect that turns standard attacks into absolute screen-clearing nukes.
Because of this system, you need to sequence your entire turn in your head before touching a single card. Do not just throw your heavy-hitting 3-cost spell right away. If you lead with an expensive card, your combo chain is broken for that turn. Always start from zero and work your way up.
Keep an eye out for Wild Cards. These act as bridges in your combo chain, letting you jump from a 1-cost to a 3-cost without breaking the sequence. Just remember they are single-use, so hoard them for when you are about to get overwhelmed. For a deeper dive on how this ties into weapon merging, check out my Weapon Evolutions and Combos guide.
The Village Economy
Gold is incredibly scarce in your first few runs. You are going to be tempted to buy a little bit of everything in the village. Do not do that.
The biggest trap in the early game is The Blacksmith. Adding slots to your cards is a fantastic mechanic later on, but the pricing is absurd when you are just starting out. The Blacksmith will drain your entire wallet for a single upgrade. Save that cash for Greed and Might power-ups instead. Once your economy is stable, you can read my Blacksmith and Best Cards guide to optimize your slots.
Learn When to Cash Out
During a run, chests and upgrade stations will offer you a choice of new gems or evolutions. Sometimes, the game hands you absolute garbage that does not fit your deck.
Do not force a bad card into your hand just because it is offered. Look at the bottom right of the screen for the "Cash Out" button. Taking a handful of coins is infinitely better than cluttering your deck with useless junk that ruins your draw probability. A lean, focused deck will always outperform a bloated one.
Hollow Heart is a Trap Early On
You will see the yellow Hollow Heart card drop frequently in the Mad Forest. It increases your maximum HP by three. Coming from other roguelites, grabbing extra health seems like a no-brainer.
Ignore it for now. Expanding your health pool is pointless if you have no reliable way to refill it. In the first few hours, your only source of healing comes from finding random chickens hidden in the environment. Until you unlock characters with inherent healing or secure the Pummarola card, Hollow Heart just gives you empty health bars you can never fill.
Do Not Burn Your 0-Cost Cards
You will occasionally stumble across blue vending machines called Bing Upgrades. They let you permanently burn a card from your deck in exchange for a flat stat boost. Tossing a Bracer in the trash for a permanent +1 to your hand size sounds like an amazing trade.
Think carefully before you do this. Your 0-cost cards are the foundational building blocks of your combo chains. Because they cost zero mana, they let you kickstart that ascending multiplier without tapping into your precious resources. Tossing them all into the Bing machine will leave you with a hand full of expensive cards that you cannot chain together.
Save The Floor Chickens
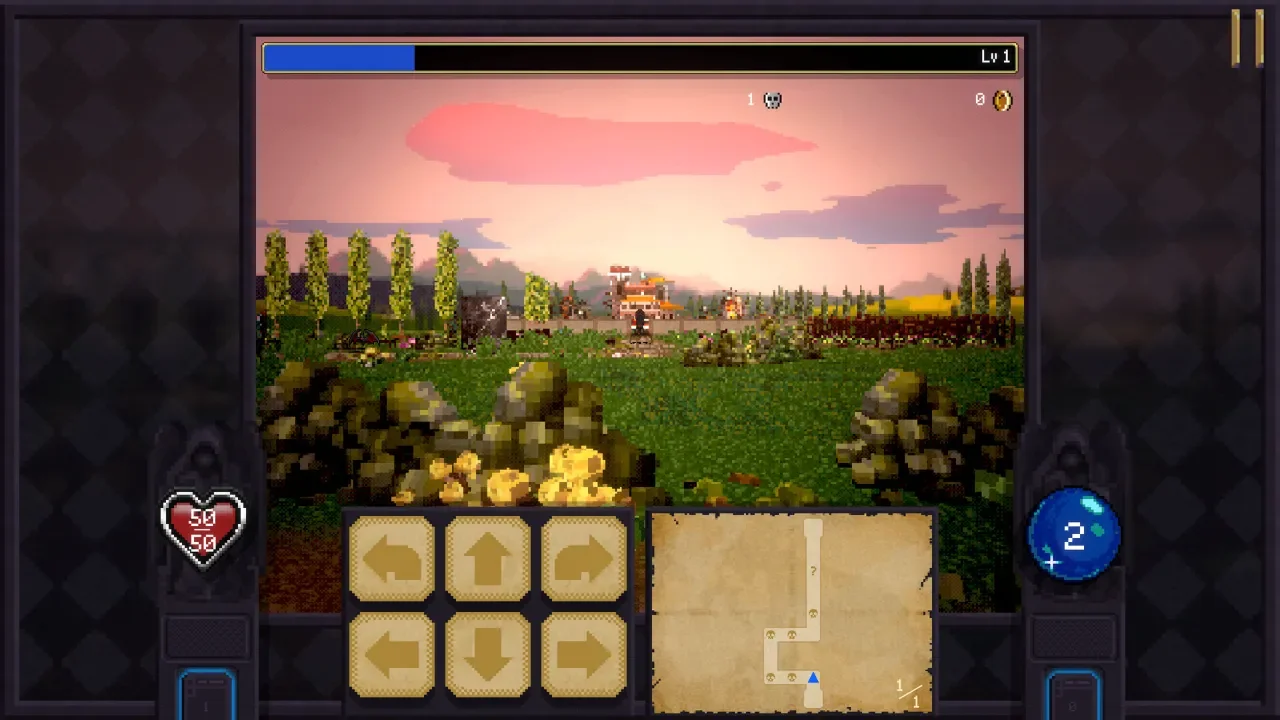
As you navigate the dungeon grid, you will constantly bump into braziers, torches, and candles. Smashing them drops coins and the occasional Floor Chicken.
When you uncover a chicken, leave it on the ground unless you are literally one hit away from death. You do not want to waste a heal to top off five points of damage when a major encounter is right around the corner. The smartest play is to clear out the entire floor, defeat the boss, and then walk back to eat the chicken before descending to the next level.
Reading the Boss Timers
Boss fights introduce a new layer of stress through the "Eye" mechanic. Above a boss, you will see a series of purple eyes that open one by one as the encounter progresses.
Every time you play a card or end your turn, an eye opens. When the sequence is complete, the boss unleashes whatever devastating attack is queued up in the center of the UI. You need to adapt your card play to this timer. If you know a massive hit is coming on your next action, stop trying to build an offensive combo and throw up your armor cards instead.
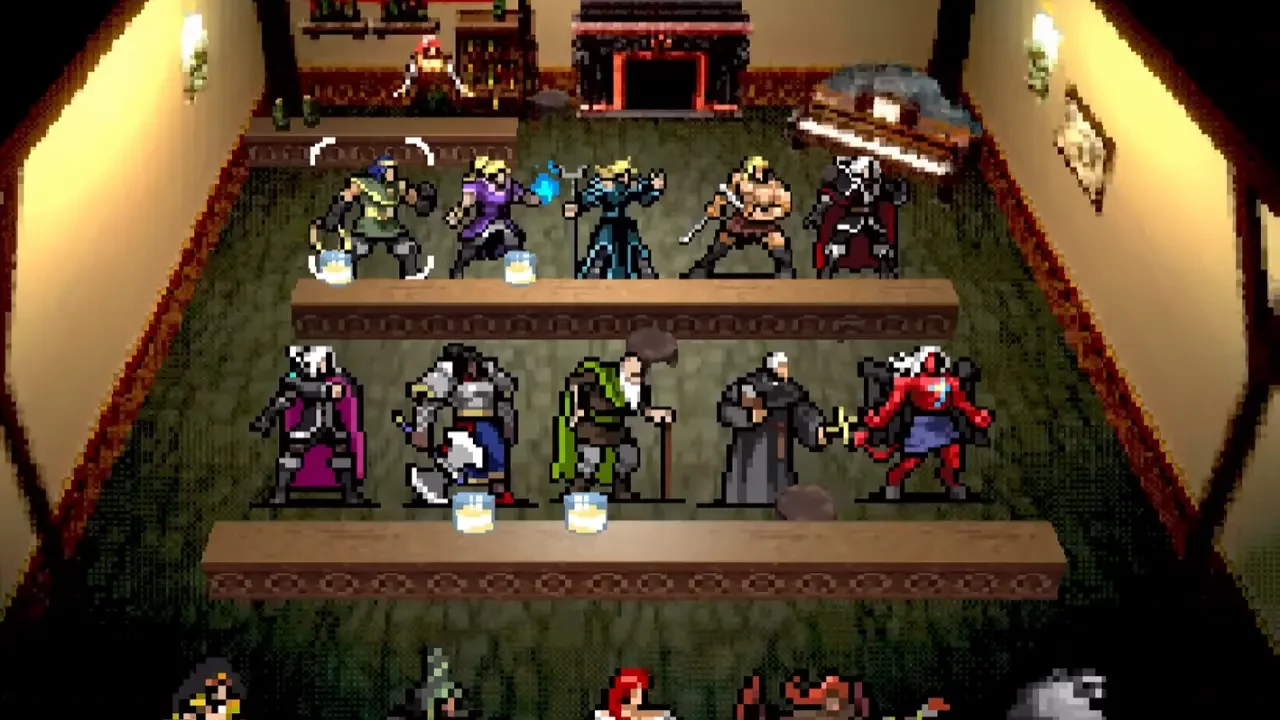
Pick the Right Starting Crawler
You start with Antonio, and he is a fantastic learning tool. His whip deck is straightforward and teaches you the basics of single-target damage.
However, as soon as you have the funds, you should pivot to Pasqualina. Her starting deck comes with Runetracers and an Empty Tome. Her innate ability boosts splash damage, which synergizes flawlessly with the Runetracers. More importantly, she allows you to draw additional cards whenever you play the Empty Tome. Card draw is king in this game. Having a massive hand means you can build longer, deadlier combo chains.
If you are wondering how to get her or anyone else on the roster, I have mapped it all out in my Character Unlock guide.
Take it slow, plan your mana carefully, and prioritize your permanent upgrades. It takes a few runs to rewire your brain for the grid, but once the combo system clicks, you will be tearing through these dungeons with ease.