Vampire Crawlers: Best Cards, Gems, and Blacksmith Upgrades
Your starting deck is a complete joke, but with the right gems and a massive pile of gold, you can turn it into an absolute meat grinder.
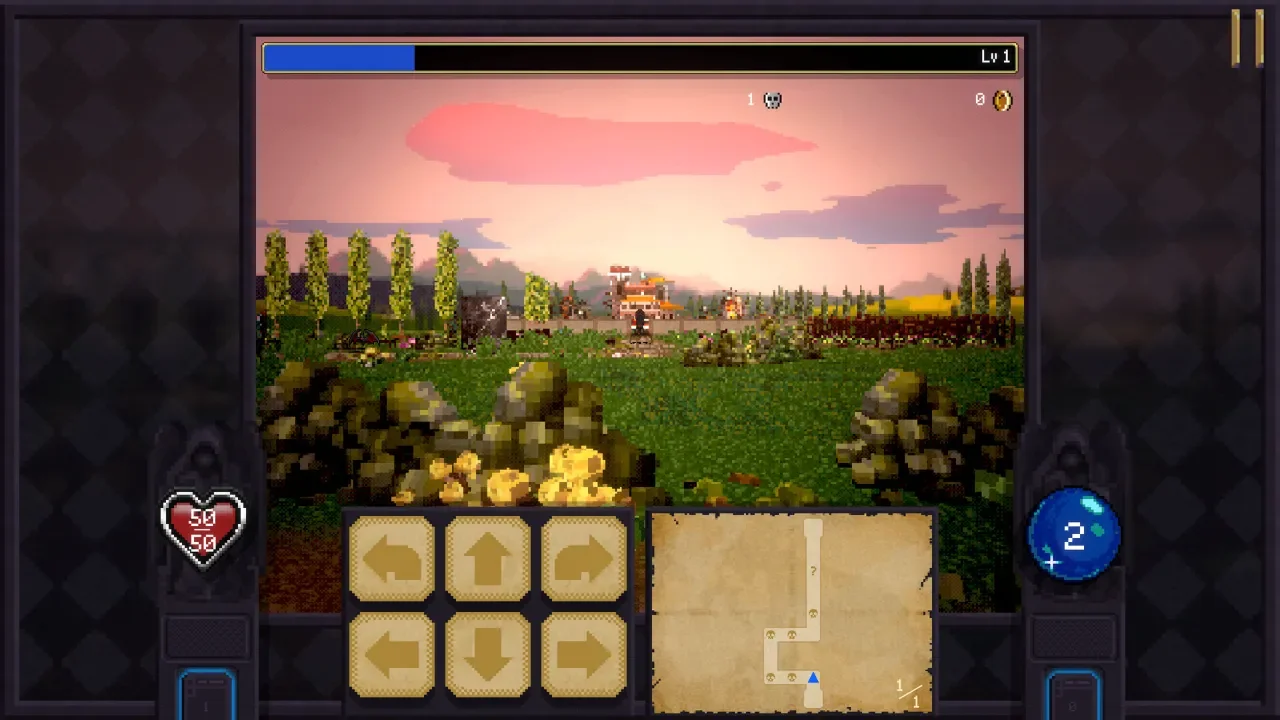
Surviving the deeper grid maps requires more than just throwing cards at the wall and praying something dies. You need a highly curated deck, optimized mana costs, and a fundamental understanding of the meta progression systems sitting in your village. The moment you unlock the Gem Hammer on the second floor of the Wild Forest, the entire game opens up.
Suddenly, your standard weapons can inflict massive status ailments or completely bypass the mana economy. However, you are entirely at the mercy of the game's draft RNG unless you start manipulating your loadout at the Blacksmith. I have spent way too much gold testing terrible combinations so you do not have to. Here is exactly how to optimize your deck and stop throwing your money away.
Unlocking and Using The Blacksmith
Before you can start hard-wiring your deck with permanent upgrades, you have to actually find the shop. You unlock the Blacksmith by securing the Stardust Anvil Relic. You will find this sitting halfway across the Teeny Bridge location. The Bridge is a brutal, linear gauntlet that floods you with enemies immediately. I highly recommend taking Pasqualina for this run, as her Runetracers absolutely shred the narrow hallways.
Once the Blacksmith is open in your village, you can pay to permanently add empty Gem slots to any card you have previously discovered. This allows you to stack modifiers on utility cards that normally do not get slots, or turn a basic weapon into a multi-slotted weapon of mass destruction.
There is a massive catch. The Blacksmith is a complete extortionist.
Adding a single slot to a basic card starts at 500 Gold and quickly scales into the thousands for higher tier weapons. If you are still in the early game, do not even look at this building. You need to spend your initial fortune on the Greed and Might stats at the Power Up shop. Paying 3,000 Gold to add a single slot to your Magic Wand while your base damage is still in the gutter is a terrible tactical decision. Save the Blacksmith for the late game when you are swimming in coins from the Overkill relic.
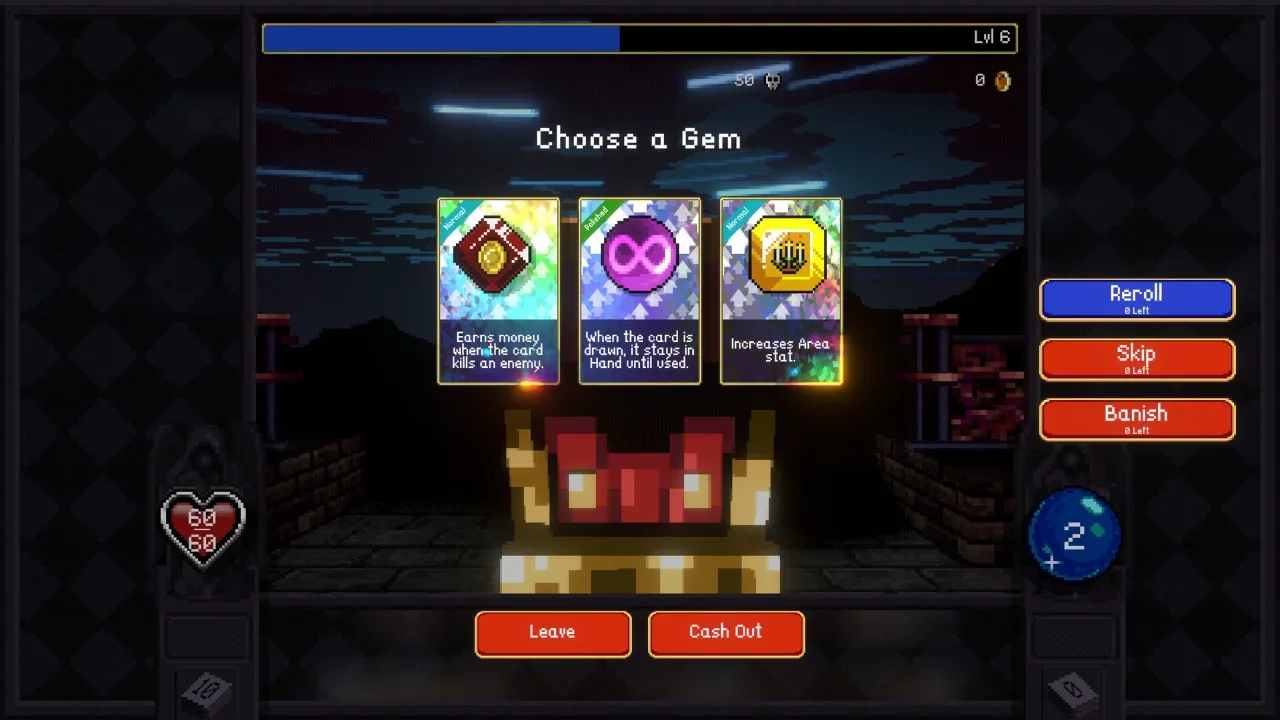
The Best Gems to Socket
When you finally have the slots available, you need to know what to put in them. Not all Gems are created equal, and putting the wrong modifier on a combo piece will ruin your entire turn sequence.
The Wild Gem
This is the holy grail of deckbuilding. Socketing a Wild Gem removes the card's mana cost entirely and grants it the Wild Card trait. It becomes completely free to cast and acts as a universal bridge in your combo multiplier. It will never break your ascending chain. If you see this Gem, you take it.
Free to Play
Do not confuse this with the Wild Gem. Free to Play makes the card cost zero mana to cast, but the card retains its original printed mana value for the sake of the combo system. This is brilliant for sequencing. You can cast a heavy 3-cost weapon for free, and the game still registers it as a 3-cost card for your multiplier logic. It is vastly superior to the Refund Gem.
Yin-Yang
This is your ultimate utility socket. It checks your current mana pool when you cast the card. If your mana is an even number, you gain one mana. If it is odd, you draw a card. Either outcome is incredibly strong, but gaining extra mana early in a run can save you from taking massive structural damage.
Freeze
Do not waste this on your heavy hitters. Slap a Freeze Gem on a cheap 0-cost weapon like the Bone or Whip. This allows you to hold the card in your hand specifically for boss encounters. When the boss's turn timer fills up, you drop your cheap freeze attack to shut them down and reset their attack phase.
Top Tier Cards for Your Deck
You cannot just draft weapons and expect to survive. A deck built entirely around damage will run out of mana on turn two, leaving you completely exposed when the enemy front line advances.
You need utility. Mana books are mandatory. You want to draft a healthy mix of 0, 1, and 2-cost tomes to artificially extend your turns. Armor cards are great for surviving the early Bridge levels, but their value drops off a cliff in the late game once you acquire weapons that can inflict Disarm or Knockback.
When it comes to the actual weapons, you need to draft based on combo efficiency.
If you are struggling to figure out how to fuse these weapons into their evolved states, check my Weapon Evolutions guide for the exact recipes.