Pragmata Shelter Guide: How to Unlock Every License Key
If you are wondering why your guns feel like peashooters and half the terminals in your base are locked, you are desperately behind on your paperwork.
When you first drag yourself into the Shelter with Diana, the place is basically a glorified closet. Your upgrade limits are capped, the weapon printer is heavily restricted, and the fun side activities are entirely absent. The game does not just hand you the keys to the armory because you picked up some loose change.
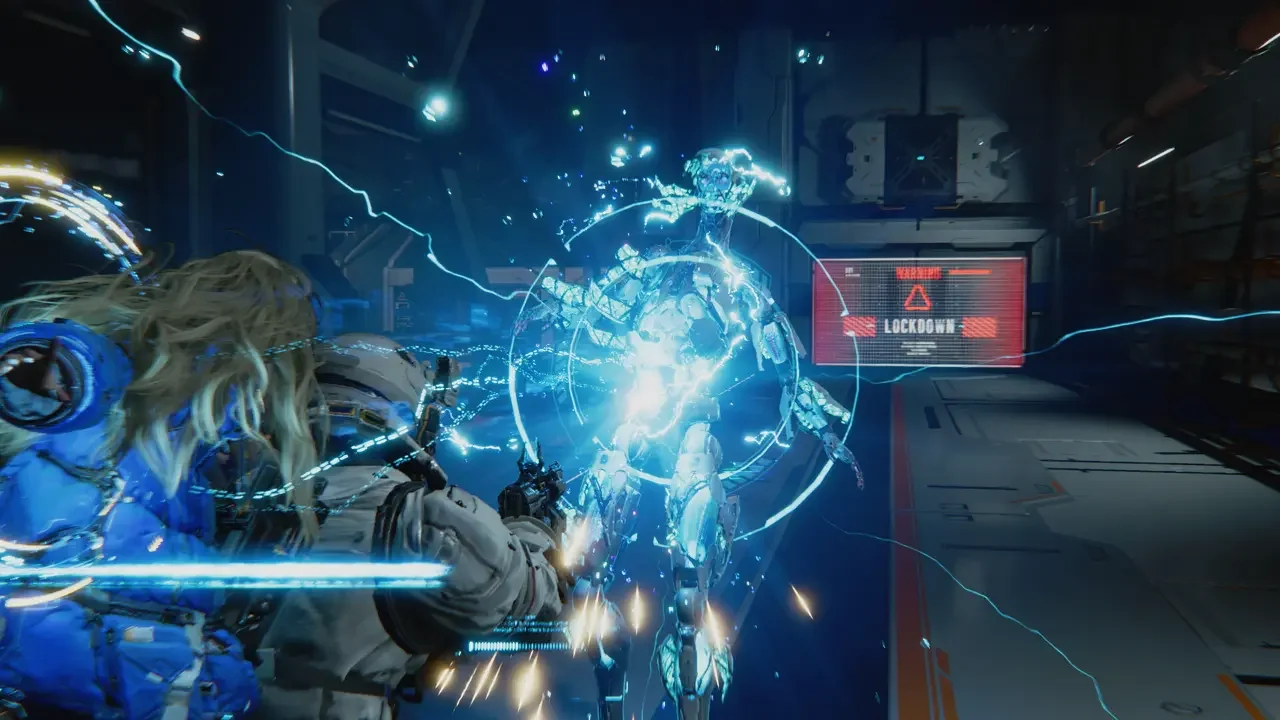
You have to earn your upgrades by increasing your Shelter Level. This is dictated by Shelter License Keys. You do not find these sitting in random chests or hidden behind fake walls. The progression is strictly tied to putting the major sector bosses 6 feet under.
Now before you waste your time running circles around Sector 1 trying to figure out why you cannot buy the Object Scan ability, you need to understand the progression gates. I have mapped out exactly when the game takes the training wheels off.
If you are still struggling to survive the basic combat loop to even reach these bosses, read my Pragmata Beginner Tips Guide first.
The Progression Loop
Every time you clear a major sector boss, you are awarded a new License Key. Taking that key back to the Shelter automatically updates the facility.
This raises the level cap at the Firmware Updater, expands your wardrobe, and drastically increases the blueprints available at the Unit Printer. It also unlocks entirely new game mechanics like the Training Sims and Mr. Cabin's bingo game. If you need a refresher on how those specific economies feed into each other, check my Economy, Printers, and Training Guide.
Planning Your Loadout Purchases
Because your options are gated, you need to save your Lunafilament for the major milestones.
Hitting Level 1 is crucial because it gives you access to the Charge Piercer and the Multihack node. This combination is what carries you through the early game swarms.
However, Level 2 is the most important turning point in the entire campaign. Unlocking the Object Scan changes how you explore the map permanently, and gaining access to Auto-Hacking takes a massive mental load off you during frantic firefights.
If you want a deeper look at what is hiding on those newly unlocked bingo boards, I mapped out every single reward in my Stamp Club Rewards Guide.
And remember, Level 5 is strictly a post game unlock. You will not see this until you roll the credits and load back into the Unknown Signal mode. Do not panic if your final weapon upgrades are grayed out right before the final boss. If you are curious about what that post game grind actually entails, read my True Ending Guide.