Pragmata Beginner's Guide: Stop Getting Splattered Across the Cradle
The Moon is actively trying to murder you, but with a little preparation, you can at least make it work for its kill.
Pragmata throws a lot at you very quickly. You have standard third person shooting mixed with a hacking matrix, a fragile android companion to protect, and towering robots that want to turn you into a blood stain. If you treat this like a standard cover shooter, you are going to get crushed. I learned the hard way that surviving the opening hours requires a shift in how you approach combat and exploration. Here is how you can stack the deck in your favor before the difficulty spikes.
Rewire Your Combat Brain
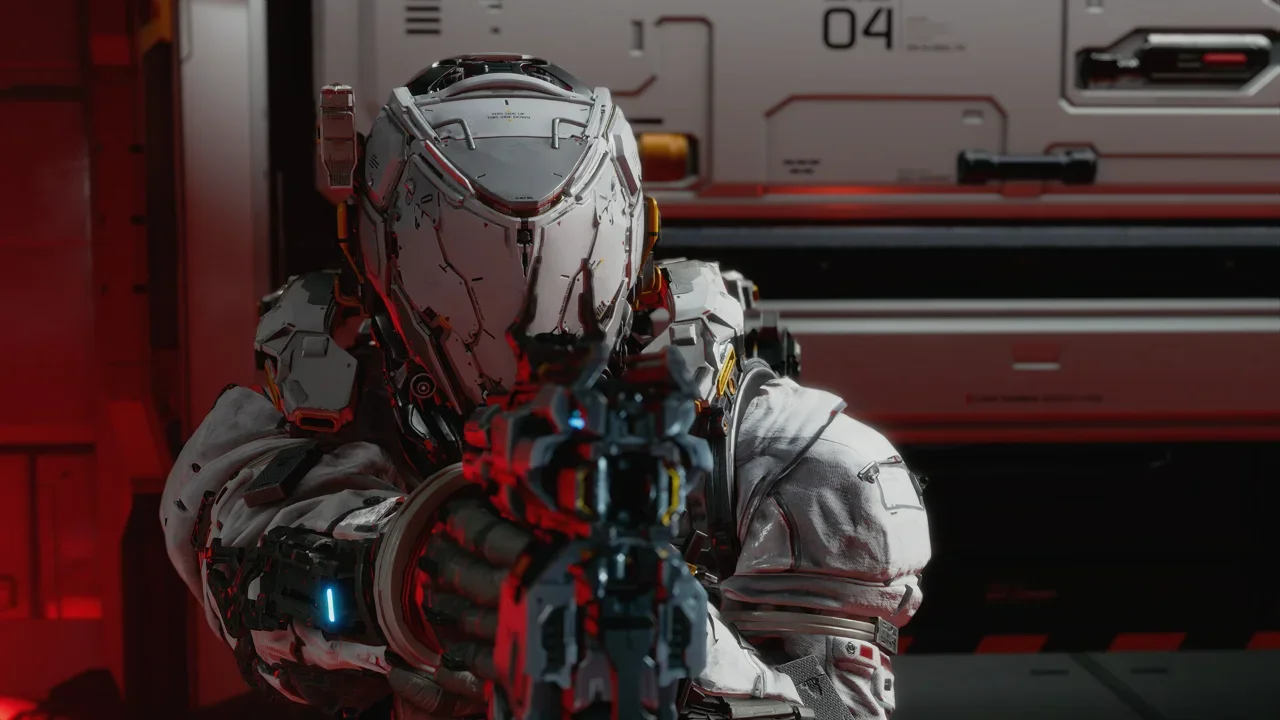
Shooting a giant armored robot with a basic assault rifle is about as effective as throwing pebbles at a tank. You have to use the systems the game gives you, or you will run out of ammo and health in record time.
Hacking is Not Optional
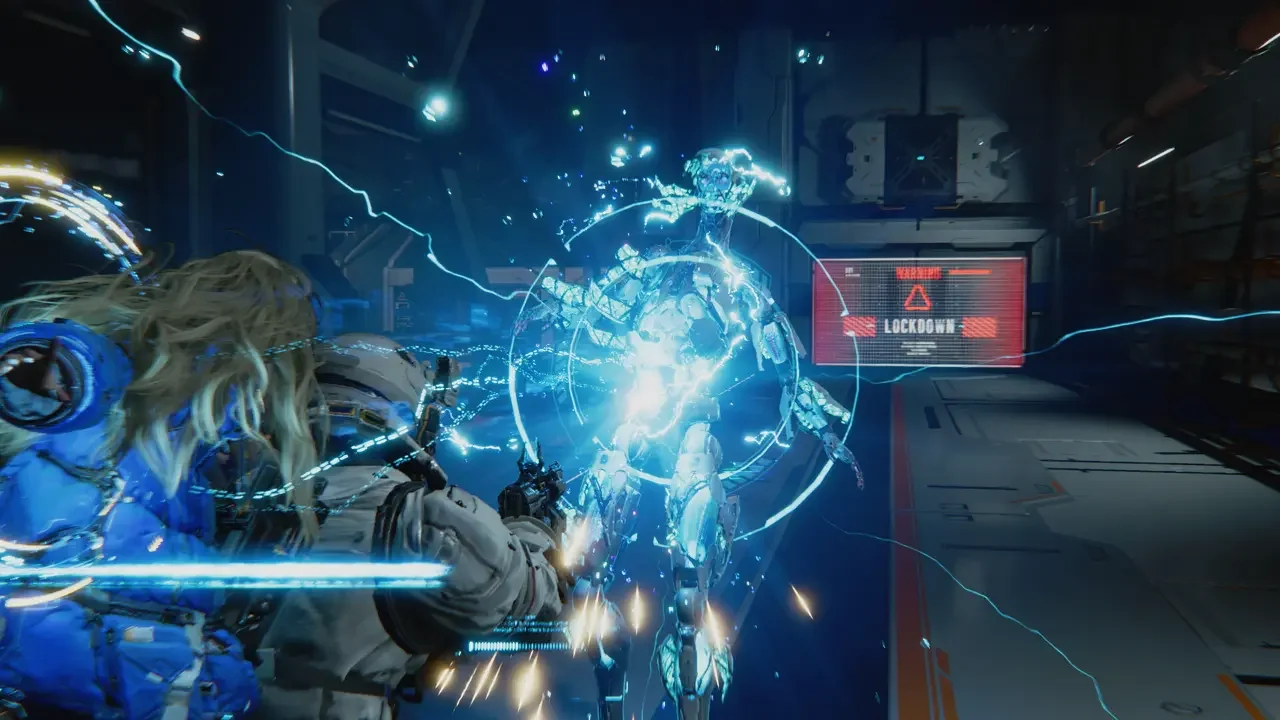
Diana’s hacking skills are the entire foundation of combat. Without using her abilities to "open" an enemy, your guns deal pitiful damage. The goal is to pass through as many blue nodes as possible before hitting the green EXE node. Doing this increases the damage of the hack and keeps the enemy vulnerable for a longer window. When an enemy is open, their weak points glow orange. That is your cue to unleash hell.
If you want a complete breakdown on how to master this system, read my Complete Hacking Masterclass.
Do Not Ignore Your Dodging
Enemy attacks are heavily telegraphed, but they become incredibly easy to miss when you are staring at a hacking puzzle. The good news is that your hacking progress does not reset if you close the matrix. If you see a massive metal fist swinging your way, drop the hack, hit your thrusters to create distance, and then pick the hack right back up.
Save Your Specialty Nodes
You only have one hacking node slot in the beginning. You will usually find environmental nodes scattered right before a combat arena, practically begging you to use them. Do not waste your Decode or Multihack nodes on the standard fodder enemies. Hack your way around the grid and save the heavy hitting nodes for the larger, armored elites that actually pose a threat.
Abuse the Shockwave Gun
The first Attack Unit you get is easily one of the most reliable weapons in your arsenal. Because combat heavily favors close range engagements, the Shockwave Gun is devastating. My standard routine is to hack a target from a distance, hit them with the Stasis Net to lock them in place, thrust in close, and unload the Shockwave directly into their weak point. It is brutal and highly effective.
Master the Economy and Upgrades
Resources are tight in the opening hours. You need to be smart about where you spend your Lunafilament and Upgrade Components so you do not accidentally soft lock your build against a difficult boss.
Level Your Firmware Evenly
You upgrade your Suit, your Primary Unit, and Diana's Hacking at the Firmware Updater. You cannot respec these base stats later. Because Upgrade Components are rare early on, I highly recommend bringing all three of these stats to level 10 before you start specializing. Your suit might feel fine against the early bots, but the damage output from enemies skyrockets in Sector 3. A balanced build guarantees you have the health to survive and the damage to finish fights quickly.
For a deeper dive into exactly which mods to slot, check out my Best Early Upgrades and Combat Loadouts Guide.
Invest in Auto Hacking
Doing your own hacking manually is tense and rewarding, but sometimes you just need to focus on dodging laser grids and staying alive. Buying the Auto Hacking ability early is a massive quality of life improvement. It is cheap and allows Diana to handle the digital heavy lifting while you focus on crowd control. Just keep an eye on her hacking gauge so you do not burn through it when you need an Overdrive Protocol.
Hit the Training Simulations
They look like optional side fluff, but the Training Simulations located in the shelter are basically free money. They are a massive resource boon for finding Pure Lunum, Cabin Coins, and Upgrade Components. The early simulations are very easy, so knock them out immediately to fund your early weapon enhancements.
If you want to know exactly how the economy loops work, read my Currencies, Printers, and Training Guide.
Scavenge Like a Rat
If you push straight through the main objectives without exploring, you will severely handicap your survivability. The Cradle is packed with hidden gear, but you have to know what to look for.
Buy Object Scan Immediately
You unlock the ability to buy Object Scan very early. Do not hesitate. Buy it the second it hits the shop. It has incredible range and highlights upgrade materials and REMs through walls. It will not give you a perfect GPS route to the loot, but it guarantees you will not walk past a critical cache of Lunafilament.
Look for Holographic Walls
Even with the Object Scan pinging a chest, you will often find yourself staring at a dead end. Pragmata loves hiding things behind illusory walls. These always look like smooth, featureless gray metal panels that give off a faint blue holographic shimmer when you get close. Walk up to them and hit the interact prompt to dissolve the wall and grab the loot inside.
Note: You will also run into paths blocked by glowing red and blue junk. You cannot break these early on. Check out my guide on How to Clear Crystals and Red Goo once you unlock the right tools.
Retreat to the Shelter
Do not let your pride stop you from using the escape hatches. Yes, returning to the Shelter respawns all the enemies in the sector. But it also fully heals you, restocks your Repair Cartridges, and lets you bank your resources. Pushing forward with zero healing items and a sliver of health is a guaranteed way to lose your progress. Retreat, spend your materials, upgrade your gear, and go back in swinging.
Swallow Your Pride
Pragmata lulls you into a false sense of security before ripping the training wheels off. Around the halfway point, the game demands incredibly fast reactions to juggle shooting, dodging, and hacking simultaneously.
If you die on Standard difficulty, the game over screen offers you a swap to Casual. There is no penalty for this. It does not lock you out of the story or punish your progression. If the combat is making you miserable, take the downgrade. You cannot switch back to Standard once you drop down, so make sure you actually want the easier ride, but do not torture yourself if the difficulty spike is ruining the experience.
For more breakdowns and secrets, dig into our full Pragmata Hub.