Ready or Not A New America Guide: How to Survive the City Hall Siege
Storming City Hall is a masterclass in pain, but I have the exact tactical blueprint to keep your squad from leaving in body bags.
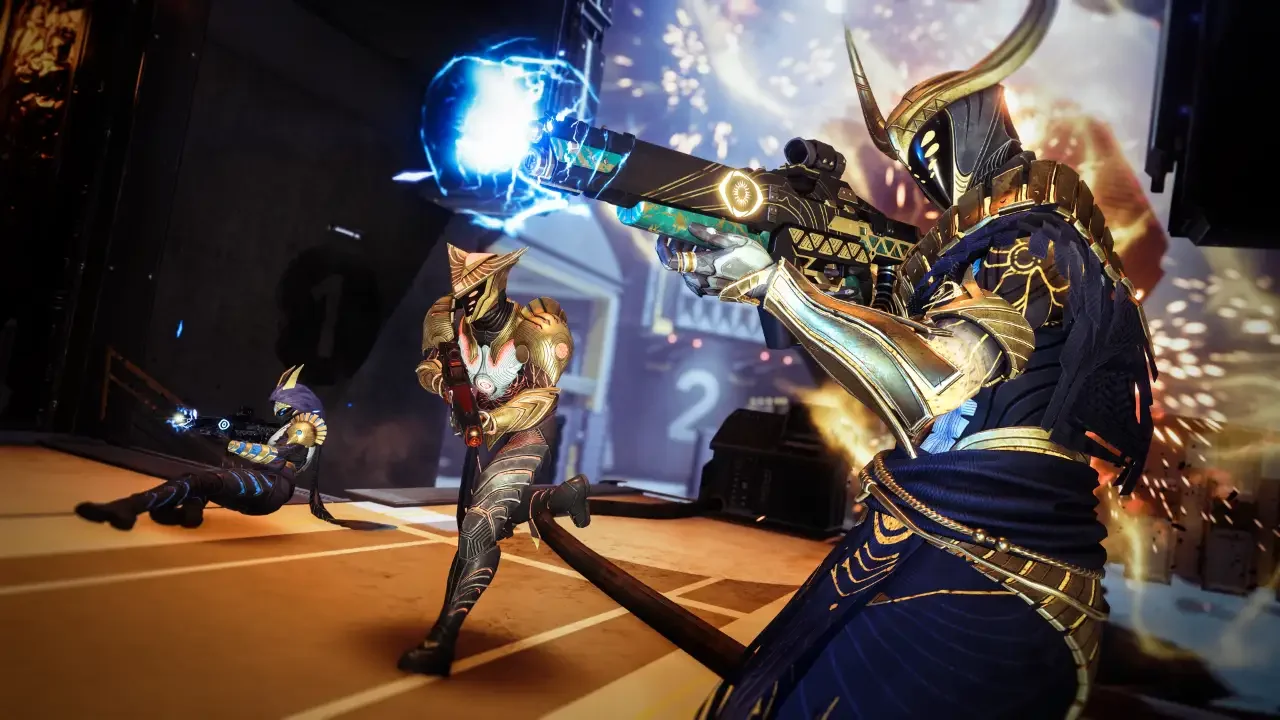
The Mariposa Lily Organization is not your average group of unorganized street thugs. The suspects occupying the building in A New America act like a highly trained SWAT element. They use advanced close quarters tactics, they hold brutal angles, and they are wearing Level 4 armor plates. If you walk into this mission expecting a standard hostage rescue, you are going to spend the entire evening looking at the failure screen. I have spent an unhealthy amount of time getting shredded by M16 fire in these hallways so you do not have to.
This mission spans four massive floors and features a timed bomb defusal sequence that will instantly end your run if you trigger it too early. Here is my complete breakdown of how to manipulate the environment, choose the right gear, and secure the VIP without blowing the entire building to ash.
The Loadout Reality Check
You need to completely rethink your loadout for this operation. The suspects here will eat standard pistol caliber rounds for breakfast and ask for seconds just for the funsies. You must bring heavy caliber weaponry loaded with armor piercing ammunition if you want to drop them reliably.
Methodical Floor Clearing
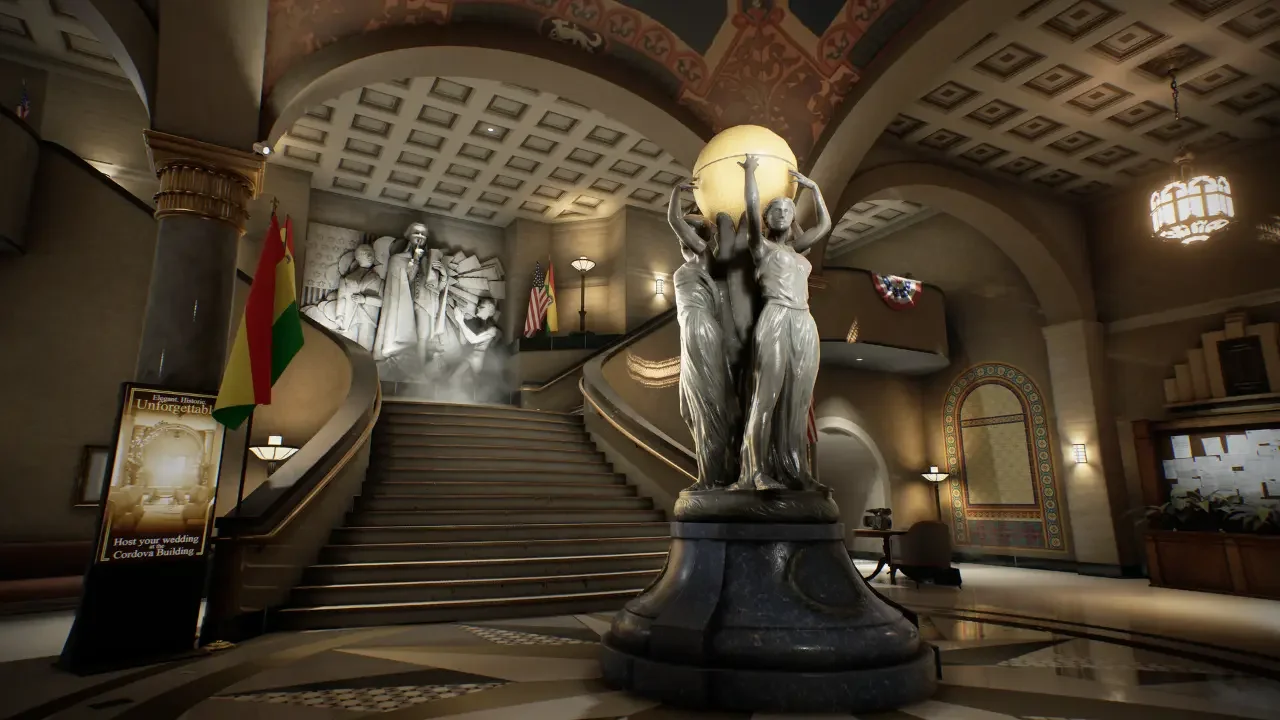
City Hall is a sprawling labyrinth of offices, ballrooms, and courtrooms. You cannot rush this. Every single door needs to be treated as a fatal threat.
Securing the Ground Floor
The first floor is relatively quiet, but do not let your guard down. Your primary objective here is to locate the security room right near your insertion point. Interact with the computer terminal on the central desk. This allows you to rewire the CCTV feeds directly into your helmet camera. The suspects are smart enough to avoid lingering on camera, but any visual intelligence is better than walking in blind. Check your corners, secure the stray civilians, and move up.
Cutting the Power on Floor Two
The second floor is where the resistance gets heavy. You will likely encounter suspects hiding in the ballroom and the reception area. The reception area is particularly nasty, so make sure your AI squad is stacked tight before you push through those doors.
Your critical target on this floor is the electrical room. Find the main generator and interact with it to kill the power. This single action fundamentally changes the map. Shutting off the power kills the remaining cameras, shuts down the fire sprinklers, and most importantly, unlocks all the electronic doors on the upper floors.
Floor Three and the Secret Passage
With the power cut, you can freely navigate the electronic doors on the third floor. You need to clear the City Council room, the Employee Lounge, and the Election Archive. Suspects love to camp behind the bookshelves in the archive room, so slice your angles carefully.
Make your way into the Mayor's office. If you look at the third shelf on the left side of the window, you can interact with a specific book. This triggers a hidden door, revealing a panic room. Using this secret passage allows you to bypass a highly contested hallway and set up a clean flank on the remaining suspects.
The Radio Jammer Trap
This is the most important mechanic in the entire mission. There is a soft objective on the third floor requiring you to find and activate a radio jammer. The jammer randomly spawns in the Conference Room, the Council Room, or the Press Room.
Do not touch the jammer when you find it.
I cannot stress this enough. If you activate the jammer, you trigger a hidden timer. You will have roughly two to three minutes to sprint to the fourth floor, breach the courtroom, and disable the primary explosive. If you fail, the building detonates and you lose.
You need to clear the entirety of the third floor and secure the perimeter of the fourth floor before you even think about hitting that switch. Leave the jammer alone, clear your flanks, and wedge every surrounding door so you do not get ambushed later.
The Courtroom Execution
Once you have methodically cleared the surrounding areas, stack your entire team outside the main doors of the fourth floor courtroom. Run back down to the third floor, hit the radio jammer, and sprint back up to your squad.
Before you kick the courtroom doors, note the yellow munitions crate tucked behind the fourth floor staircase. Use it to refill your ammunition and restock your flashbangs. You will need every piece of utility you have left.
Taking the VIP Alive
The courtroom is a mess of desks, benches, and heavily armed suspects. You need to breach hard and fast. Throw your 9 bang grenades deep into the room. The blinding effect lasts significantly longer than a standard flashbang, giving you precious seconds to push the angles.
Your target is the Flowerman Bomberman. He is a VIP suspect wearing a highly visible flower mask and an explosive vest. You cannot just shoot him. You have to force his surrender, restrain him, and then manually interact with his chest rig using your multi tool to defuse the bomb.
Keep in mind that the suspects inside the courtroom will actively try to stop you. They will kick doors back in your face and throw their own flashbangs to blind your squad. If you took my advice and wedged the exterior doors, you only have to worry about the threats directly in front of you.
Also, pay close attention to the civilians cowering in the crossfire. Due to a recent patch, you can now manually defuse explosive vests strapped to hostages. Always check the hostages before you engage in a prolonged firefight near them. A single stray bullet hitting a rigged civilian will end your run instantly.
Clear the room, secure the VIP, clip the wires on his vest, and bag the remaining weapons. It takes a brutal amount of patience to pull this off, but watching that final completion screen pop up is incredibly satisfying.