Slay The Spire 2 Queen Guide: Surviving 99 Stacks Of Absolute Misery
Walking into Act 3's final boss with a perfectly tuned deck and getting hit with 99 stacks of Weak before you've played a single card is a special kind of humbling.
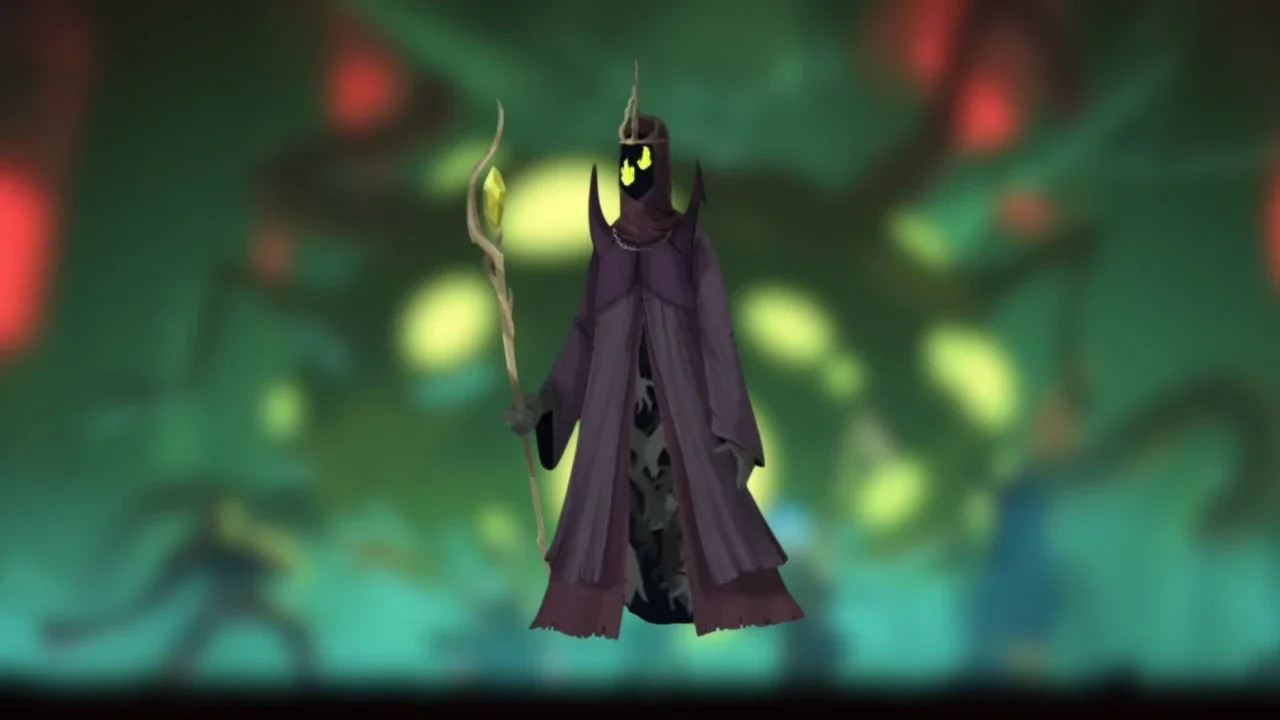
The Queen doesn't test raw power so much as she tests whether a deck can function once its usual assumptions get stripped away. The instant the fight starts, she slaps 99 stacks each of Frail, Weak, and Vulnerable onto your character, meaning block, damage, and incoming damage are all working against you at once for the entire encounter. Anyone still shaky on core block math should really nail that down first with my beginner's guide, because this fight has zero patience for anyone still figuring out the fundamentals.
The Mechanic That Actually Breaks Combo Decks
Before getting into the two phases, one thing needs explaining up front, since it's the part that actually ends most attempts. Every time a new hand is drawn, the Queen binds three of those cards together, and only one bound card can be played per turn. A deck built around chaining several cheap cards in a single turn runs straight into a wall the moment that hand locks up.
The way around it isn't fighting the mechanic head-on, it's outrunning it. The bind only applies to cards present at the start of turn draw. Anything pulled into hand mid-turn through a skill or item arrives completely free of the restriction. Characters with strong draw engines can effectively ignore the bind entirely by cycling through cards faster than she can lock them down, which is exactly the kind of tool covered in my Ironclad guide if that's a piece currently missing from a deck.
Phase One Is a Race Against a Summoned Minion
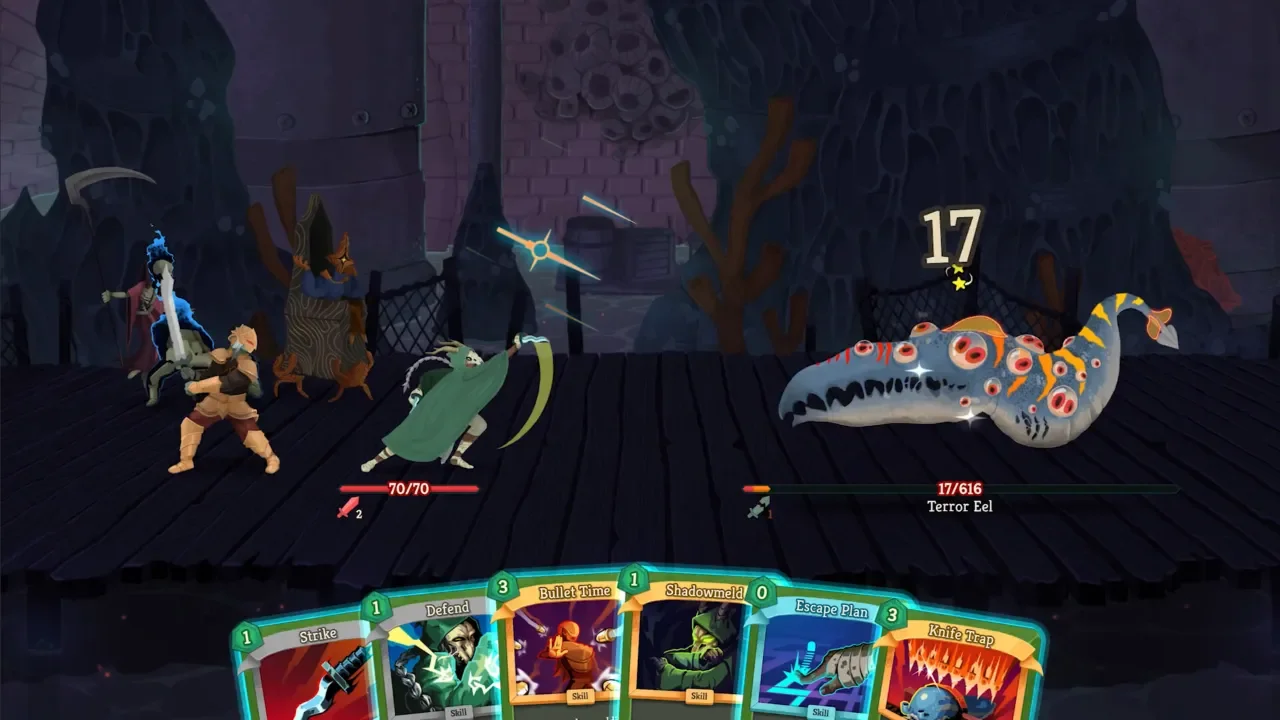
The Queen doesn't fight directly at first. She hides behind a 199 HP minion, dropping 20 Shield on herself each turn and letting her opening debuffs do the early work while the summon handles the actual damage.
That minion is the real threat here, hitting for 20 to 40 damage a turn and gaining an extra point of damage every single round it stays alive. With Frail already cutting into block efficiency, trying to out-tank it is a losing bet. Applying Weak to cut its output by 25% goes a lot further per point of energy spent than trying to brick-wall through debuffed block values. This phase runs on a clock, roughly seven to ten turns before the minion's own scaling becomes unmanageable, so the priority is straightforward: get powers online, spend potions if needed, and remove that summon before its damage curve gets out of hand.
Phase Two Rewards Patience Over Panic
Once the minion falls, the Queen steps out directly with 400 HP and a genuinely predictable rhythm. She cycles through a permanent damage buff, a multi-hit attack, and a heavy single-target nuke, then repeats that same sequence for the rest of the fight.
That predictability is the one real advantage available in this phase. Knowing exactly what's coming means planning around it rather than reacting to it, pushing hardest for damage during her buff turn since nothing dangerous is happening yet, keeping moderate defense ready for the multi-hit, and saving the strongest mitigation specifically for the nuke.
She also never purges her own debuffs during this phase, which matters a lot for anything built around Poison or Doom. Land either one and it just keeps ticking uninterrupted while her scripted pattern plays out, meaning a damage-over-time deck can spend most of this phase surviving her rotation while the actual kill happens passively in the background. Keeping Weak reapplied to offset her growing Strength, while letting that damage-over-time engine run, is usually enough to close the fight out clean.
The Combo That Skips the Entire Fight
For anyone who'd rather not engage with any of the above, there's a genuinely absurd Necrobinder setup that can end this fight on turn one before either phase even gets going.
It requires Scythe farmed up across the run, since its damage permanently grows every time it lands a kill, ideally sitting well past 100 damage by the time Act 3 rolls around. Applying the Innate upgrade guarantees it's sitting in the opening hand. From there, the Throwing Axe relic automatically replays the very first card used in combat a second time, and it's worth prioritizing for exactly this reason among others covered in my best relics guide. Walk in holding a Duplication Potion, drink it targeting the Queen, and play Scythe. The relic fires it a second time, the potion fires it a third, and three separate 100-plus damage hits land back to back before she's had a single turn to apply anything at all. Getting every piece of that setup to line up in one run is rare, but it's about as satisfying a payoff as this game offers when it actually comes together.