Slay the Spire 2 Beginner's Guide: How to Stop Dying on Floor One
If you treat this roguelike as a simple card collector, the Spire is going to crush you before you even see the second act.
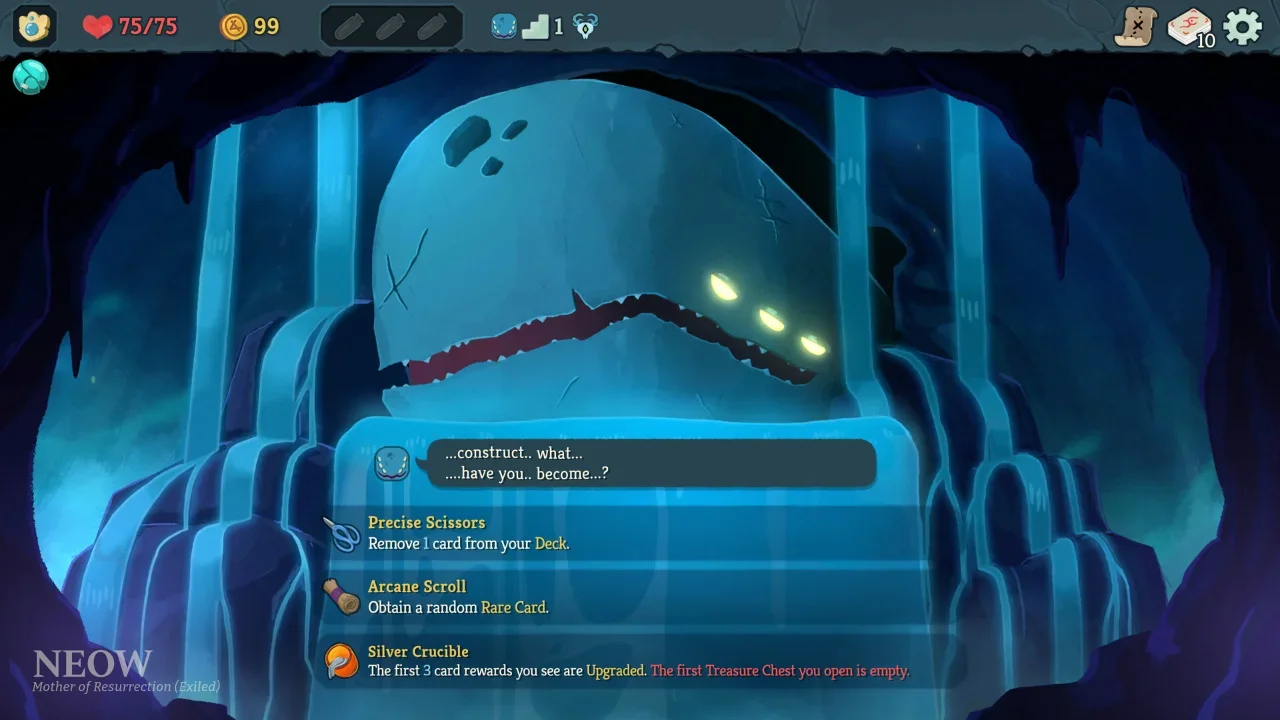
Mega Crit rebuilt their tower of absolute misery from the ground up, and players are currently realizing that even Ascension 0 feels like getting kicked down a flight of concrete stairs. I have watched countless people complain on the forums about dying to the new Act 1 elites like the Statue or the Phrog. I completely empathize with the frustration of taking 25 unavoidable damage on turn two, but if you are consistently going out early, the game is not cheating. You are simply making terrible long-term decisions.
Slay the Spire 2 requires you to completely rewire how you think about loot, map traversal, and resource management. I have spent a ridiculous amount of time getting crushed by new mechanics to figure out exactly how the math works this time around. Here is my comprehensive survival manual for dragging your battered character to the top.
The Golden Rules of Deck Hygiene
The single fastest way to sabotage your own run is taking a card reward after every single fight. It feels incredibly unnatural to reject loot in a video game, but you need to break that habit immediately.
The Art of Saying No
Every single card you add to your deck actively dilutes your chances of drawing the things you actually need. If you are staring down a boss that is preparing to hit you for 40 damage, you need your best block cards in your hand right now. Drawing them from a tightly curated deck of 22 cards is mathematically reliable. Trying to fish a defensive spell out of a bloated 40-card pile of random nonsense is a guaranteed death sentence.
You must ask yourself one question before clicking any card reward. Does this specific card solve an immediate problem my deck is facing right now? If you already have enough block, do not take another shield. If the card does not fit your immediate strategy, hit the skip button and walk away.
The Merchant is a Trash Can
Gold is not just for buying shiny new relics or desperate health potions. The single most vital service the Merchant offers is the Card Removal tool.
You start every run with a handful of basic Strikes and Defends. By the middle of the game, these starter cards are absolute garbage. A basic Strike costs one energy for a pathetic amount of damage. You need to pay the Merchant to rip these basic cards out of your deck as quickly as possible. The more basic cards you delete, the faster you draw the incredibly powerful attacks and powers you picked up during your run. Never blow your entire wallet on a random shop relic if you still have five basic Strikes clogging up your draw pile.
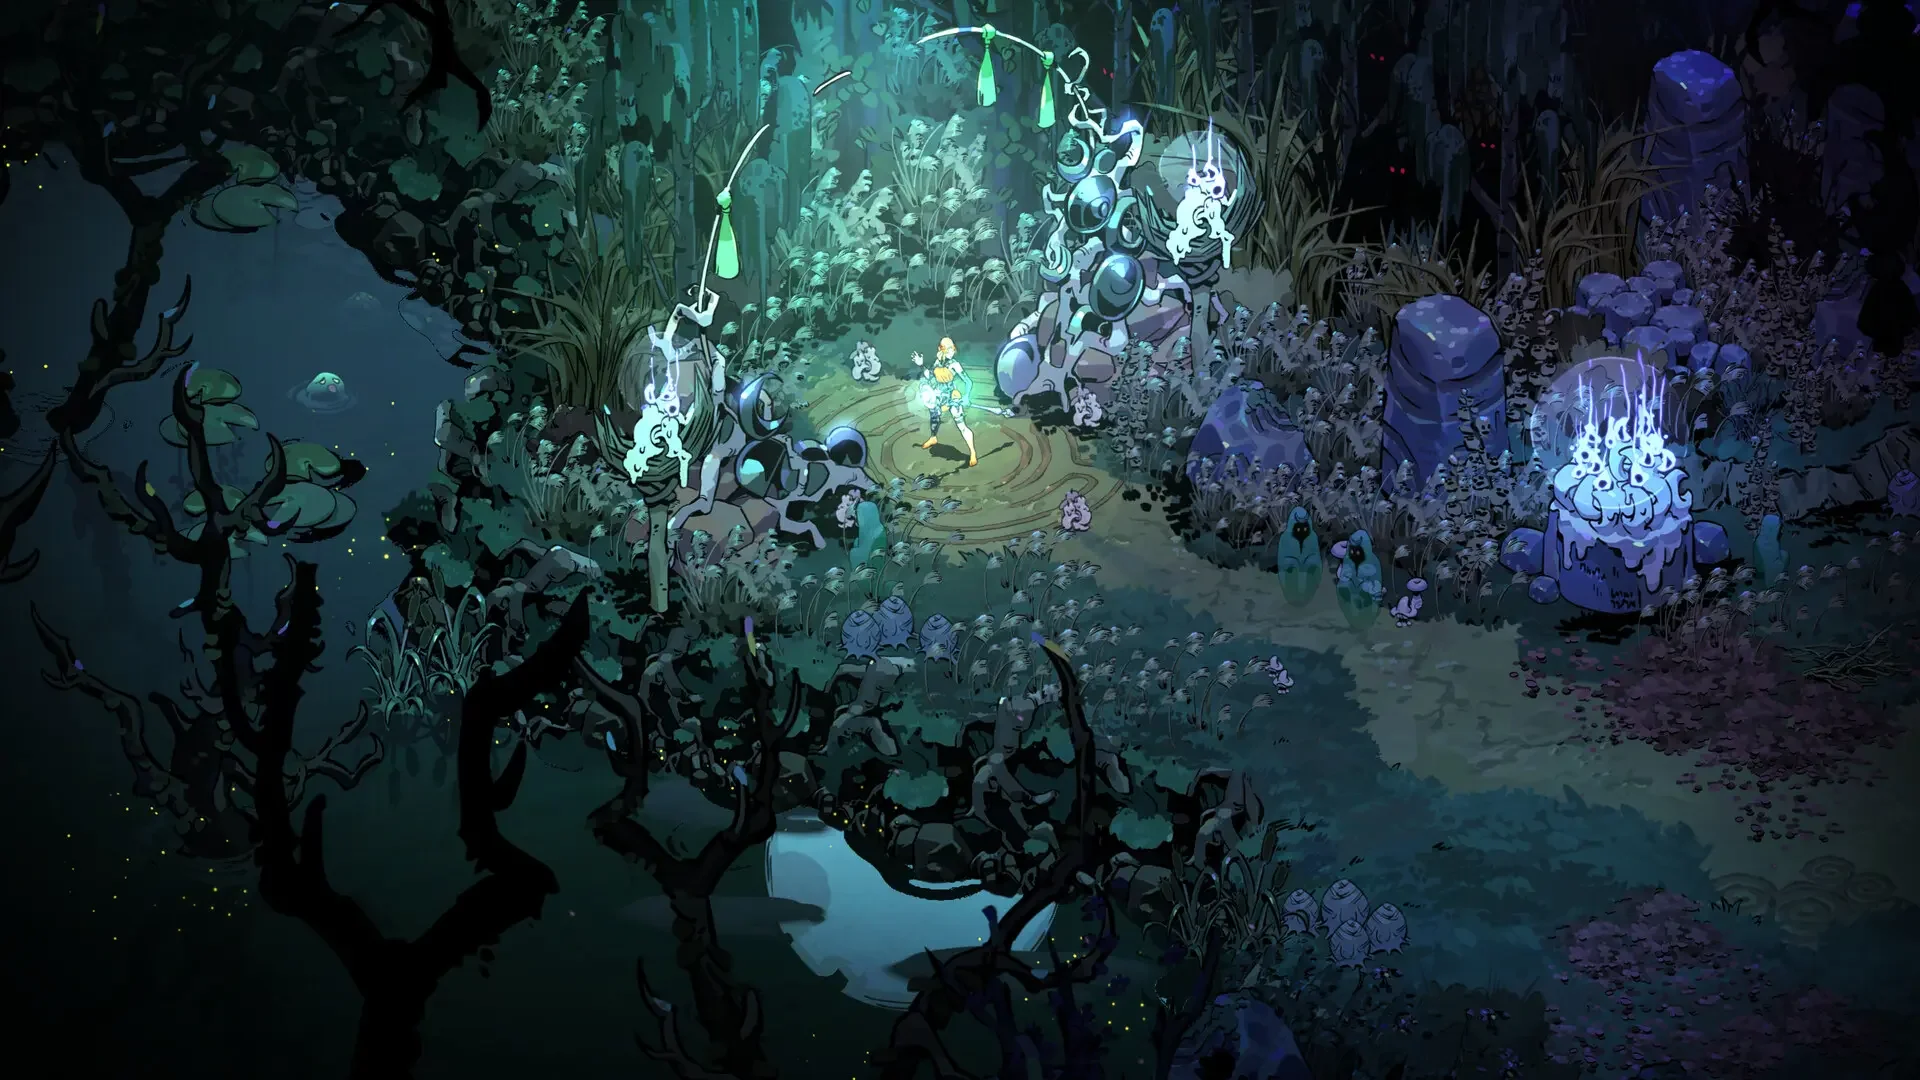
Map Routing Without Getting Murdered
Your run is often decided before you play a single card. When you step into a new Act, you need to treat the map like a tactical blueprint rather than a random series of rooms.
Check the Boss First
The absolute first thing you must do is scroll to the very top of the map and look at the boss icon. Every decision you make on the climb should be tailored to surviving that specific encounter. If the boss punishes you for playing too many attacks, you know you need to draft heavy defense and passive damage.
Hunt Elites for Relics
When plotting your route, you have to balance your greed with your actual health pool. You should aim to fight at least two Elite enemies per Act. Elites drop relics, and relics are the permanent passive bonuses that allow you to actually win the game. If you avoid Elite fights out of fear, you might survive Act 1, but your deck will completely run out of steam later because you lack the passive scaling required to kill harder enemies.
Campfires Are for Upgrades
To survive these brutal Elite fights, prioritize paths that place a Campfire right before the Elite node. You generally want to use Campfires to upgrade your most important damage cards rather than healing. Offense solves problems permanently, while healing just delays your inevitable death. You should only rest if you are absolutely certain the next fight will kill you otherwise.
Navigating the New Nightmares
The sequel introduces several completely new mechanics that will ruin your day if you ignore them. You cannot just rely on your knowledge from the first game to carry you through.
Pierce and Corrosion
You need to pay close attention to the new enemy buffs. Pierce is a terrifying new mechanic where enemy attacks bypass your block entirely. If you see an enemy winding up a Pierce attack, stacking armor is completely useless. You need cards that apply the Weak debuff to lower their damage output directly. Furthermore, Corrosion is a new status effect that actively reduces your maximum HP at the end of every turn. You cannot stall out enemies that apply Corrosion. You need pure, frontloaded damage to kill them immediately.
Enchantments and Quest Cards
You also need to be extremely careful with the new risk and reward systems. If an event offers you an Enchantment, read the fine print. Enchantments offer massive power boosts to a single card, but they usually cost you maximum HP or extra energy to play. Do not blindly enchant a card you need to play five times a combat if it drains your health every single time.
The same logic applies to the new unplayable dead draws. I wrote an entire Slay the Spire 2 Quest Cards Guide detailing exactly how these work. Taking a Quest Card means putting a useless piece of cardboard in your deck until you fulfill a specific condition. Make sure your deck is strong enough to carry dead weight before you accept the challenge.
Durability Limits
Finally, keep an eye on Durability. This is a new restriction that limits how many times a relic or card activates per combat. You can no longer rely on certain items firing infinitely during a long boss fight. Once a relic runs out of Durability, it shuts down until the next encounter.
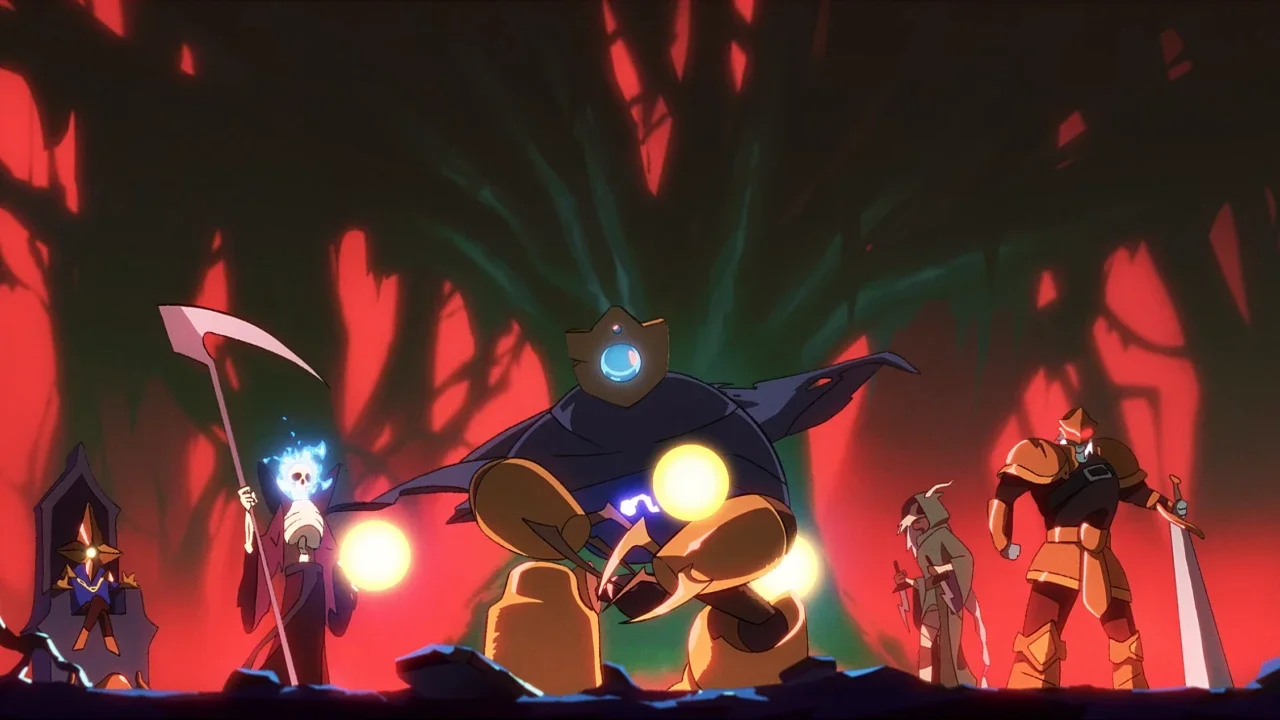
Pick Your Suffering
You cannot play the fragile Necrobinder the same way you play the beefy Ironclad. If you want to know who is currently dominating the meta, check out my full Slay the Spire 2 Character Tier List.
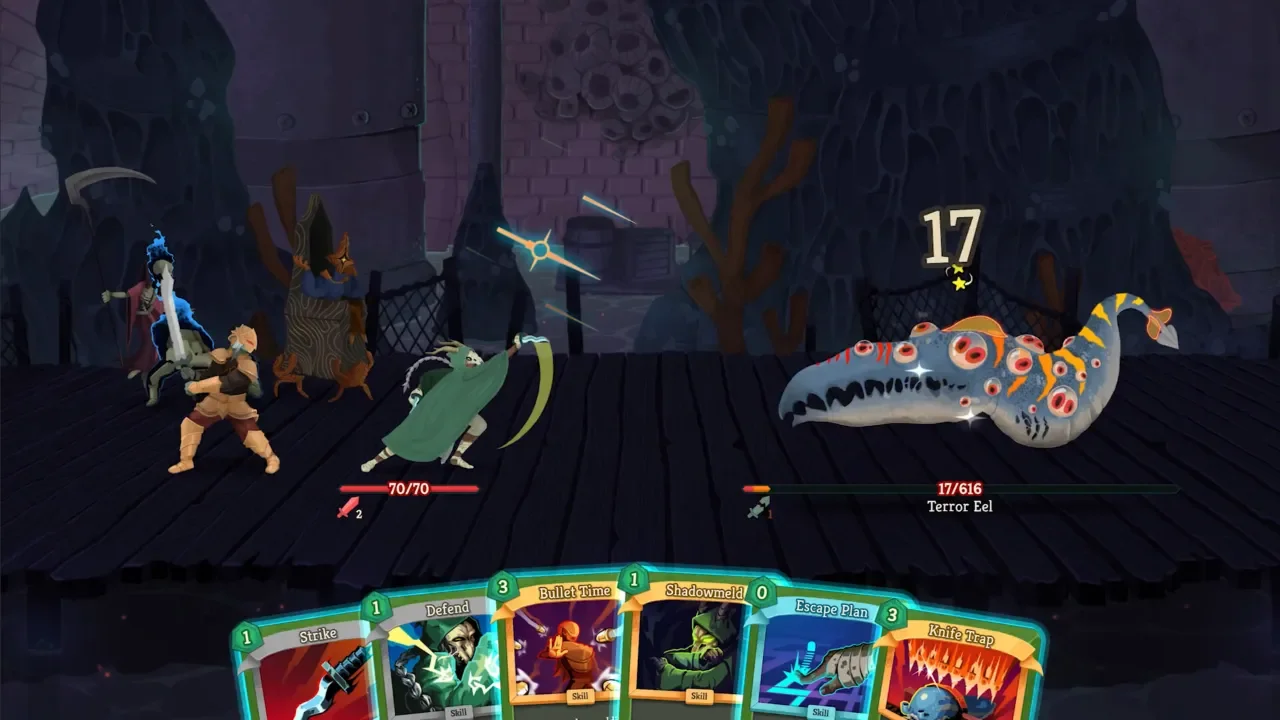
The Ironclad
If you are struggling to clear the first few hours, stick to the Ironclad. His starting relic heals you after every fight, giving you a massive safety net while you learn what the new enemies do. He relies on straightforward Strength scaling and Exhaust mechanics.
The Regent
Once you understand the flow of the game, you can step up to the Regent. This class utilizes a secondary resource called Stars that carry over between turns. You have to play patiently, setting up the board and hoarding Stars to unleash a massive Sovereign Blade strike when the time is right.
The Necrobinder
This is the hardest character to learn. The Necrobinder uses Blood Magic to spend her own HP for power and summons a skeletal hand named Osty to absorb incoming hits. Managing your health is incredibly stressful here, but pulling off a delayed execution using her unique Doom debuff is immensely satisfying.
Misery Loves Company
If you are tired of suffering alone, Mega Crit finally added proper cooperative multiplayer to the franchise.
How Co-op Actually Works
You can play with up to three friends, but there is a catch. There is absolutely no matchmaking in the game. You cannot host an open lobby and wait for random strangers to carry you. You have to invite people directly from your Steam friends list. The host creates the session using a specific save file, and they must remain online for the duration of the run. It is a fantastic way to experience the pain of Act 2 together.
Speed Leveling the Roster
Because the developers balanced the game around multiplayer, solo progression feels significantly slower this time around. If you want to unlock all the cards and town upgrades quickly, you need to farm Act 1.
The most efficient method is to build a deck purely focused on frontloaded burst damage like Whirlwind or Thunderclap. Rush through Act 1, beat the first boss, and then intentionally die to the very first enemy you see in Act 2. This process takes about 15 minutes and yields great XP. Crucially, you must let the enemy kill you naturally. If you pause the game and hit "Give Up" in the menu, you forfeit the experience points for that run.