Slay the Spire 2 Quest Cards: How to Survive Carrying Dead Weight
Mega Crit found a brand new way to make you second-guess every single decision you make during a run.

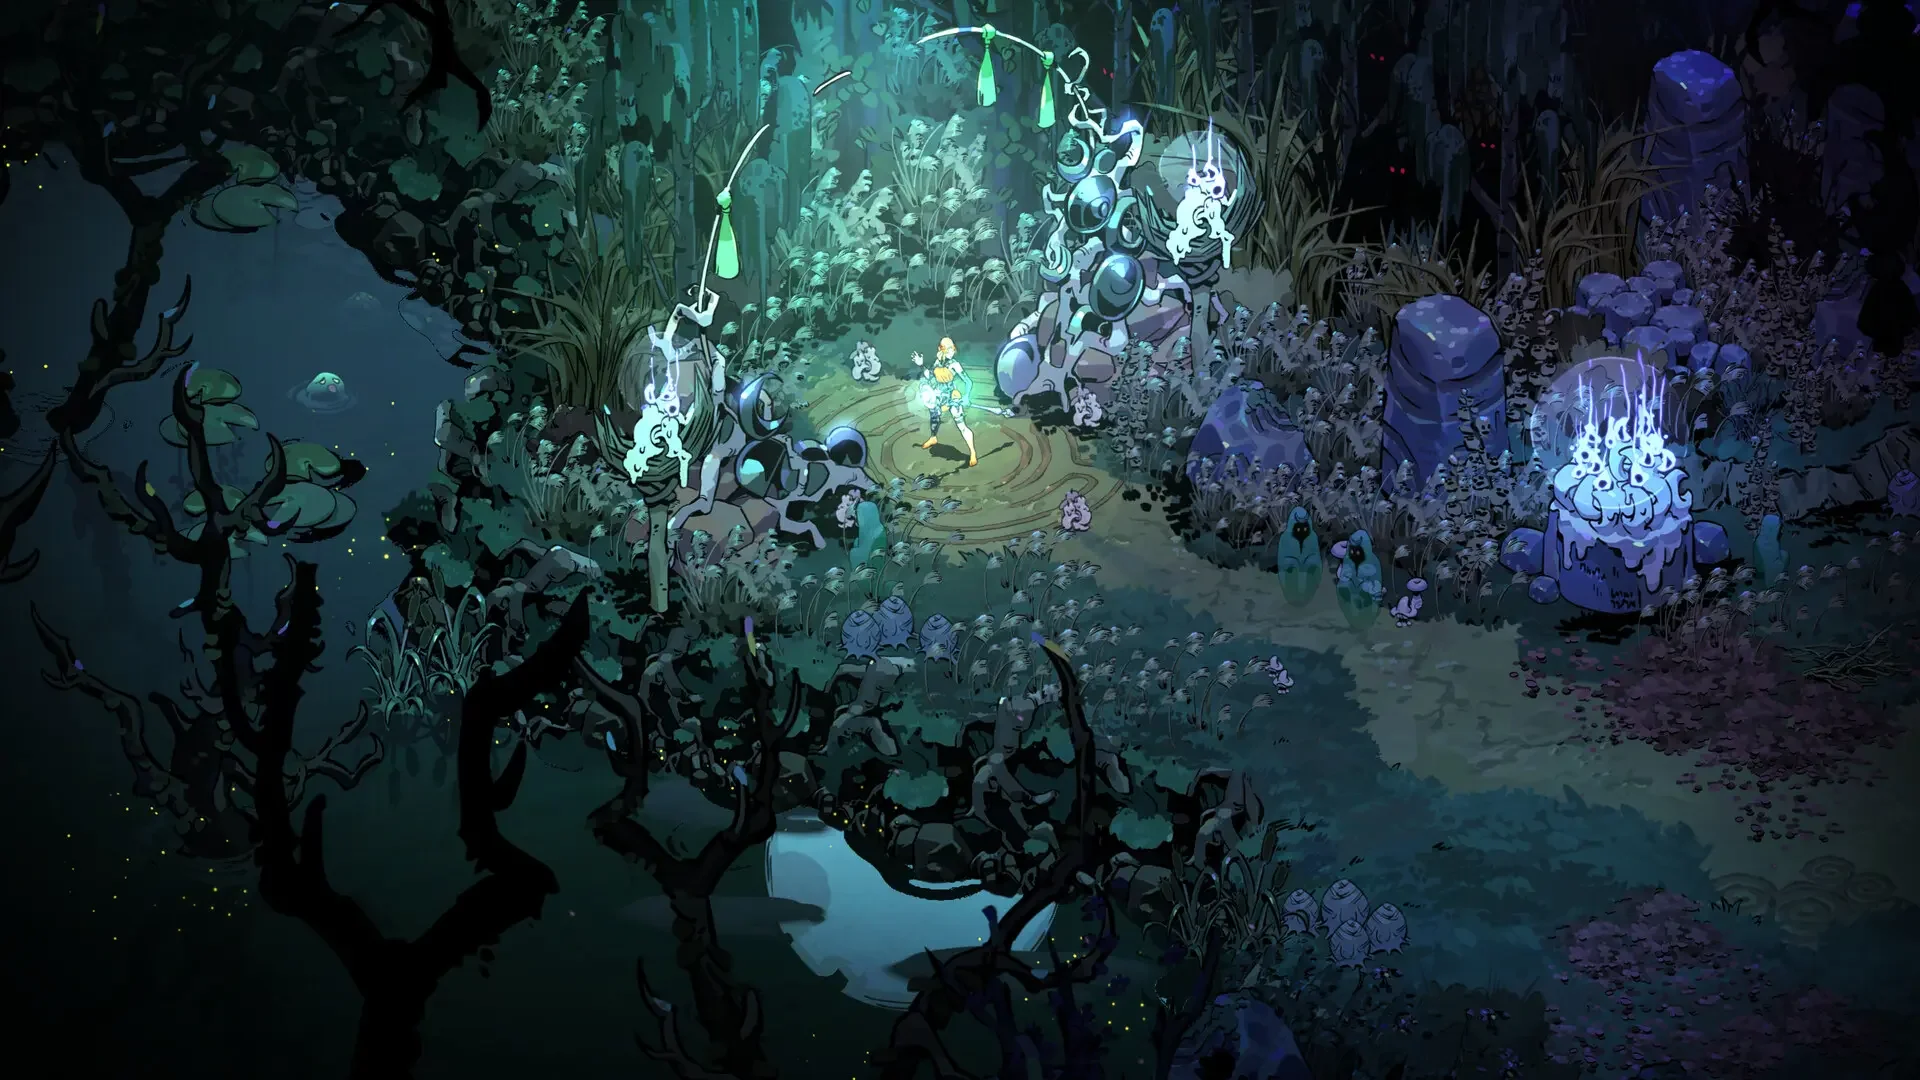
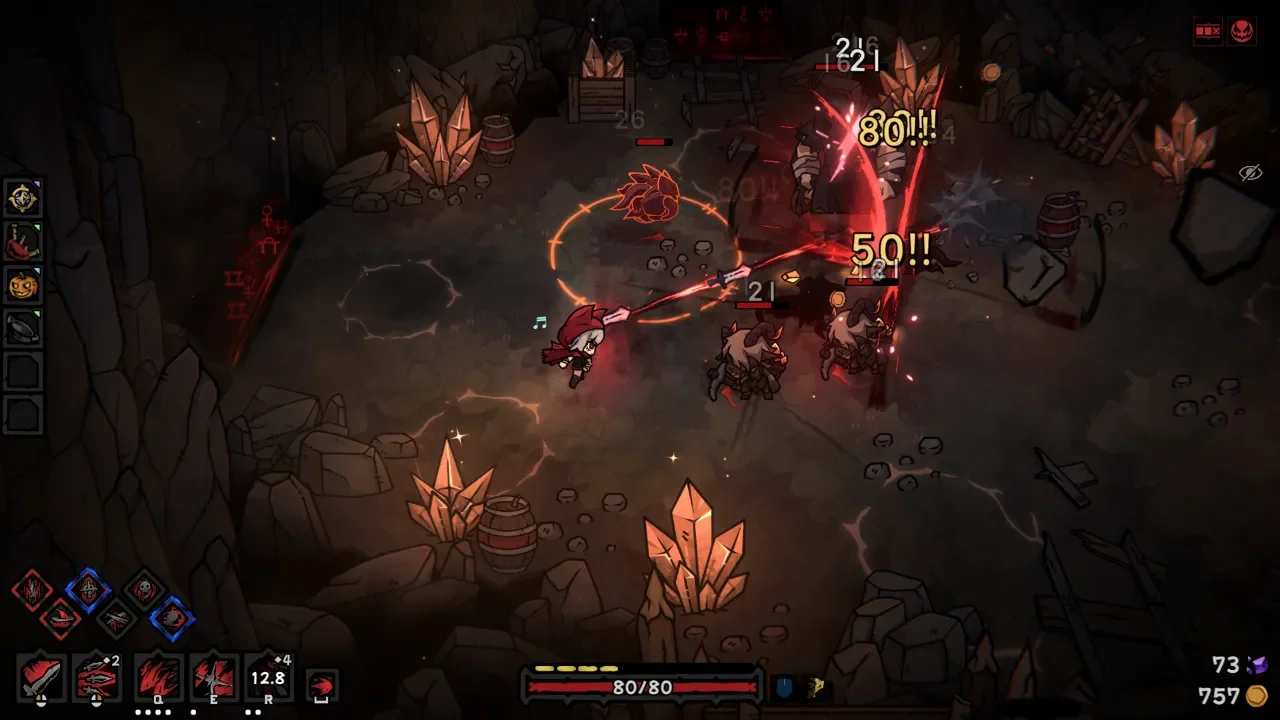
If you have spent any time in the Early Access build of Slay the Spire 2, you have probably stumbled across the new Quest Card mechanic and immediately stared at your screen in confusion. The developers decided that managing a tight deck of synergistic attacks and defensive spells just wasn't stressful enough. Now, they are offering you the chance to intentionally sabotage your own card draw in exchange for a massive payoff down the road.
Quest Cards are entirely unique to the sequel. They are completely unplayable during combat. You cannot use them to attack, you cannot use them to block, and they cost zero energy. They simply sit in your hand, taking up valuable real estate while a giant slime prepares to crush you for 35 damage. Here is exactly how this brutal new system works and how to actually claim the rewards without dying in the process.
The Anatomy of a Quest Card
Every Quest Card functions on a strict three-phase loop: Acquisition, Condition Fulfillment, and Reward Collection.
When you look at a Quest Card in your inventory, it will explicitly state the condition you need to meet in order to cash it in. Think of it as a localized achievement tied directly to your current run. Once you fulfill that specific requirement, the Quest Card vanishes from your deck and is immediately replaced by the reward.
The most common example currently in the game is the Byrdonis Egg. The text on the card is simple: "Hatch at a Rest Site." That is your entire objective. You have to survive combat encounters while carrying this useless egg in your deck until you manage to drag your battered body to a campfire.
The Byrdonis Egg Choice
You will primarily find Quest Cards by navigating to the "?" nodes on the map, which trigger random Event rooms. If you roll the Byrdonis Nest event, the game presents you with a classic risk-reward scenario. You can either eat the egg immediately for a permanent +7 Max HP boost, or you can take the egg as a Quest Card.
Eating the egg is the safe, boring play. It offers immediate passive value. Taking the egg is where the real game begins. Once the Byrdonis Egg is in your deck, you have to path toward a Rest Site. When you finally arrive at the campfire, a new "Hatch" option will appear alongside the standard Rest and Smith choices.
Warning: You can still only choose one action at a Rest Site. If you choose to hatch the egg, you are sacrificing your ability to heal or upgrade a card.
The payoff, however, is massive. Hatching the egg removes the useless Quest Card and replaces it with Byrd Swoop. This is a colorless zero-cost Attack card that deals a staggering 14 damage (18 when upgraded). Getting a free 14 damage attack permanently added to your deck is an absurd power spike, especially in the early acts.
Are Quest Cards Actually Worth the Risk?
This is the ultimate question, and the answer depends entirely on the current state of your run. You have to analyze your deck before you blindly accept a Quest.
If you are running a massive 30+ card deck with plenty of inherent card draw (like a standard Silent build), adding one unplayable Quest Card is barely a blip on the radar. You will likely draw right past it without suffering any major consequences.
However, if you are running an incredibly tight, minimalist deck where every single card draw dictates whether you live or die, a Quest Card is a massive liability. Drawing the Byrdonis Egg on a turn where you desperately need a block card will end your run instantly.
You also need to evaluate the condition itself. The Byrdonis Egg is relatively safe because pathing to a Rest Site is entirely within your control. Other Quest Cards currently being discovered by the community, like the Spoils Map (which supposedly rewards a massive 600 Gold), might have far more dangerous or combat-specific requirements.