Slay the Spire 2 Colossal Flower Guide - The Price of Greed
You have dragged your battered deck halfway through Act 2, and now a giant flower growing out of a bone pile wants your blood in exchange for shiny things.
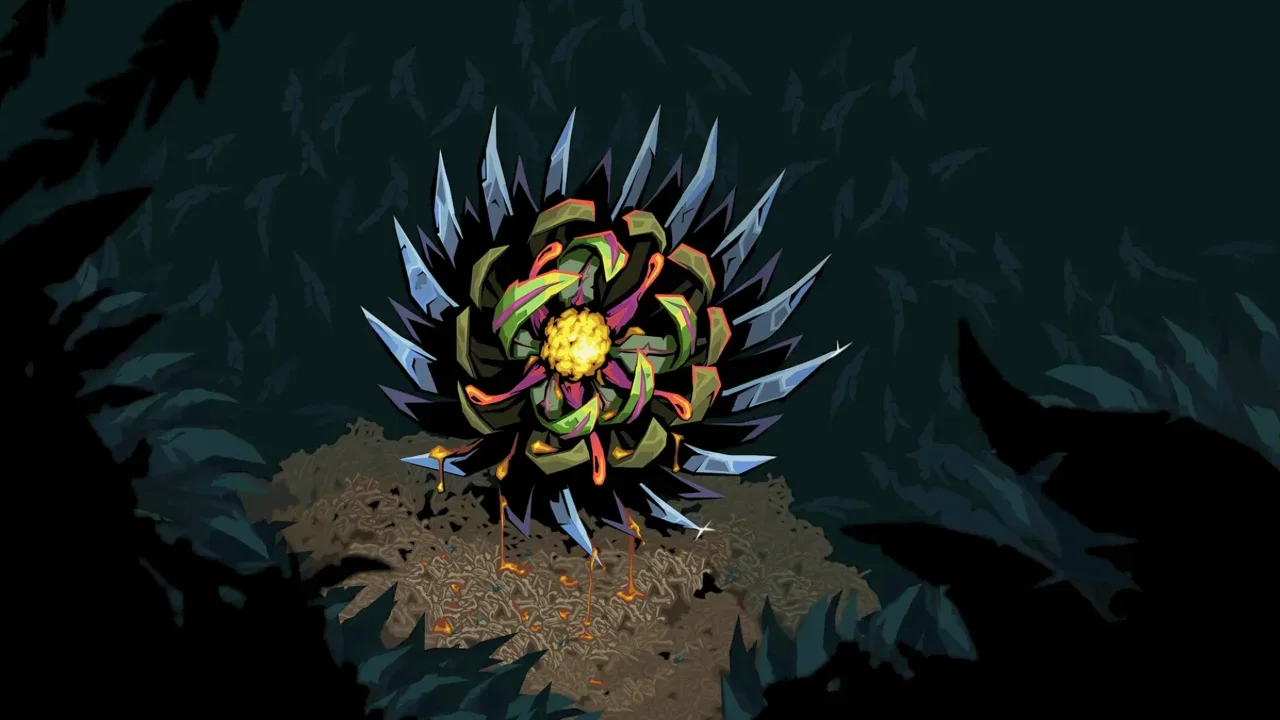
Act 2 in Slay the Spire 2 is an absolute meat grinder. By the time you stumble into an event room, you are usually praying for a free campfire or a harmless lore drop. Instead, the game presents you with the Colossal Flower. This is a brilliant piece of risk versus reward design that preys directly on your fear of missing out. You only get one shot at this event per run, and it never spawns in Act 1 or Act 3.
The premise is deceptively simple. You can walk away with a handful of gold right now, or you can sacrifice chunks of your health to dig deeper into the flower for better rewards. I have thrown away spectacular runs simply because I could not resist the urge to gamble my health for a shiny new toy. If you are struggling to keep your head above water in the early game, you might want to brush up with a solid Slay the Spire 2 beginners guide before you start bleeding yourself for relics.
Let me break down exactly how this event works, what the math looks like, and how you can decide if the grand prize is actually worth the physical toll.
The Anatomy of a Trap
The Colossal Flower forces you to make consecutive choices. Once you commit to reaching deeper, the flower closes behind you. There is no backing out, and you cannot suddenly decide to take the gold from a previous stage if you get cold feet. You either extract the nectar and leave, or you pay the blood price to continue.
If you go all the way to the center, you are spending exactly 18 HP. You do not get the 135 gold if you take the relic. You get the relic, the damage, and a polite invitation to leave.
Analyzing the Pollinous Core
Before you hand over nearly twenty hit points, you need to understand what you are buying. The Pollinous Core is an uncommon relic exclusive to this event. Its effect is entirely passive. Every four turns in combat, it automatically draws two extra cards. That means on turn four, turn eight, turn twelve, and so on, your hand size swells.
If you have spent any time staring at Slay the Spire 2 tier lists, you already know that card draw is the most vital currency in the game. Energy is great, but energy is useless if your hand is full of basic strikes when you desperately need a block card.
The beauty of the Pollinous Core is that it requires absolutely zero setup. It slot perfectly into almost any deck archetype. If you are running a slow scaling build like Defect orbs or a Silent poison deck, those fights inevitably drag on. Getting two free cards exactly when the enemy is winding up a massive buff or a lethal attack can completely swing the momentum of a fight. It fixes bricked hands and cycles you back to your win conditions faster. If you want to see how it stacks up against the competition, check out my breakdown of the best Slay the Spire 2 relics.
When to Take the Gold
Despite how good the relic is, blindly clicking through to the center is a fantastic way to end up on the title screen. 135 gold is a substantial payout. That is enough to remove a curse at a shop, buy a crucial potion to survive the upcoming boss, or pick up a different, safer relic.
You should swallow your pride and take the gold if your total health is sitting below 40 or 50. Act 2 elites are notoriously unforgiving. If you look at your map and see an elite node waiting for you in two floors, giving up 18 health right beforehand is basically suicide. I have seen countless players ruin incredibly strong decks simply because they got greedy at a question mark node and walked into an elite fight with half their health missing.
Furthermore, if your deck is designed to end fights in two or three turns, the Pollinous Core is completely useless to you. If you are playing an ultra aggressive Ironclad build that burns through enemies before turn four even happens, trading your precious health for a delayed draw effect makes zero tactical sense. Take the 135 gold, hit the next merchant, and buy something that helps you kill things faster.
When to Bleed for the Core
If you have a comfortable health buffer of 60 HP or more, I highly recommend pushing for the center. The relic provides a permanent, consistent advantage that will pay dividends in every single prolonged fight for the rest of the game. Gold is a temporary resource. Once you spend it, it is gone. The Pollinous Core will save your life against the Act 3 bosses.
This holds especially true if you have any reliable sources of healing in your deck or a campfire coming up immediately after the event. Taking 18 damage stings a lot less when you know you can rest it off in the very next room. If you are trying to piece together a massive combo deck, the extra draw is practically mandatory. I dive deeper into these kinds of synergies in my Slay the Spire 2 ancients guide, but the short version is that more cards equals more options.
Surviving Your Own Ambition
Navigating events like the Colossal Flower requires discipline. You have to evaluate your immediate surroundings before you make a choice that impacts the rest of your run.
Check your map. Always check your map. If you do not know what is coming next, you have no business trading away your health. If you are climbing the difficulty ladder, this becomes even more critical. Mistakes that you could shrug off on lower difficulties will outright kill you later on. If you are pushing into the harder tiers, you might want to review my Slay the Spire 2 Ascension guide to understand exactly how punishing the math gets.
Do not be afraid to stop at Stage 2. Taking 5 HP damage for 75 gold is honestly a fantastic trade if you just need a little extra cash for an upcoming shop. You are not forced to go all the way to the center. Slay the Spire 2 is a game of inches, and sometimes knowing when to walk away is the difference between an embarrassing defeat and a glorious victory. Be smart with your blood, and the Spire might actually let you live.