Starsand Island Storage Guide: Backpacks, Boxes, and Buried Treasure
Nothing kills the momentum of a good farming run faster than staring at a "Bag Full" notification while surrounded by rare ores.
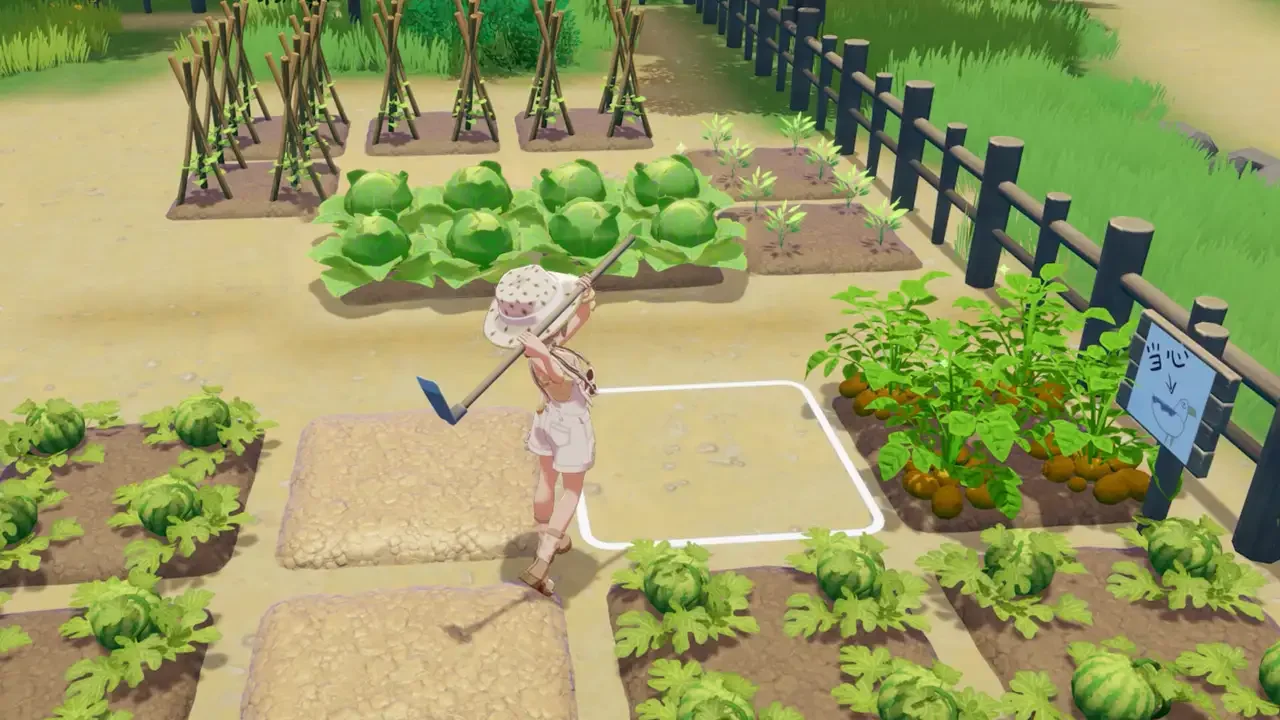
Starsand Island throws an absolute mountain of materials at you. Between farming, fishing, mining, and completing quests, your default two row inventory is going to fill up in roughly ten minutes. If you do not prioritize expanding your backpack and building a proper storage network back at your farm, you are going to spend half your playtime running back and forth dropping off junk.
I spent hours grinding through the crafting tiers just to figure out how to maximize my carrying capacity. Here is everything you need to know about permanently expanding your inventory, setting up your base storage, and finding the hidden chests scattered across the island to give yourself a massive head start.
Expanding Your Backpack
You can upgrade your backpack directly from your inventory screen, but the game demands increasingly ridiculous amounts of materials for each tier. Press B on your keyboard (or open the phone menu and tap the Bag icon). Look at the bottom left corner of the screen and click the "Expand" button.
Base Storage and Realm Boxes
Even with a fully upgraded backpack, you still need a place to dump your hoarding. You unlock the basic Storage Box I blueprint from Solara very early on by completing the "Return to the Cabin in the Woods" quest. It costs 8 Softwood to build.
You can buy the blueprints for larger boxes from Zerine's General Store. Storage Box II requires 6 Softwood Planks and 3 Copper Sheets, while Storage Box III requires 6 Hardwood Planks and 3 Iron Sheets (and a Worktable II to actually craft).
When you are placing your chests, do not stress about categorization right away. The absolute best feature in this game is that crafting tables automatically pull materials from both your backpack and your storage boxes simultaneously. You do not need the wood in your pockets to build a chair. You can also cycle through your different chests while you have one open, meaning you can dump your entire inventory into organized boxes without constantly walking around the room.
The Realm Box
The Realm Box is your ultimate endgame storage solution. Once you hit the Intermediate Crafter rank, buy the blueprint from Zerine. It costs 5 Alloy, 3 Spirit Cube I, 5 Starflare Cores, and 6 Hardwood Planks to build. This chest links its inventory with every other Realm Box you place in the world. You can drop one at your main farm, one near your primary mining route, and access the exact same pool of items from anywhere.
Overworld Treasure Chest Locations
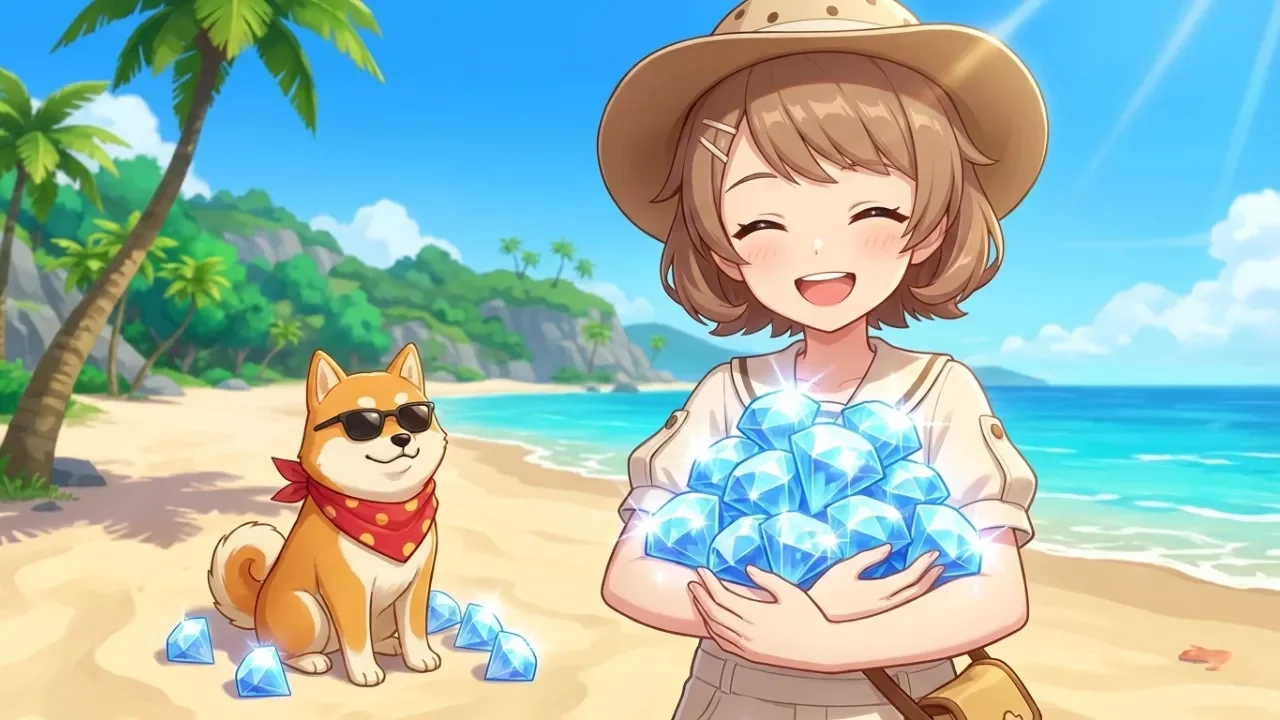
While you are out farming for expansion materials, keep your eyes open. The island is littered with pre-placed treasure chests. These are fantastic for jumpstarting your early game economy, as they often contain free seeds, processed materials, and exclusive blueprints.
Look for standard brown chests with a yellow star.
Chest 1: Located directly northwest of your starting home.
Chest 2: Found southeast from your home, sitting right near the border of the Moonlit Forest.
Chest 3: Follow Bobo the dog west from your house until you hit the intersection of the dirt road and the asphalt.
Chest 4: Sitting directly in front of Zerine's General Store, just over the small wall.
Chest 5: Located next to the wooden stairs that lead down to Blue Beach.
Chest 6: Found at Half-Moon Bay, hiding behind the red and blue vending machines south of the main roundabout.
Chest 7: Sitting inside the Gazebo located in the Flower Corridor on the western side of the map.
Chest 8: Found next to the large wooden house near the Hot Springs building in the Maple Reed area.
Chest 9: Resting under a massive tree on the elevated terrain just east of Cloudrest Lake.
Chest 10: Placed right outside Ethereal Styles.
Chest 11: Located right outside the Green Pasture Ranch.
Chest 12: Hiding on a wooden platform near the targets downhill from the Exploration Club.
Chest 13: Sitting at the very edge of the Crane Cape Pier.
The Secret Light Chests
You will occasionally spot floating orbs of light while exploring. These are Secret Chests (colored grey and blue). You have to play a brief mini-game to force them to spawn.
If you see a light on the railing near Chest 6 at Half-Moon Bay, you have to run or skate along the entire railing without falling off to spawn Secret Chest 1. You will find another light sitting on a small wall between Ethereal Styles and Soluna Cafe Lodge. Jump on the light and chase it until Secret Chest 2 appears. Finally, look for a light at the very top of the playground slide near the Community Center. Jump toward it repeatedly until it spawns Secret Chest 3 at the end of the hopscotch court.