007 First Light Guide: Mastering Parries and Melee Combat
Surviving a fistfight in 007 First Light requires breaking your worst button-mashing habits.
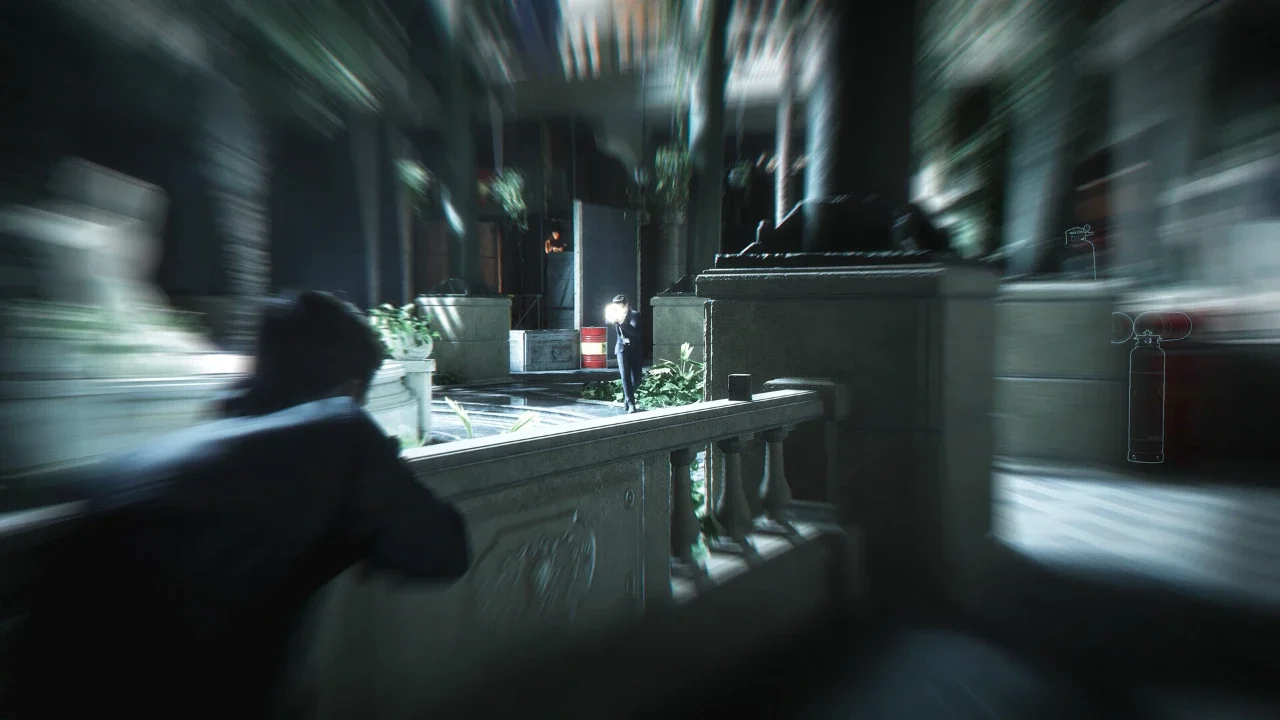
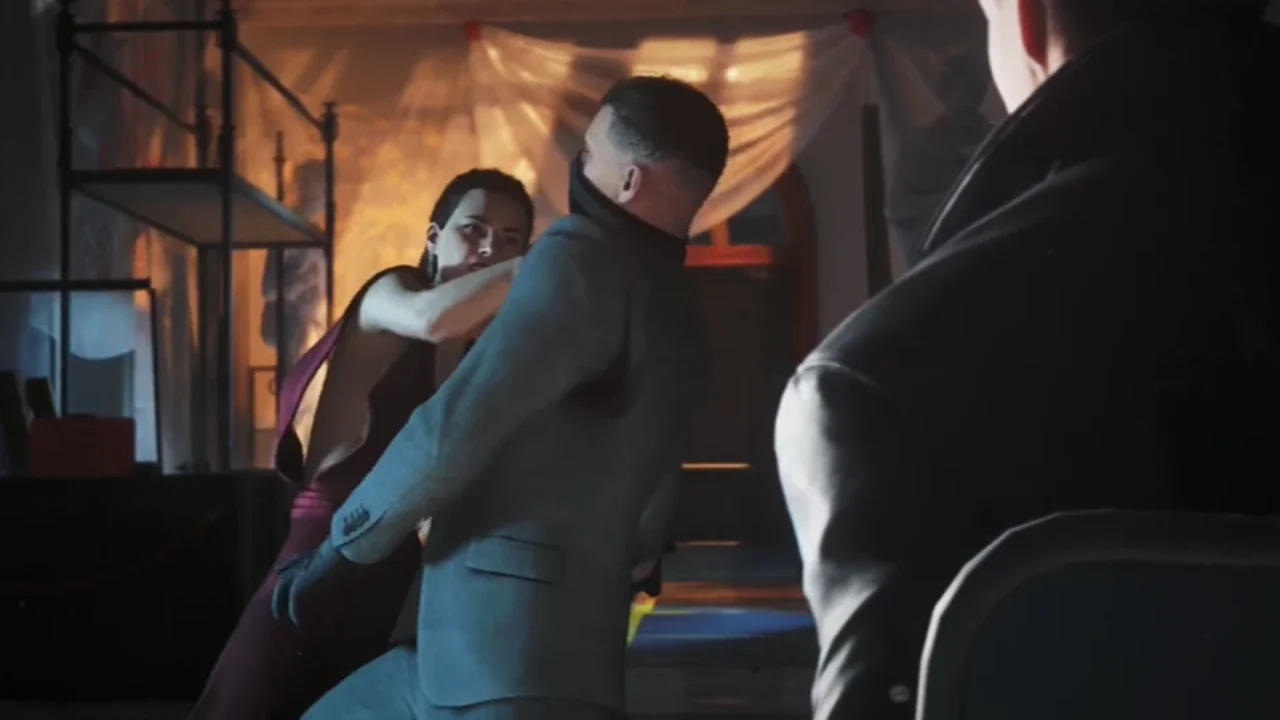
I usually try to stick to the shadows, but things inevitably go loud. When your cover blows in this game, you're usually forced into a tight brawl. The enemy AI is aggressive and they will surround you quickly. Trying to just stand there and trade blows will get you killed. You have to rely entirely on the defensive mechanics to control the room.
The Defensive Inputs
Commit these basic controls to muscle memory so you aren't looking at your keyboard when a guard charges you.
Parry: Q on PC, Circle on PlayStation, B on Xbox
Sidestep: Space + Direction on PC, X on PlayStation, A on Xbox
Grab: E on PC, R2 on PlayStation, RT on Xbox
Timing the Yellow Flash
The first lesson is slowing down. Spamming the parry button when surrounded actively drops your guard and gets you hit. You have to wait for the visual cue.
Watch your attacker closely. A split second before a punch connects, they flash yellow. Tap your parry input exactly when that color appears. Nailing this blocks the damage and usually staggers your opponent. Once a guard is stumbling, hit X and Square simultaneously on PlayStation to trigger an instant takedown. Dropping an enemy immediately thins the herd and reduces the sheer number of fists flying at your head.
The window to catch that yellow flash shrinks significantly on harder difficulties. Thankfully, your defense is omnidirectional. If someone tries to cheap shot you from behind while you're focused on another target, you can still parry it as long as you tap the button during the flash.
Handling Heavy Attacks and Defensive Guards
Parrying doesn't solve every problem. Some enemies telegraph heavy, unblockable swings by flashing red instead of yellow. If you try to parry a red attack, you just take the full hit. You have to use your sidestep to physically move out of the way. Forcing a heavy attacker to whiff entirely usually leaves their back exposed, giving you a clean opening for a counter.
You also have to deal with guards who just turtle up. If a target raises his arms to block your strikes, stop swinging. Hitting a wall just wastes time and leaves you vulnerable to a flank. Hold down your grab button to lock onto them instead.
Once you have them gripped, you can throw a flurry of punches or just tap the grab input again to toss them across the room and shatter their stance. If you want to wrap things up fast, drag a grabbed enemy over to a nearby desk or concrete wall. Smashing them into the environment triggers a fast knockout, saving you the trouble of slowly whittling down their health bar.