Creature Kitchen Puzzle Guide: Breaking The Locks
Every locked door, cabinet, and appliance in this house is hiding something, and none of it opens just because you asked nicely.
I'll be honest, a few of these had me stuck for way longer than I'd like to admit. Getting anywhere close to full completion means cracking open nearly every room in the place, and the puzzles range from "clearly solvable if you look closely enough" to "good luck, figure it out yourself." A handful won't budge at all until a specific creature trusts you, so it's worth already knowing your way around the house's residents before tackling this list.
The Calendar Puzzle
This is the very first thing that'll stop you cold. The calendar on the kitchen wall near the yard exit has four dates marked with strange symbols, and pressing Z zooms in close enough to actually make them out.
The locked box under the "Our Family" book by the front door carries those same symbols, so cross-referencing the two gets you the code. It's 9 1 7 4.
The Power Box Puzzle
This one lives outside, and it's just a grid of switches and orange lights with zero explanation attached. The goal is getting every light to come on at the same time, and there's genuinely no trick to it beyond patiently flipping switches until the whole board lights up together. Not my favorite fifteen minutes, but satisfying once it finally clicks.
The Owl Eye Puzzle
Once the Heart Door room opens, there's a painted tree on the right wall with four owls tucked into its corners. Click the wrong one and the whole sequence resets, so order matters here. Going Bottom Left, Top Right, Top Left, Bottom Right gets all four sets of eyes glowing together.
The Weather Puzzle
Also inside the Heart Door room, hiding in the back left dresser: six spinning plates and four weather symbols. A clipboard labeled "Weather Report" on the nearby desk spells the answer out plainly, which is Rain, Clouds, Rain, Rain, Thunderstorm, Clouds.
The Bathroom Bead Puzzle
This one's part scavenger hunt before it's even a real puzzle. Three beads need finding first. Shaking the potted tree beside the toilet knocks loose the green one. The medicine cabinet on the left wall holds the blue one. And the red one is sitting right on top of the towels in the cabinet near the sink.
Slot all three into the mechanism behind the shower curtain and it hands over a Raw Chicken along with a new recipe, which felt like a genuinely nice payoff for a bit of hunting around.
The Oddities Room
This last room strings a few puzzles together rather than handing you just one, and it's easily the most involved stretch in the whole house.
Globe Puzzle
The globe at the bottom of the stairs has its solution mounted right above the fireplace in the same room, so this one rewards actually looking around rather than guessing blind.
Typewriter Handle
The typewriter on the desk is missing its handle, tucked in the drawer directly underneath it. Attach it and the machine works again.
Grandfather Clock
Interacting with the fixed typewriter delivers a riddle built on cardinal directions, where South equals 6 and North equals 12. Working the math against the clock hands gives a code of 7, 10, 4.
The Flower Box Puzzle
Once the shed's unlocked, there's a flower box on the back right table running the same logic as the Owl Eye puzzle. No hints again here either, just switches to flip until the board lights up all at once.
The Rose Puzzle
The seed earned from the Flower Box puzzle gets planted here. A clipboard on the left table lays out the planting steps in order, and following them exactly is genuinely all it takes to grow the Rose.
The Friendship Keys
None of these open through picking or brute force. Every single one comes down to feeding a specific creature, which honestly ties the whole puzzle experience back to the actual cooking, and it's worth keeping ingredients stocked up if any of these recipes are still missing something from your kitchen.
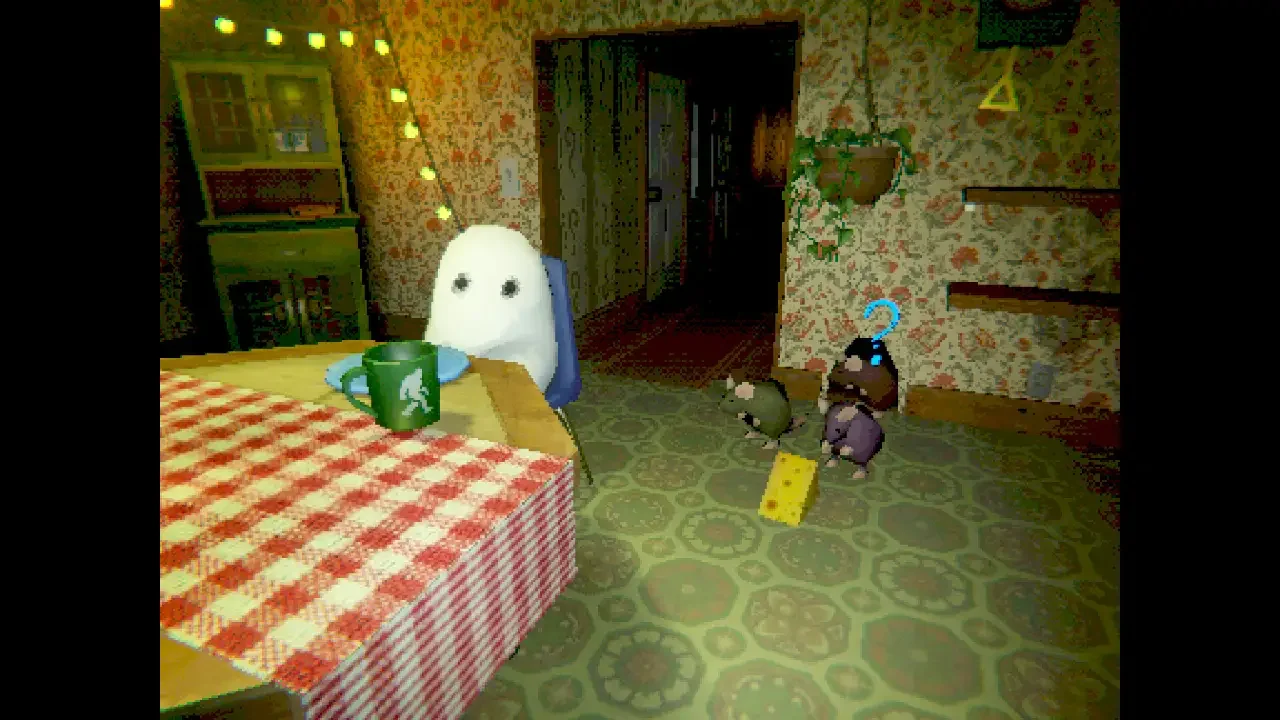
Corrin the Crow hands over the Fridge Door key, fish-shaped, after two random meals. Trash Cat drops the Cheese Cabinet key for two different sandwiches. Them the Mouse gives up the Heart Door key once fed three different cheesy dishes, and getting him out in the first place just means tossing cheese onto the kitchen floor. Hopper the Frog wants two mushroom-based meals for the Freezer Door key.
Jake the Box needs three different desserts before dropping the Coffee Cup Cabinet key, though he only lets it go if you're actually standing in the Heart Door room when he finishes eating. The Goober wants three Italian dishes for the Diamond Shed key. Grey the Dog trades her Teardrop Door key for three beef meals. Gerald the Octopus asks for four poultry or fish dishes before handing over the X-shaped Bowl Cabinet key.
Sassfoot gives up the Moon Door key after five different breakfast items, and Moth closes the whole list out. Four vegetarian meals satisfy him, and once he's fed, a short cutscene plays and the final key gets handed over.
That covers every lock in the house. None of it needs actual guesswork once the logic clicks, so there's no reason to keep staring at that grandfather clock hoping for a lightbulb moment. If you want the full rundown on who wants what on their plate, my creatures guide covers all of that in one place, and if you're chasing every trophy in the game, I broke down the full completion checklist in my achievement guide too.