Crimson Desert Mounts Guide: Horses, Mechs, and the Blackstar Dragon
Staring at a massive map while Kliff wheezes out of stamina is insulting, which is why you need to steal a vehicle immediately.
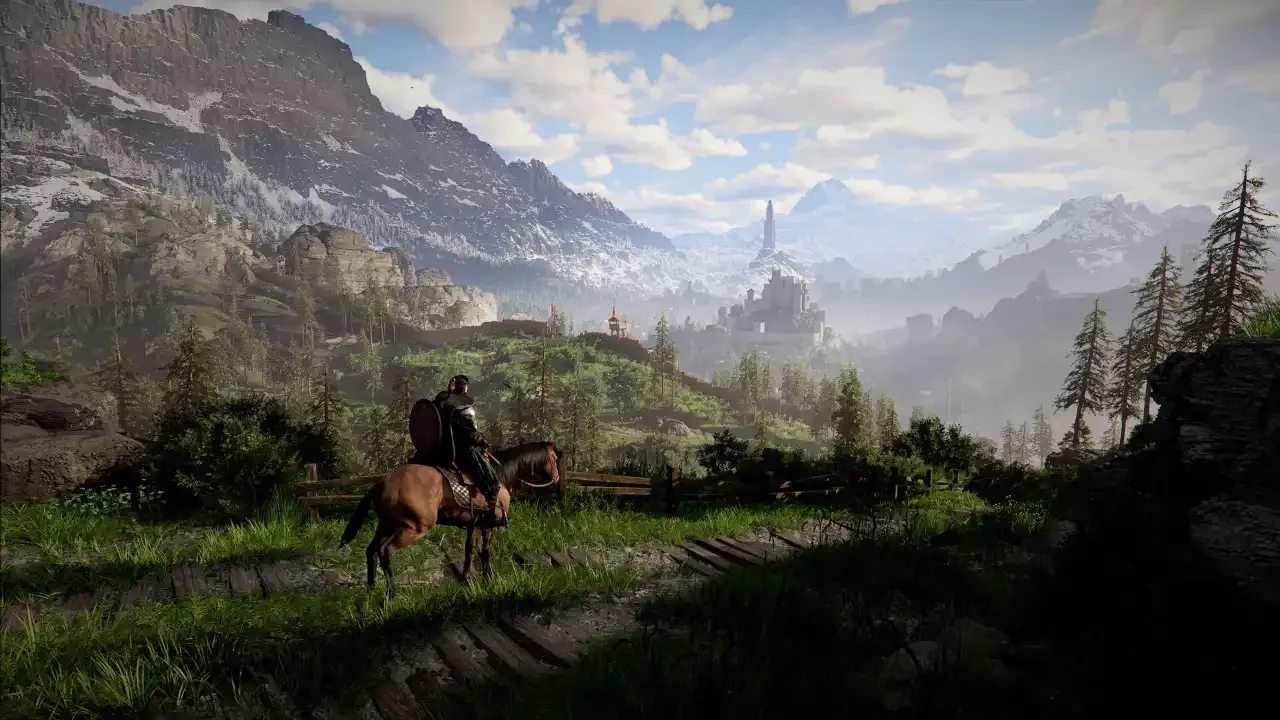
Pywel is gargantuan. Trying to navigate this hostile rock on foot is pure torture. You will get ambushed, you will run out of stamina, and you will eventually die tired in a ditch. The game hands you a basic horse early on, but the progression of transportation scales into absolute absurdity. You go from riding a standard mare to piloting heavily armored mechs and commanding a literal dragon.
I put together this exact breakdown of how to acquire, repair, and upgrade every major mode of transportation so you can stop treating this game like a hiking simulator.
The Hespia and Equine Maintenance
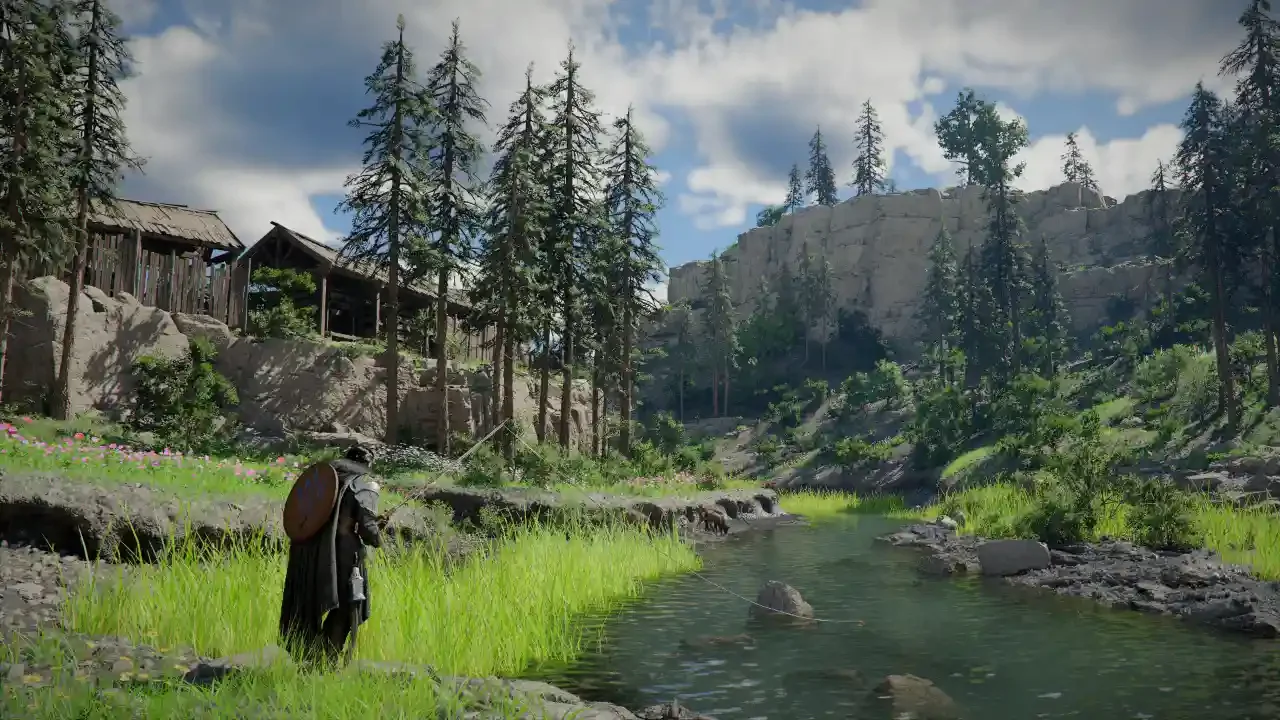
Your first real mount is the Hespia. It is a reliable horse that becomes available shortly after the prologue.
Horses level up the more you ride them, gradually boosting their defense, speed, and stamina. You can outfit them with caparisons, saddles, and horseshoes at local stables to increase their survivability. The physics engine in this game is chaotic, and your horse will inevitably take massive damage from enemy attacks or terrible jumping decisions.
When your horse is too beaten up to gallop, you do not need to abandon it. Approach the animal, charge your Force Palm ability, and hit the specific button prompt for Healing Palm. Striking your horse in the torso with raw magical energy somehow restores it to perfect condition. If you skipped the tutorial on unlocking magic strikes, cross reference my best early skills guide to get your combat loadout fixed.
Taming Wild Horses
If you want a different breed or just enjoy the thrill of kidnapping wildlife, you can tame wild horses roaming the countryside.
Approach a wild horse and jump on its back. This triggers a frantic minigame where a taming progress circle appears on screen. You have to fill the circle with yellow energy by fighting the animal's movements. If the horse pulls forward, you yank the left stick backward. If it yanks left, you pull right. You are fighting a hidden timer. If you fail to counter the movements fast enough, the horse bucks you off into the dirt. Master this, and you can build a stable of free mounts.
Wagons and the Cloudcart
If you want to move cargo instead of just yourself, you need to invest in your Greymane Camp at Howling Hill.
Recruiting Brice the Wagonmaster opens up the vehicle crafting system. By launching a Timberturner Wainwright dispatch mission, you can build Freight Wagons and Trading Wagons. These are clunky, slow, and absolute magnets for bandit attacks, but they are essential for moving trade goods across the map. If you want to know how to turn those trade routes into massive profit, check my breakdown on how to make money fast.
Your camp can also produce the Cloudcart. This is a hot air balloon that allows you to bypass the treacherous roads entirely. It is not exactly a fighter jet, but floating peacefully above a horde of angry cultists is incredibly satisfying.
The ATAG Mech and the Delesyia Train
Crimson Desert abruptly pivots into a sci-fi action game during Chapter 10. You are tasked with defeating mechanized creatures assaulting the Ironflame Orc bastion of Gorthak, and your primary tool for this is the All-Terrain Armored Gear.
The ATAG is a heavy mech. It comes equipped with a rapid fire machine gun, a wide area blast cannon, an EMP discharge, and a ramming maneuver that absolutely flattens enemies. You can upgrade it later with lasers and heavy plating. It turns Kliff into a walking tank.
If mechs are not your style, head to the southeastern region of Delesyia. You will find active railroad tracks. Follow them until you spot the Delesyia Train. You can grapple directly onto the side of it, climb aboard, and ride it across the countryside like a highly armed drifter.
Reigning in the Blackstar Dragon
The marketing materials did not lie. You get a dragon, but you have to earn it. The Blackstar Dragon is strictly locked behind the Chapter 11 main quest titled Whispers in the Wind.
This is an endgame reward. Handing you a dragon any earlier would completely trivialize the exploration mechanics. Unlocking the beast is tied to an unmissable cutscene, so you cannot accidentally skip it.
Piloting Blackstar completely breaks the game in the best way possible. You can fly anywhere, dive bomb enemy camps, and unleash raw Fireballs and Fire Breath that strip away health bars. The massive catch is the cooldown system. You summon the dragon via the D-pad, and it stays active for roughly 15 minutes. Once the timer expires, Blackstar leaves and goes on a brutal 50 minute real time cooldown. You cannot reduce this timer. It is your ultimate nuclear option, so save it for when you absolutely need to wipe a fortress off the map.