Crimson Desert Training Dummy Guide: Stop Practicing On Bears
Trying to learn a complex fighting system while a mob of angry bandits swings halberds at your head is an incredibly frustrating experience.
The combat in Crimson Desert heavily relies on mastering distinct combos and understanding the timing of your attacks. If you are just mashing buttons in the wild, you are going to burn through your healing items constantly. You need a controlled environment to actually test your kit.
The game provides a dedicated training dummy for exactly this purpose, but it does not just hand it to you. You have to earn the right to practice by putting in the manual labor to rebuild the Greymanes Camp in Howling Hill.
If you are completely lost on how the camp economy works, you should pull up my Crimson Desert Resource Gathering Guide so you can actually afford the required infrastructure. Here is exactly how to get the dummy to spawn and how its specific physics work.
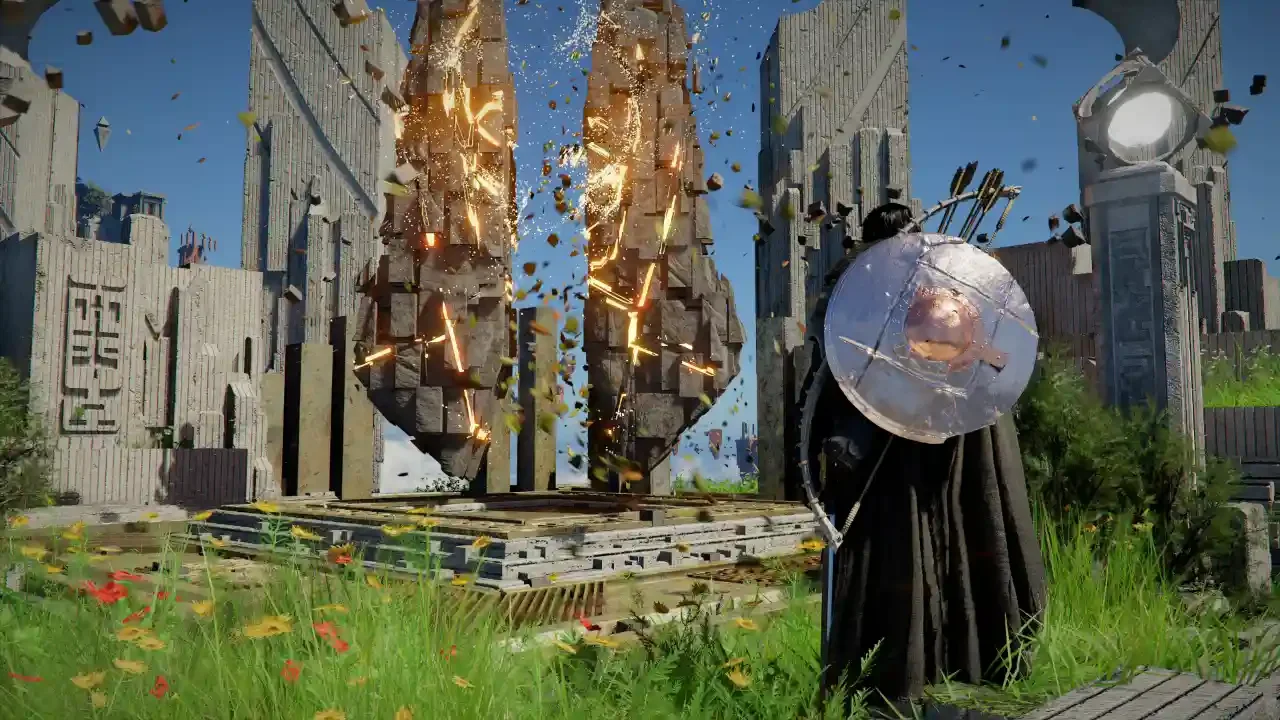
The Training Yard Location
Once you hit Act 3 and gain access to the Howling Hill base, you might go looking for a place to spar. If your camp is brand new, you will not find one.
The training yard is physically located in the southwest section of the camp. If you start at the Abyss Nexus and walk southwest, you will eventually see a small fenced area situated directly behind the Ranch. However, this specific fenced yard does not exist by default. You have to trigger it through base progression.
Upgrading The Greymanes Camp
The training dummy is locked behind a progression wall. You have to upgrade the camp a few times before the yard actually appears in the environment. It usually spawns around your fourth major camp upgrade, roughly around the exact same time you unlock the Ranch and the Farm.
To trigger these upgrades, you need bodies and resources.
Recruiting Your Comrades
First, you have to speak with Marius. He will give you rumors regarding Greymane sightings scattered across the Hernand region. You must investigate these rumors, locate your lost comrades, and speak with them to send them back to Howling Hill.
Initiating The Upgrade
Once your camp is populated with helpers, you can finally trigger the construction. Open your map, hover your cursor directly over the Howling Hill camp icon, and click it twice to open the Details menu. Switch over to the Missions tab. This is where you actually select the camp upgrade option.
Upgrading the camp costs a massive chunk of resources. You either need to send your newly recruited comrades out on gathering missions to farm the materials, or you can manually donate your own hoarded items by speaking directly with Carl.
How The Training Dummy Works
Once the fourth upgrade finishes and the yard appears, you have a permanent, safe combat sandbox. The wooden mannequin standing in the center of the fence operates under a very specific set of rules.
Unlimited Health: You can beat on the dummy for hours. It will never break and it will never die. It is the perfect target for testing the exact damage numbers on setups you grabbed from my Crimson Desert Best Early Skills guide.
Completely Stationary: The dummy will not fight back. It does not attack and it does not walk around the yard.
Physics Immunities: The dummy is entirely immune to Axiom Force. You cannot manipulate it with those specific powers.
Rubberbanding: If you hit the dummy with a massive physical combo and somehow manage to toss it completely out of the fenced yard, the game immediately intervenes. The dummy will instantly teleport back into the center of the ring.
This is the absolute best place in the game to practice the alternate playable characters. You can safely figure out the specific timings and mechanics of the extended roster without getting humiliated by random mobs. If you are not sure how to even access those alternate fighters yet, check out my Crimson Desert Unlock Characters Damiane & Oongka walkthrough. Build the yard, lock in your combos, and stop wasting your healing items on bad execution.