Crimson Desert Guide: Every Witch Location And Sanctum Puzzle
You can hoard all the rare Abyss Cores in the world, but they are completely useless until you find the eccentric spellcasters hiding in the wilderness.
Crimson Desert hides its most vital progression system behind a massive game of hide and seek. If you want to socket those glowing Abyss Cores into your weapons for massive damage buffs, you have to track down the Witches of Pywel. They do not advertise their services. You have to find their deceptive "fake" forms out in the wild, solve their immediate problems, and then travel to their true lairs to actually use their shops.
Once you finally gain their trust, they task you with liberating and cleansing 16 corrupted Sanctums scattered across the map. These Sanctums are heavily guarded by cultists and usually involve a frustrating physics puzzle utilizing your Axiom Force and the Kuku Pot. If you are still trying to figure out how to even survive a basic bandit camp, pause right here and read my Crimson Desert beginner tips guide before you accidentally stumble into an endgame boss fight.
Finding The Five Witches
You cannot just walk up to a Sanctum and cleanse it if you have not formally met the Witch who owns it. The game will let you kill the enemies, but the final puzzle mechanics will remain locked. You have to put the legwork in first.
The Hermit Witch
This is the only Witch you can completely miss. She has no fake form and offers no quests, but she provides early access to socketing your gear. Head north of Hernand City and search the mountainside for a hidden cave opening. Walk inside, and you can immediately start utilizing her merchant services.
Elowen (The Witch Of Wisdom)
You meet Elowen naturally during Chapter 5 of the main story. Her fake form is tied up inside a thorny hut in the Witchwoods. Climb the scaffolding, enter the window, and untie her. She will then reveal her true form just a few hundred meters north near an Abyss Nexus fast travel point.
Lyselia (The Witch Of Humility)
During Chapter 7, you will visit Beighen. Look for a ruined bridge. Lyselia's fake form is literally hanging off the edge screaming for her life. Pull her up, and she will teleport to her true lair all the way down south in the Serpent Marsh. Look for a cave entrance marked with hanging ribbons.
Bari (The Witch Of Kindness)
Bari's fake form is incredibly easy to ride right past. Look west of the "A" in Pailune on your map, just east of the Wayward Woods. She is huddled under a small tent freezing to death. Walk up and light the nearby lantern to warm her up. Once she thaws out, she relocates to a gorgeous cabin floating in the middle of Crimson Lake in the Silver Wolf Mountains.
Areciel (The Witch Of Strength)
You likely will not find Areciel until late in the game. Her fake form is disguised as a child standing near a shed directly north of Tashkalp. Give the kid a single copper coin, and her true lair will unlock on your map. You have to travel northwest to Urdavah near the World's Navel marker to find her house perched on a sheer cliff.
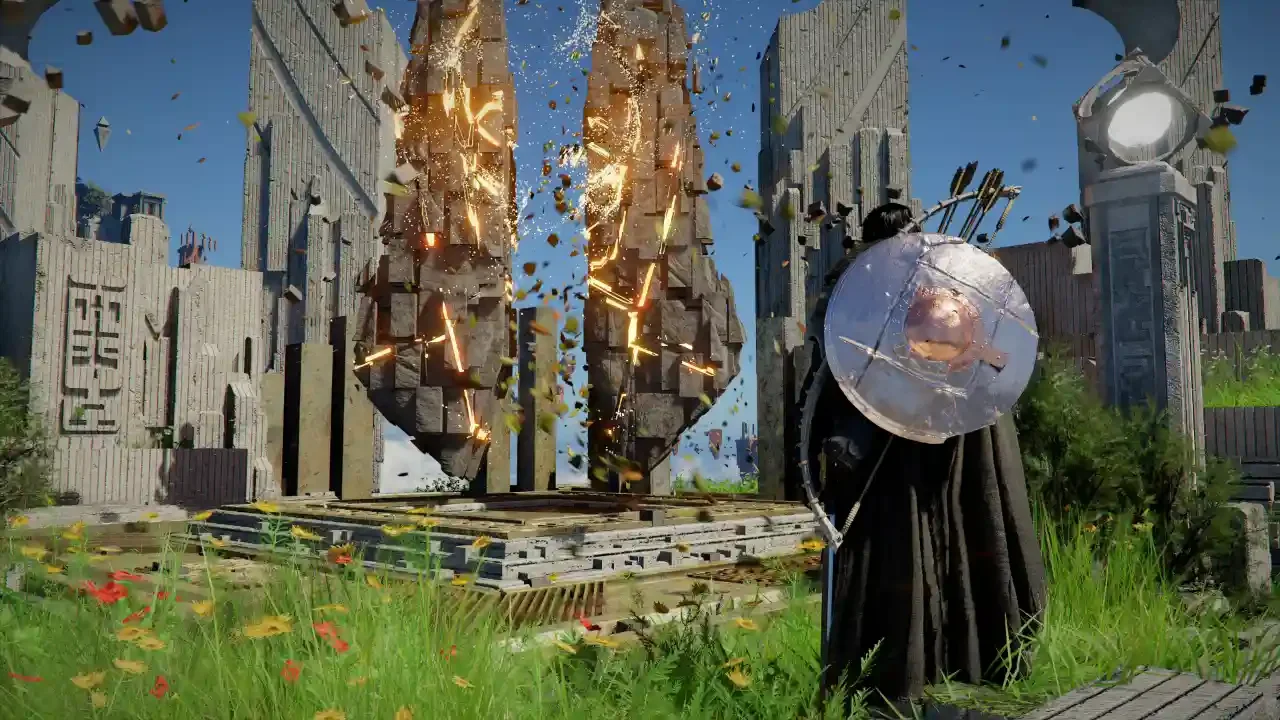
The Brutal Reality Of Sanctum Cleansing
Once a Witch gives you the green light, you have to travel to her designated Sanctums, slaughter the Antumbra cultists, and reboot the ancient generators.
The mechanics here are universal but clunky. You have to use your Axiom Force to rip Fusion Cores or broken stone pillars out of the environment. You lock onto them, pull them into your Kuku Pot to transport them, and then throw them back out near the generator. Once a piece is hovering over the correct slot, you have to climb on top of the structure and execute a jumping Force Palm to physically slam the core into place.
If you drop a puzzle piece and walk too far away looking for the second half, the game will aggressively despawn the item. You either have to reload the area or travel back to your base camp and pay the NPC 10 silver to retrieve it from the Lost Item bin. Do not wander off once you start a puzzle.
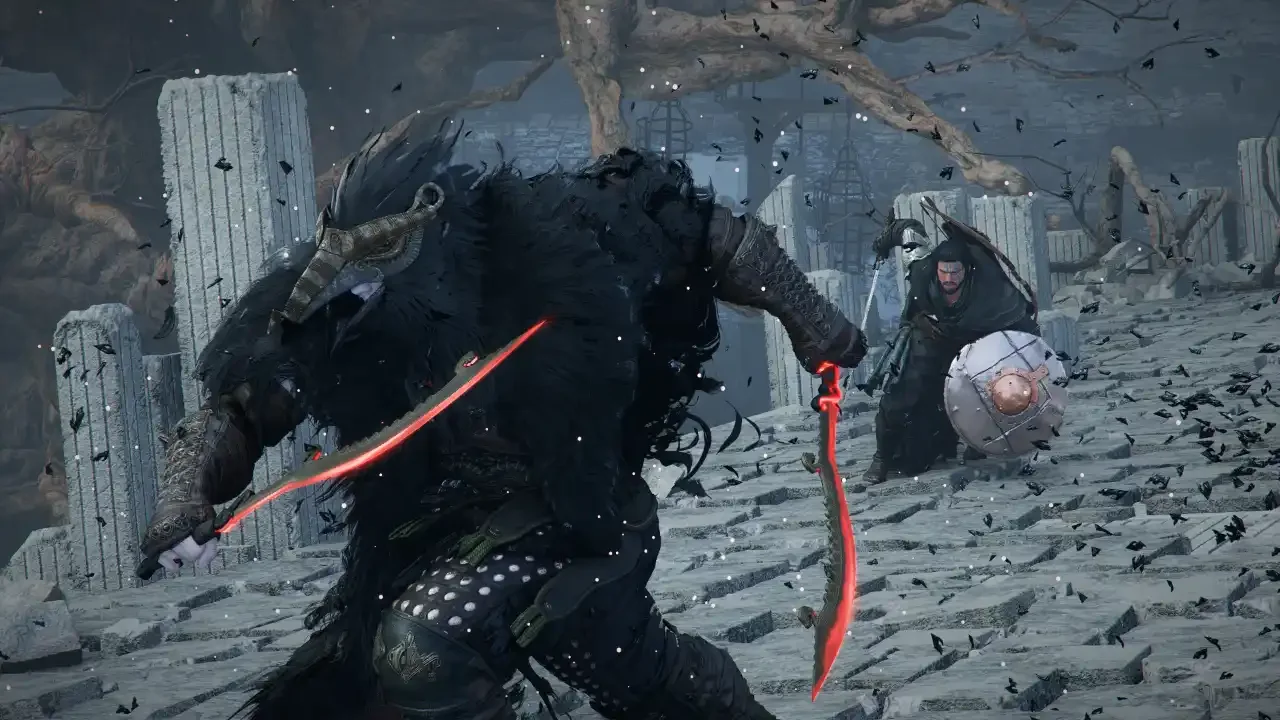
Surviving Antumbra's Sword
A few of these Sanctums force you into a boss fight before the puzzle begins. The Sanctum of Absolution features Antumbra's Sword, and he will absolutely wreck you if you get greedy.
Treat this fight like a war of attrition. Use your sword's stab attack to inflict passive bleed damage and back off. When he powers up, run. His duplicate ground pound attack will one-shot you if you are caught in the radius. Wait for his combo chain to finish, land a heavy strike, and immediately prepare to defend yourself. If your defensive timing is currently getting you killed, review my Crimson Desert parry and perfect dodge guide to tighten up your stamina management.
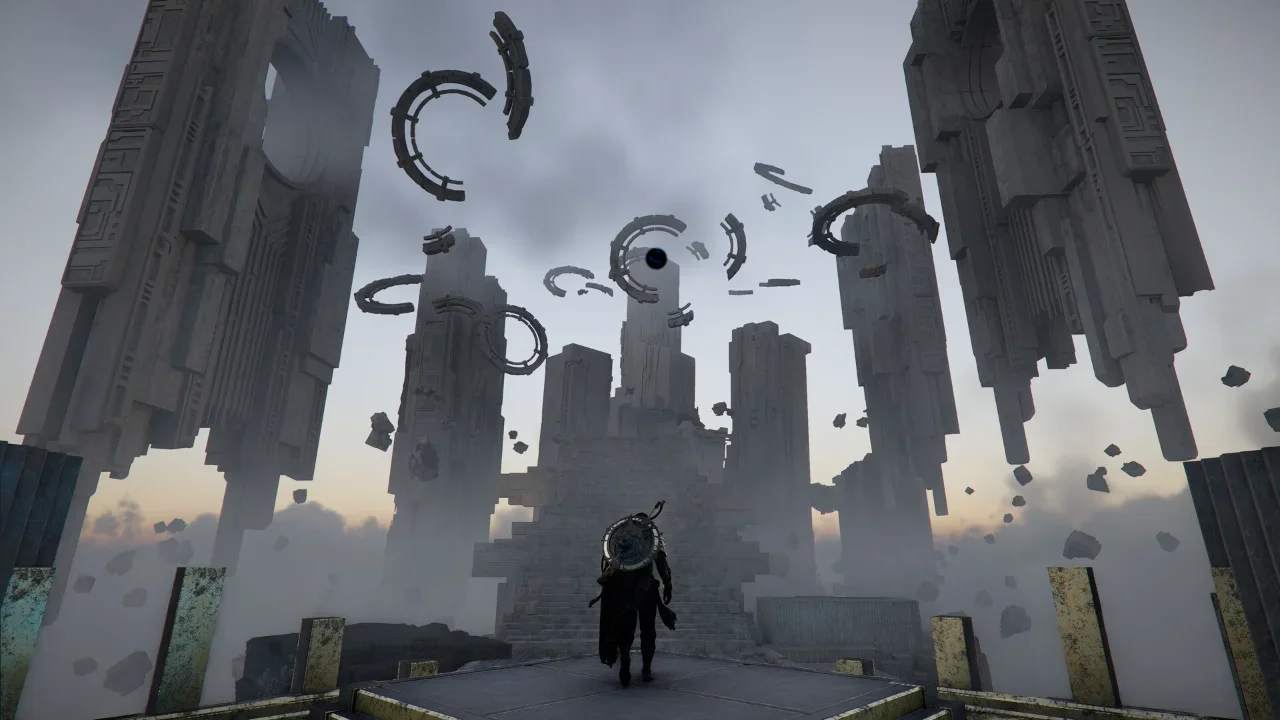
Complex Sanctum Solutions
Most Sanctums just require you to find a glowing cube in an adjacent room, but a few of them hide their puzzle pieces behind environmental hazards.
Sanctum of Temperance: You have to burn the vines covering the broken tower using a flame attack to reach the missing pillar piece. For the power cube, look for unstable ground on the north side of the ruin and let it collapse to drop into the hidden room.
Sanctum of Benediction: After slotting the first power block, you have to go to the south side of the opposite tower and manually light a lantern. This opens the door holding the sphere topper you need for the final pillar.
Sanctum of Exaltation: The required item is submerged underwater, and your Axiom Force does not work through liquids. You have to execute a heavy and light combo attack simultaneously on the barrier to drain the pool before you can grab the core.
Sanctorum of Darkness: This is a bonus Abyss puzzle. Grab the first orb and rotate the laser to hit the opposite device. Use your Light Sword to direct the second beam to match. You have to hold both beams in place for several seconds until the blue energy fully activates the central panels.
Pack your healing items, double check your weapons before fighting the Antumbra bosses, and get used to slamming broken pillars into ancient generators. If your gear feels slightly underpowered during these encounters, take a detour through my weapon and armor upgrades guide to make sure your stats are actually scaling correctly.